
Jack N Jill Instant Frames - Tutorial
Hello people!
Chirali here with a cute project using my current favorite Jack N Jill paper pack. I have a picture tutorial to share with.
Here is the frames I have prepared:

Here is the tutorial:

I took these three sheets to make frames. To make frame of 3.25x4.25 inches, I have cut these sheets of 8.25x9.25 inches.
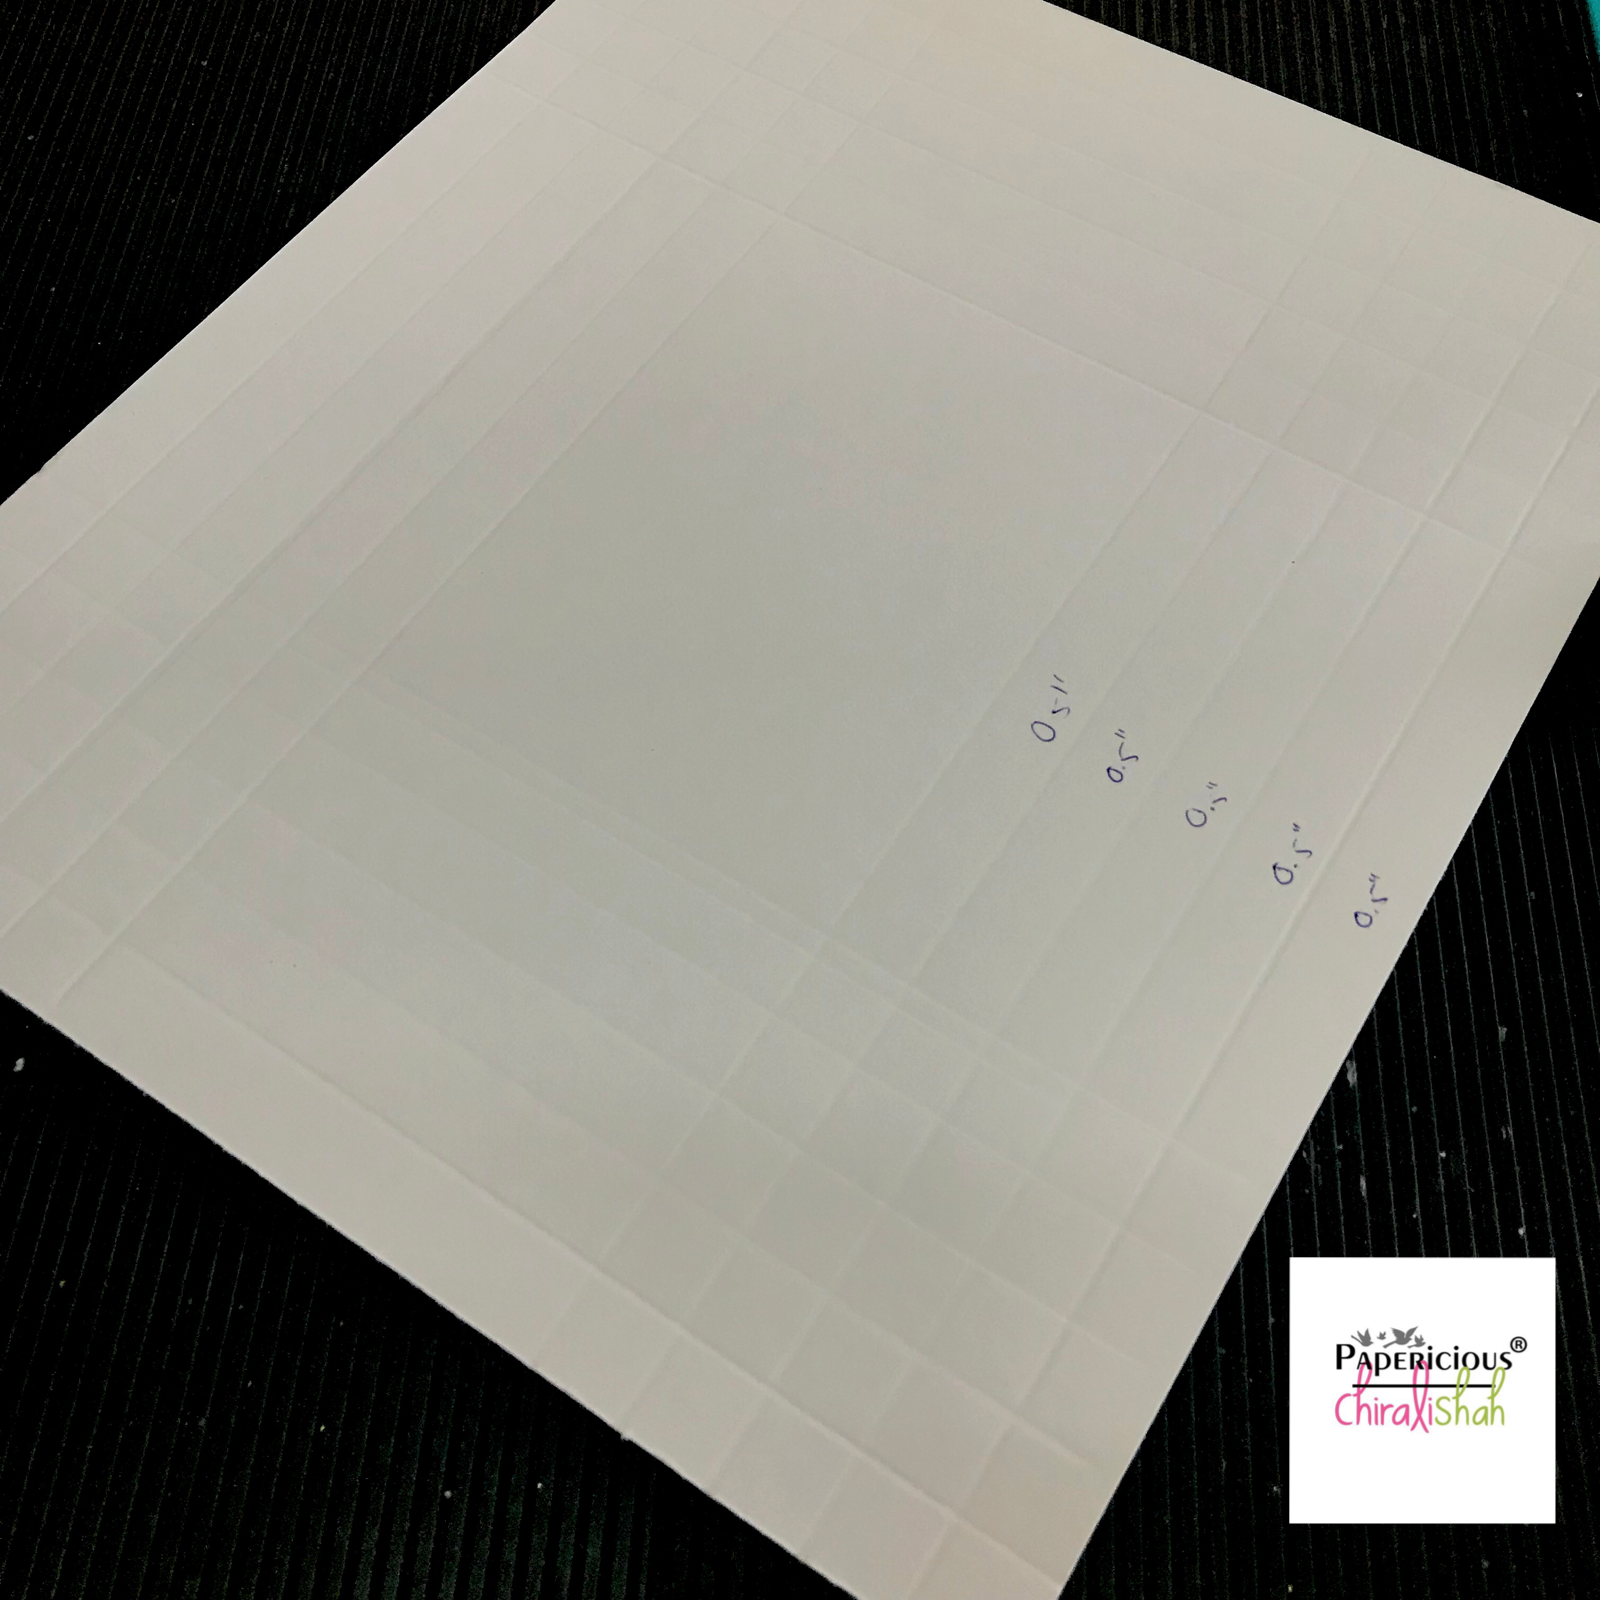
Score 4 sides of all the sheets at 0.5" for 5 times.

Cut the sheets as shown.

You can use glue instead of these tapes.

First stick the straight cut both parts then the triangle cut part.

The triangle cut part should be sticked like this. (Ignore my thumb ;))

Frame will look like this.

Cut the paper to cover insideof the frame.
Now here is how to make stands:
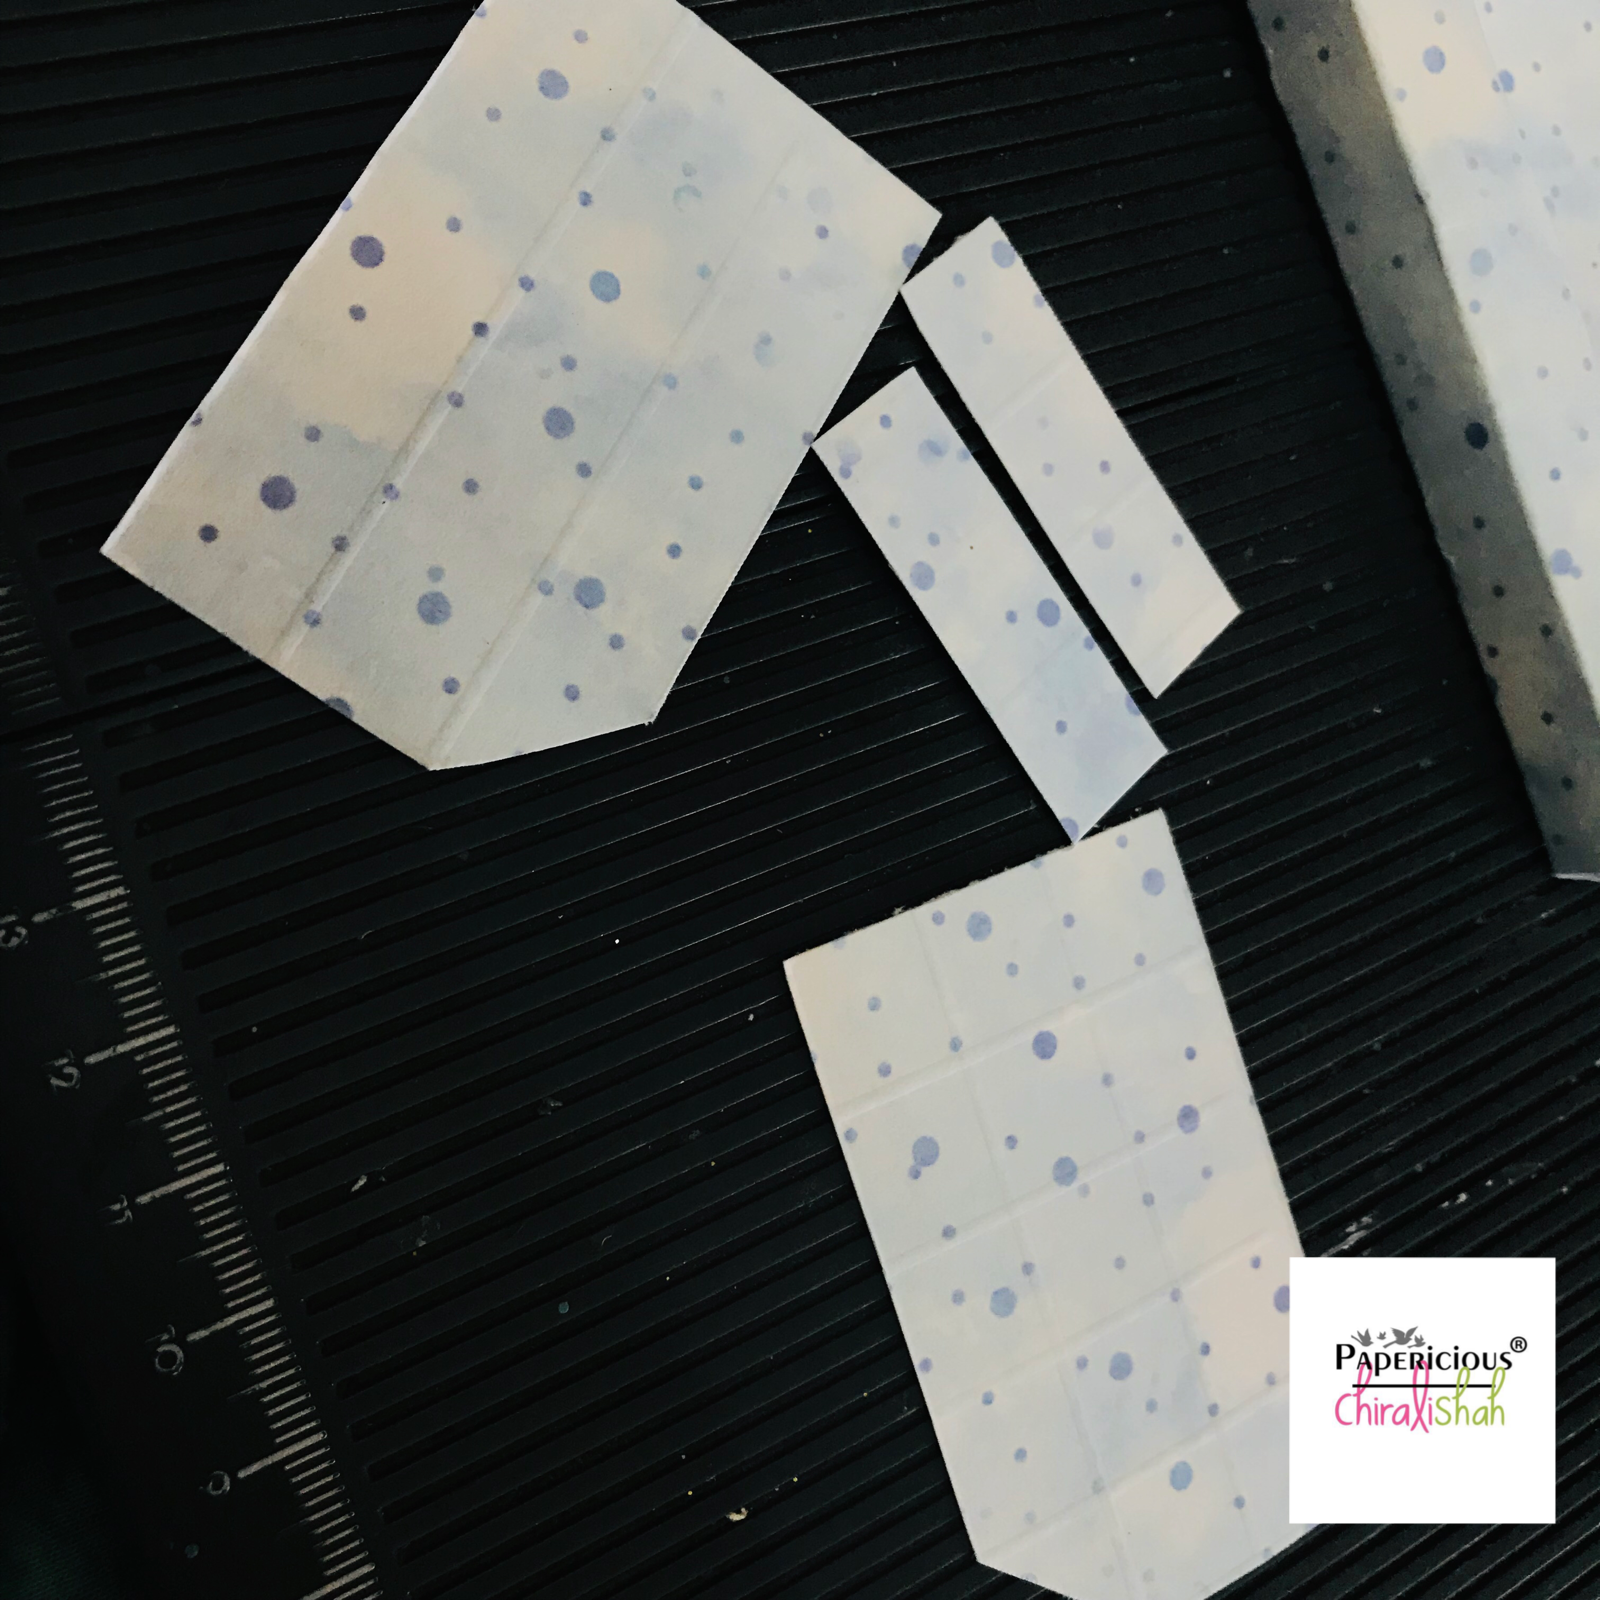
You would have parts after cutting the sheets as of image 3 of start of pictorial.

Fold and glue as shown in image.

Fold at 1 inch.

Take that single stripe. Fold at 0.5".

Glue both parts leaving a little unglued near the fold.

Stick like this.

Stand is ready.

Stick both stands equally.
We are ready with the frames.
I decorated with the paper pack's fussy cut elements and added sentiments instead of pictures. One can add pictures on these too.


Thanks for stopping by.
I hope you liked it.
Hugs,
Chirali :)
Supplies used:
1. Jack N Jill


Adorable frames !! Will be great gifting options for kids :)
ReplyDeleteBeautiful frames..nice idea for gifting.
ReplyDelete