Showing posts with label shaker card. Show all posts

Shaker Card ft. The Date Night | Video Tutorial

Hello friends!
This is Nandini here from Nd's Creative Art. I am super excited to be back and share my project with you today using the "The Date Night" Patterned Paper Pack from Papericious' January 2021 Release! 
I am so much in love with this Paper Collection as the colours, designs, combinations, co-ordination etc, are simply perfect to make gorgeous projects with it.
This time I have designed a Shaker Card. For the card, I have used Papericious' The Date Night Die Cut Embellishment Sheets with "The Date Night" Paper Pack. To add to its beauty I added some flowers and sentiments too.
Have a look:
I have a Start to Finish Video Tutorial for this project which you can watch HERE. I hope you enjoy watching my creative process!  
Supplies Used:

Do not forget to share your love. Thank you for stopping with us!

Love,
Nandini Ramchandani

Shaker Card ft. Dream Big


Hello Friends!
Hope you all are enjoying this festive season. 
This is Nandini back with a delightful Shaker Card. 

My project today is a Shaker Card which I have designed with Dream Big Paper Collection. Dream Big is a beautiful paper pack with lovely cordinating Cut and Create Embellishment Sheets which can add beauty to any project. 
With the help of a Fuse Tool, I made different compartments and filled it with different images from Dream Big Paper Pack and coordinating Cut and Create Embellishment Sheets. To add extra shimmer, I added glitters and sequins in all tag pockets. At last, I added a sentiment. 

Here is my card:


Supplies Used:

Hope you all have enjoyed the project!
Luv,
Nandini Ramchandani

Pretty Water Filled Shaker Card by Swati


Hello Everyone!
This is Swati from Swati's Crafting World back with another inspirational post. Hope y'all had a relaxed Sunday with some fun time with your family & friends. I've created a water filled shaker  CASEin' one of the Papericious's amazingly new launched Paper Pack PRETTY PIXIEThe Papers are gorgeous & I'm sure you're going to love these pretty papers.

PRETTY WATER SHAKER CARD 

A perfect card with a beautiful concept - Water filled shaker card are something that can be gifted to someone in any occasion. This pretty water filled card would certainly be super sweet for a photo card, a birthday invitation or even a gift card holder. 

I've created a shaker & filled it with water, sequins & Rajni Chawla's Crystal Clear. I've decorated the cover with mulberry flowers, leaves & water droplets. I've also made two cute little tags using the papers from the Paper Pack- Pretty Pixie.

HERE'S THE CLOSE-UP PICTURES

HERE'S THE VIDEO

SUPPLIES USED


Well that's all from me today. Thank You so much for dropping by. I hope y'all like it. 
Your likes, comments & shares will definitely excite me to prepare more craft items & I'll be thankful to y'all for it. Update your love in the comment section below.
Until next time, Take Care & Keep Crafting!
XOXO 

Papericious Guest Designer | Gayatri Viswanathan


Hello everyone,
This is Hussena here with you today. Welcome to our February Guest Designer post. We have the awesome Gayatri Viswanathan as our guest today! Gayatri is a talented designer who excels at various forms of paper crafting, be it Paper Quilling, Punch Craft, Card Making, Scrapbooks, and more. It's an absolute honour to have her here with us and I can't wait for you to check out the fantastic projects she has whipped up using our latest collection: I Love You. Please join me in giving a warm welcome to her!

Here's a little bit about Gayatri:
Hello crafty folks,
I am Gayatri, mother of two wonderful boys. I have been an art and craft lover from my younger days. I used to enjoy and love my craft classes in my school days. After a long time, five years back I stepped into crafting world through quilling. I slowly tried my hand in scrapbooks and decoupage. I love making my flower embellishments and try making different fold cards and interactive cards.  
Sometimes your joy is the source of your smile, but sometimes your smile can be the source of your joy. Spread the smile bug and and infect everyone......
I am super excited to be Guest Designing for Papericious. I am grateful to Team Papericious for giving me this opportunity.

You can find Gayatri on social media here:


 Today I am showcasing the recently launched paper pack ‘I Love You’. Such a gorgeous combination of teal and pink. I have made two interactive cards and a tag with the scraps I had.

Spinner Card
Recently Jennifer McGuire had shared a spinner card tutorial and I had to give it a try. I took a white card base and layered with one of the sheets and few cut apart from the pack. On the inside I created a spinner heart and layered with coordinating sheets.

Check out the Video below to see the Spinner in action:


Shaker Card
The second card is a shaker card. I made two heart windows and created the shaker part on the front panel. I added few handmade flowers and die cuts to decorate the front panel. The paper pack has cute little cut apart and I had to create something with them. So I made a simple pop up elements on the inside. And added the sentiment from the sheet.

Check out the video below to get a better idea:


Tag
I had scrap papers lying around and I thought that what better way to make use of them than making a tag? I cut a base measuring 3.5” x 5.5” and trimmed the scraps and added a doily scrap too! I also added few fussy cut elements from the sheets.

Supplies Used:


Hope you liked my creations. Your feedback means a lot to me.
Till next time – 
Happy crafting!
- - -
If you liked Gayatri's projects, please do not hesitate to leave a comment! She would love to hear what you think of her projects. 

Stay tuned for Gayatri's next post using our Hooked Patterned Paper Pack in the coming week. We can't wait to share her beautiful creations with you!

Shaker Wedding card

Hello my friends

Here is Diana.
Today I am showing my Shaker Wedding card.

A friend of mine is getting married next week and I made a card for the couple.

I used the 3D Shaker Chipboard HEART. I colored it gold and silver to highlight it.  And I glued the lace around the heart to make it more vintage look. The background is Papericious Premium Edition - The Wedding.
Inside the Shaker I used the new Sequins mix - Vintage.


Inside the Shaker I glued the pattern from the same wedding pack and I stamped a beautiful and short expression. Forever and Always.

Inside the card same Wedding paper pack

 Here you can see the whole card.

The products I used:

Thanks for stopping by
hugs, DT Diana


Perfect Affair Shaker Cards Tutorial

Hello my dear crafty friends!
This is Irit from Irit Shalom Designs here today and I am going to share two shaker cards tutorial.
It was my very first  time to make shakers and I made one fancy and complicated and one simple one, so everyone can try and make those tag with the new, most gorgeous, Papericious collection Perfect Affair.
This is the first, fancy card here and some close- ups and then I made a full step by step photo tutorial.


Step by Step Tutorial:
1. Make the card size piece from floral cardstock and use this die to make the cuts. This Die Versions big heart die cuts into two parts, but if you have another die you can always  cut the inner part by yourself or to use two nesting dies.


2. This is the place for the inner die cut, but it's not yet glued.

3. Die cut the double sided glue foam with the same die and use the outer part only. If you don't have the double sided foam sheet use any craft foam and just add the glue over it. Glue the frame piece over the front of your card.


And this is the close up of this step.


4. Die cut again using the very same die and gold cardstock.
Glue the outer part over the double sided glue and glue the inner part under the inside die cut shape.


5. Added sequins and cover with hand cut around the die acetate piece and then glue the outer die cut frame we got during step 1.
Your shaker part is done.


6. Heat emboss Papericious chipboard with clear embossing ink and gold embossing powder. Hand cut the clock from the cardstock and arrange them both as shown.
Add 3 gold sticky corners and make the matting using two other cardstocks from the same collection.


And now to the second shaker tutorial, and this time it's a simple one.
I made a full step by step tutorial and with this gorgeous collection everyone can do this lovely Valentine card.


Step by Step Tutorial:

1.Die cut 3 stitched rectangles from three different cardstock as shown.

2. Use nested hearts dies or punches  and die cut one frame out of double sided glue foam sheet, 2 white cardstock frames, one patterned cardstock red frame and one transparent full large size heart and one cardstock full size heart.

3. Glue the foam glue frame over the cardstock heart.

3. Glue two more layers using white cardstock heart and fill with Papericious sequins.

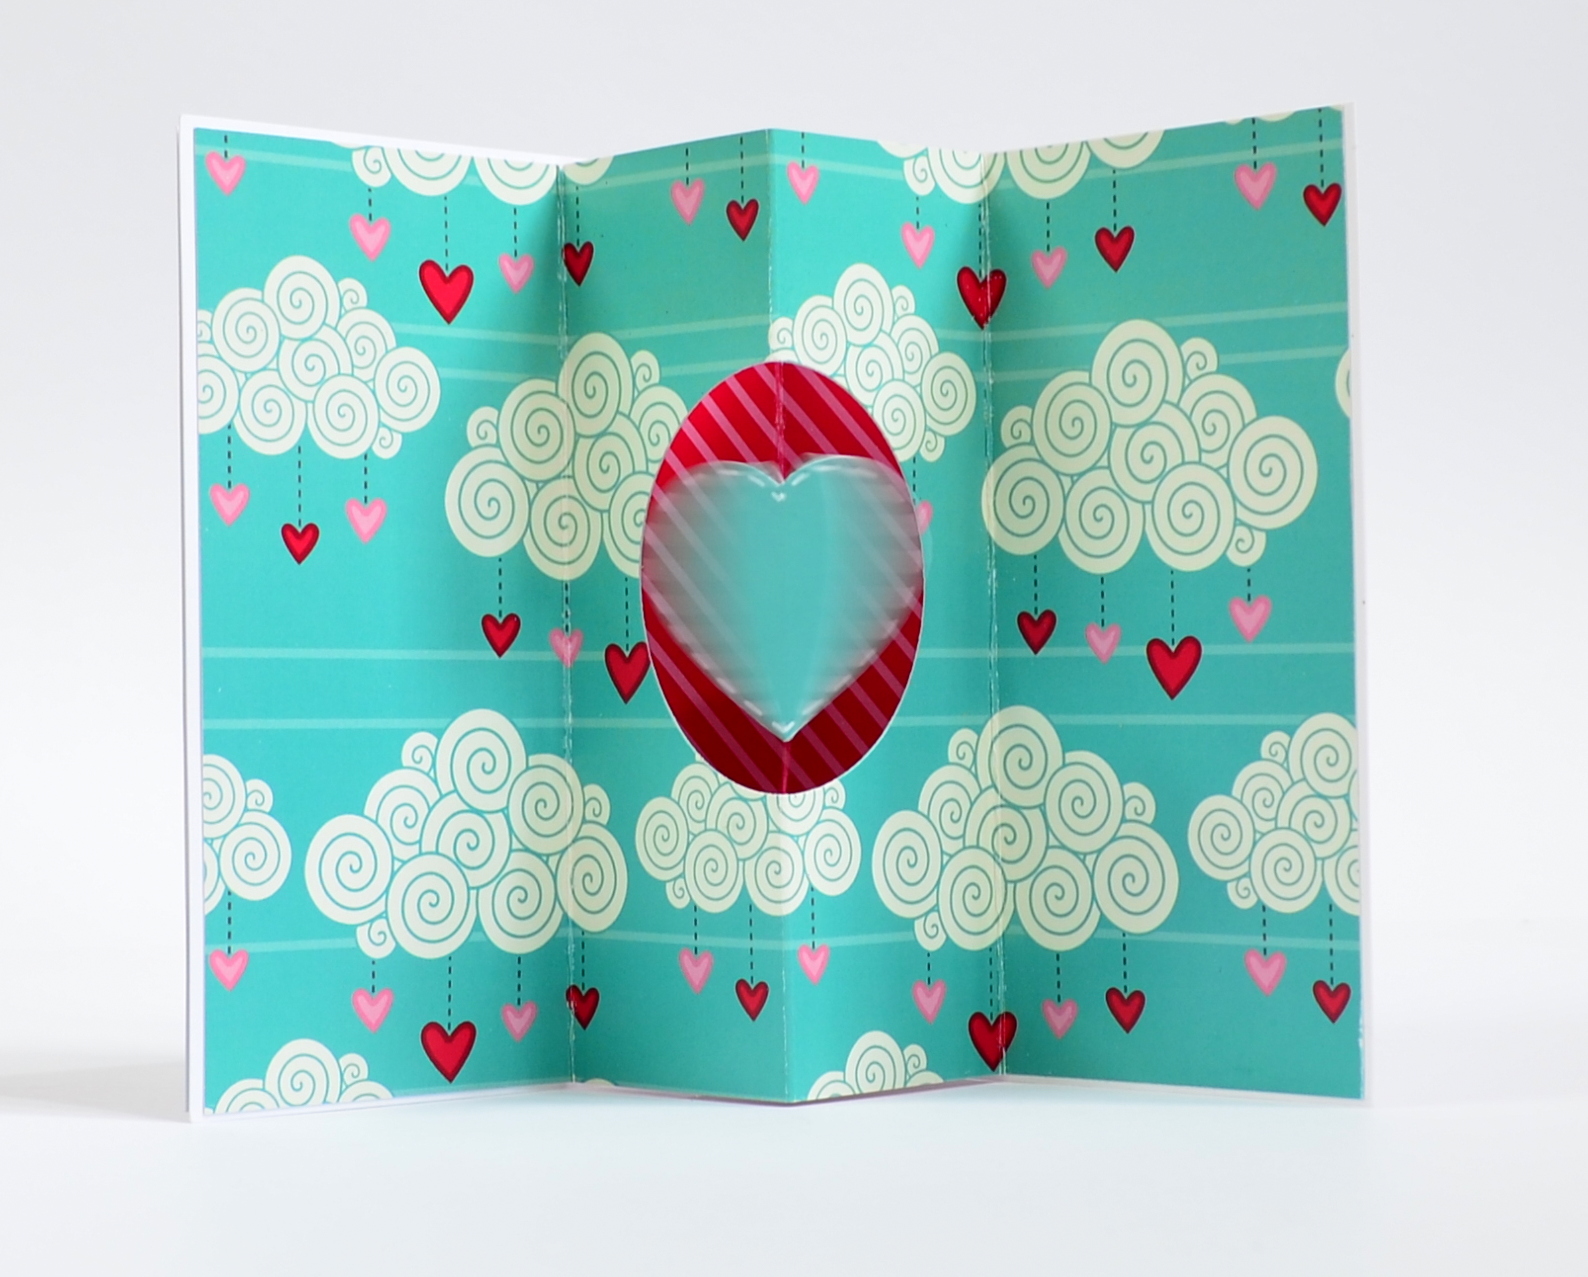
4. Add the transparent heart over and cover with red cardstock frame.
Your shaker part is all done.

5.Arrange the card with three die cut layers we made during step 1 and add some hand cut flowers.

6. Use clear embossing ink and gold embossing glitter to cover the chipboard shapes.

7.Add gold lines over flowers with gold liner.

8. Now  your shaker  card is done!
Enjoy!

 Papericious product list:
Perfect Affair collection pack
Papericious Designer Edition - Perfect Affair
Perfect Affair sequins
Sequins Mix: Perfect Affair
Be Mine - Theme chipboards

Theme Chipboard - Be Mine
Mix of other pink  sequins

I hope that you liked my tutorials and see you soon again!