Showing posts with label Papericious Infinity Collection. Show all posts

Papericious July Challenge | Moodboard

Hello everyone!!
Good morning, it's Hussena here to bring you the brand new challenge for this month. Thank you to all those who played along our last challenge. We will be announcing the winners shortly.
We have a very beautiful Moodboard to inspire you this month.


Here is a look at our Moodboard, which is the courtesy of our DT member, Halak Shah :) 

Our challenge for you this time is, to get inspired either from the colours of this moodboard, or any/all elements from the moodboard like for example - you might be inspired by the Woodgrain background, the flowers, the glitter or even the golden mesh. Whatever inspires you, incorporate it in your project and please MENTION it in your post so that we DT members have a clear idea about your inspiration.


{Papericious Challenge #4 Guidelines}

  • You can create any project - Cards, Layouts, Albums, Altered items, 3D projects, Home Decor etc.
  • You must mention how and what has inspired you from our Moodboard. This is very important for your entry to qualify.
  • The last date for submission of your projects is 9th August, 2016 at 11:59pm IST.
  • Please go through the General Guidelines HERE before you link up your project. Any project not following the rules, will be disqualified and it will not be eligible for the prizes.

Now, what's a challenge without prizes, right?! Papericious will be giving away TWO prizes every month -

  • The DT will be selecting a Merit Winner at the end of every challenge who will stand a chance to win a gift voucher worth INR 500 from the Papericious store.
  • We will be also be having a Random Winner from all the entries who enter their projects every month to win a Papericious 6 X 6" Pattern Paper Pad

Everyone's got a equal chance here so whether you are a novice or an experienced crafter, all are welcome to play along our challenges :)

And as always, we have some gorgeous inspiration lined up for you. Here's a look at the creations :

Halak Shah
( I was inspired by the woodgrain texture, white - tan - gold color combo and the white flowers.
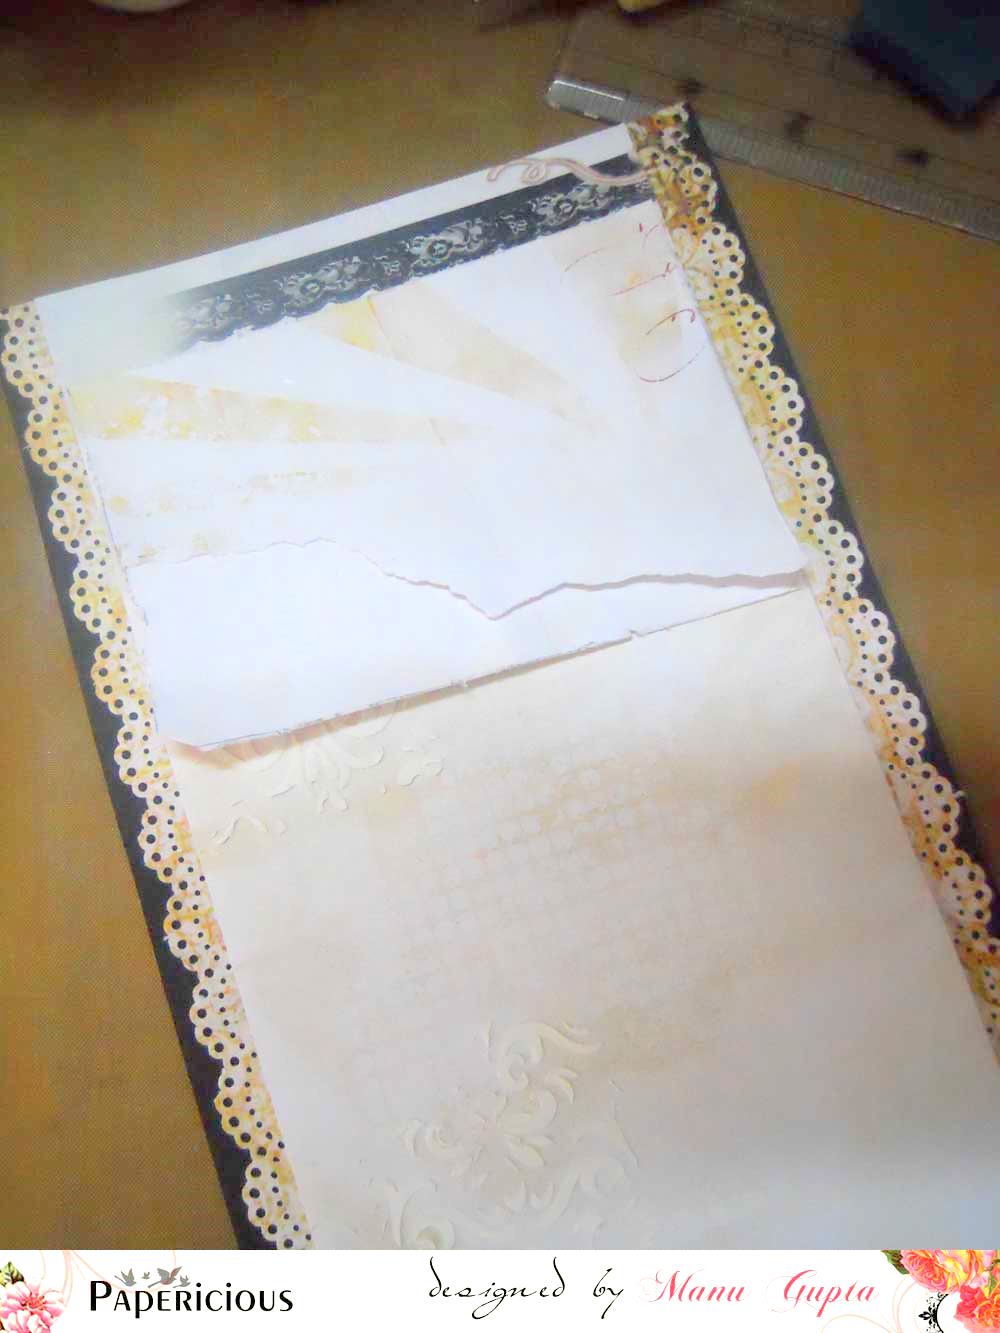
I used patterned papers from Papericious Naturals paper pack along with tan leaves fussy-cut from Papericious My Golden Garden paper pack )

( I was inspired by the colours as well as the white mulberry flowers, the woodgrain background and the mesh from the Moodboard )
 I have used the Papericious - My Golden Garden paper for the base, then layered it with the Papericious Wooden collection and finally used the Papericious Infinity Collection papers for die-cutting that doily.

Hope you're inspired to play along our challenge. We would love to see your entries using Papericious products!


Mixed Media Card with Papericious Infinity Collection

Hello Everyone,
Shilpa here,

I've mixed media card to share with you today!


I've used Papericious Infinity Collection. It has beautiful soft color mixed media papers .....
LOVE them!!


Card is 6*6" in size. I created two layers with Papericious papers. You will find  Pink roses are peeking from below. Edges of papers are distressed.


I've created texture design with modelling paste and stencil for more interest.
Clock image is a diecut available in the Papericious colletcion, I inked it a bit with Spun sugar distress ink, I used Papericious blending tool for that.


I've created lots of layers with doilies, diecuts, chipboard, leaves, flowers and laces.
Many of these embellishments are created with Papericious papers.


Hope you liked my card!
Papericious Infinity collection is awesome for making anything....layouts, canvas, 3D projects, cards, altered art. 


Thanks so much for stopping by.

How to use stickers in your Retro Chic planner !

Hello everyone,
This is Hussena here and today I am sharing with you all the different accessories and stickers that you get with the Papericious Retro Chic planner and how to use them.

First let's have a look at what you get along with the Retro chic planner :
As you can see above, you get 3 sticker sheets and one journal tabs/tags sheet with your planner. 

Here's a closer look at all the 3 sticker sheets when taken out of their packaging :
The sheet on the left hand side is the icons and tabs sheet. It contains various stickers for your day to day use and I will be showing you how I have used them in my below pictures. The sheet in the middle is a clear sticker sheet with some fun sentiments and images and when you stick them on paper they seem almost like stamped images.
The third and the last sheet on the right hand side is the hole-guard sheet and it helps to reinforce your planner pages. See the picture below to get an idea on how it's used :

The brown circle you see below the binder rings are the hole-guards.

Now moving on to how to use the Icon and tabs stickers in your planner. Here's how I have used them in mine :

This is the monthly spread page and the dollar icon on the first represents the due payments that I have to make on the first of the month. The telephone icon against my mom's doctor appointment is self explanatory..Also notice that I have highlighted certain dates by using colored round stickers. These were actually punched from a colored cardstock. I have also done some stamping to highlight certain important dates.

This is my first week spread for the month of February. Here I have used a couple of stickers, washi tapes and stamping to make my page more colorful.

As you can see, I have used the 'Pay Day' icon sticker for the first of the month when I supposedly get my salary :)...You can use this on any date on which your payday falls though. The blue 'To do' sticker along with the horizontal 'heart checklist' sticker  is to note down the tasks for the given day or even the tasks you have to do in the particular week.

There are small 'Happy birthday' banner stickers included in the icon sheets to help you highlight the birthdays you want to remember of your family or friends.

The Weekend highlighter sticker.

The shopping cart icon sticker.

This is the second week of Feburary page and I have highlighted the Valentines' day with a quote taken from our If Only collection.

I have used the transparent stickers on the dotted washi to highlight the important task I had to do before V-day.

The Instagram icon.

The dinner icon and the 'To buy' tab.

And lastly, the blog challenge page and I have embellished it with a few die cuts from our Infinity collection and Golden Garden collection.

Hope you find this info useful for using the stickers in the Retro Chic Planner. If you have any questions regarding any of the icons stickers, do let me know in the comments and I will get back to you ASAP.

Thank you so much for joining me today and have a nice day everyone :)

Mixed Media Canvas using If Only Pack

Hello friends,
This is Hussena here and today, I have a mixed media canvas to share using our latest valentine release the"If Only" collection. I totally love the beautiful papers in this collection which is such a perfect mix of unconventional valentine designs and colors.
So here's a look at what I have created :


And, here's few close-ups of the canvas :


The centre heart is created using small triangle pieces of paper from this collection. I have used five of the designs from this collection and have alternated it. The base of the heart is a thick watercolor paper which was die-cut using a heart die. The base of the canvas is layered with torn and distressed paper strips from the collection and I have gessoed over it. The small floral arrangement on the either side is from Papericious 'My Golden Garden' and 'Infinity' collection. These collections have the most prettiest florals in them ! 
And, ofcourse how can I forget the gorgeous butterflies which is again from the Infinity collection. The dark green leaves on the lower side are actually paper pieced from the 'If Only' pack since this collection also has gorgeous blooms in it.

Hope you like my canvas and are inspired to create something similar using our If only Paper pack. My team mates have been sharing some really fabulous inspiration using this pack. Hope you have checked out their work! :)

An Altered Tin Tutorial with Infinity! ^__^

Hello and Good Morning! ^__^

On this last day of 2015, I (Halak) am going to take you through a fun tutorial.

I altered a Tin Box!

Stuff I used for this apart from the tin box : Papericious Infinity Collection Papers, Die-Cuts and Flairs, plus some washi tape, sequins, a flair from an earlier Papericious release, a stencil with some ink + Papericious Blending Tool, a tiny green flower and some Die-Cuts from Papericious Often Collection.
(I kinda converted this altered tin into a photoframe of sorts for me so... yeah, that's my childhood photograph. Lol!)

Adhesives : Industrial strength tacky tape and PVA glue (Fevicol).
(Yes, you can also use Mod Podge, I just used these cos I am comfortable with them more than Mod Podge).

Let's get to the steps :

1. I took an old tin box that I had at home. (You can use any old metal box that you fancy.)

The reason I used a tin box is because they are easily available and it's metal.
Metals and magnets are a match made in crafty heaven! :D

So, here's the tin box, all shiny and clean.

2. See how the edges are rounded?

The next part is cutting up the paper to size for laying it inside. I also rounded the edges using a corner rounder (size : L) but if you don't have one, fret not, just cut it by hand. If it doesn't turn out okay, you can always cover it up with some embellishments!

Here is also a picture of the die-cuts that I worked with. (I figured one butterfly was looking too lonely all by itself, so later I fussy-cut another one from the GORGEOUS Infinity papers to give the first one some company! ^__^ )

3. After this I tore some pieces of paper from the Infinity stack to layer on my original piece.

Aren't these pretty! I absolutely LOVE that pink bloom!

4. Then I took a stencil and did a bit of stenciling on my original base using the Papericious Blending Tool. You can check it out in this cool close up.

5. Then I adhered the three hand-torn pieces (from another sheet out of Papericious Infinity Paper Pack) to my base (using Fevicol) and started working with the die-cuts and flairs, moving them about and deciding how I liked them best.

Note : I was pretty generous with the Fevicol, because I didn't want anything to come off, so the paper has warped a little, but fret not, once you glue it to the base, everything will be awesome and aligned.

I decided to adhere stuff to my base first and then adhere the base to the tin because, it was my first altered tin and I knew I would be highly uncomfortable gluing things down after the base is adhered to the tin.

So, once I was happy with how I wanted things, I adhered them to the base (using Fevicol) and then, adhered the base to my tin (using Fevicol + Industrial strength tacky tape).

Ah yes, the benefits of tin. I added a small magnet to my picture and boom. You have an altered tin / photoframe!! How cool is that!

So, that's about it dear friends, I hope you enjoyed reading this, see you next year and, I hope that 2016 brings you all a lot of happiness and joy!

Last but not the least, here's another close up!

Till next time dear friends! *Hugs*


Posted via Blogaway

A Mixed media 2016 Desktop Calendar with the 'Infinity' Collection

Hello Everyone!

It's Manu here and I'm super excited with Papericious this months launches!! Both the collections launched, 'OFTEN' and 'INFINITY' are something worth a buy! While OFTEN has more bold patterns and cool colors, the Infinity pack is a paradise for Vintage lovers!! It houses some very awesome and pretty vintage style papers and is gorgeous to look at (and I must add that It was sad putting these pretties under the scissors!!! )  and what more, they also have co-ordinating Diecuts pack and the quality and finishing of each die cut is pretty neat and is of awesome quality!

Like I said that it was quite hard to put the Infinity pack under the scissors, yet at the same time it had to be done coz I had a very vintage idea in my mind. There is no doubt that this pack is solely for vintag(y) projects, I had a desktop calendar in my mind.

Here' what I made!

I totally loved the idea of making this one and was relieved that it came out to the same as perceived !

I have a little tutorial for it as well, so sit back and see how this pretty one was done!

Cut out a panel from one of the papers from the Infinity pack. My panel measures about 5 inches*12 inches. I took another paper from the pack and cut out 2 thin strips with the MS Doily punch and then have these 2 strips on either side of the panel. Once this was done, I stuck out my panel to a black cardstock (I'll be putting this layout on the hard cardboard thing once I'm done making my desktop calendar)

Using the Modelling paste and one of the stencils, give a little texture to the panel. The textures brings out the dimensions in the end result and I love having a little texture on all my mixed media projects

I wanted to add on a little more dimension to my project, hence I took another pattern paper from the collection measuring about 5*4 inches and roughened the edges with the scissors. Once done, I tore the paper in half not bothering about where I was tearing the paper. Once this was done, I distressed the paper on the edges using the TH Distress inks and placed the paper on my layout! 
I wanted the papers to look torn and that I achieved while placing the flowers !


Once the placement of the torn out paper was done, to add more dimensions I placed the flowers and ferns in such a way that it appeared peeping out from beneath the layers. I had also placed some white lace beneath the layers to add more dimensions. Once I was happy with my flowers and ferns placement, it was time to make some pretty leaves!

The Leaves are stamped and fussy cut from the Heartfelt Creations stamp set and then distressed a little with the Mowed lawn distress ink. I also shaped these using the shaping tool to make then look real. Once happy, these leaves were added to the flower arrangement on the top 

I finished my layout using some of the die-cuts from the infinity collection and a cute button from the same collection!


A few closeup's of the calendar!

Closeup!

I simply loved the flower arrangement!


I hope you all liked the procedure and I'm sure that your next buy will include these gorgeous paper packs! The Design team have more inspiration for you using these two launches, so watch out more on this space!!

Do leave me a feedback!! Would love to hear from you!

Happy Crafting!
Manu