Showing posts with label Papericious Whimsical Pack. Show all posts

Whimsical Altered Embroidery Hoop

Namaste Friends!!

Kriti this side. Today I am here with a tutorial for an altered embroidery hoop. For today's project I have used Papericious Whimsical paper pack. Few other products that I have used are Papericious chippis, chalk paint, gesso, crackle paste and lace.

See what I have created...


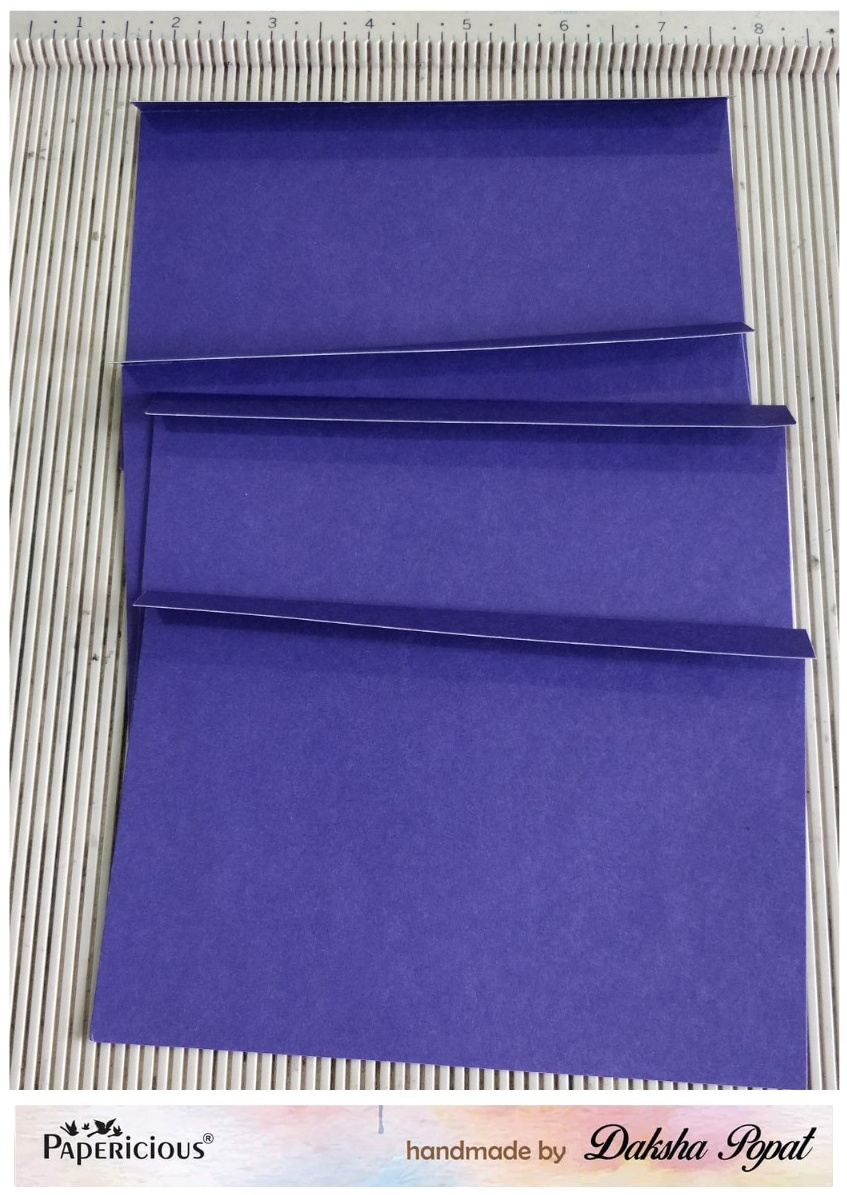
To make this, firstly I have adhered and tied the mandala chippie with the hoop. I have tied the chippie so that it will work as a supportive base for my embellishments.


Next covered it completely with the Papericious White Gesso


After that I have applied a very thin layer of Papericious Crackle Paste on the edges of the hoop.


Finally I have covered entire composition with  Papericious Chalk Paint.


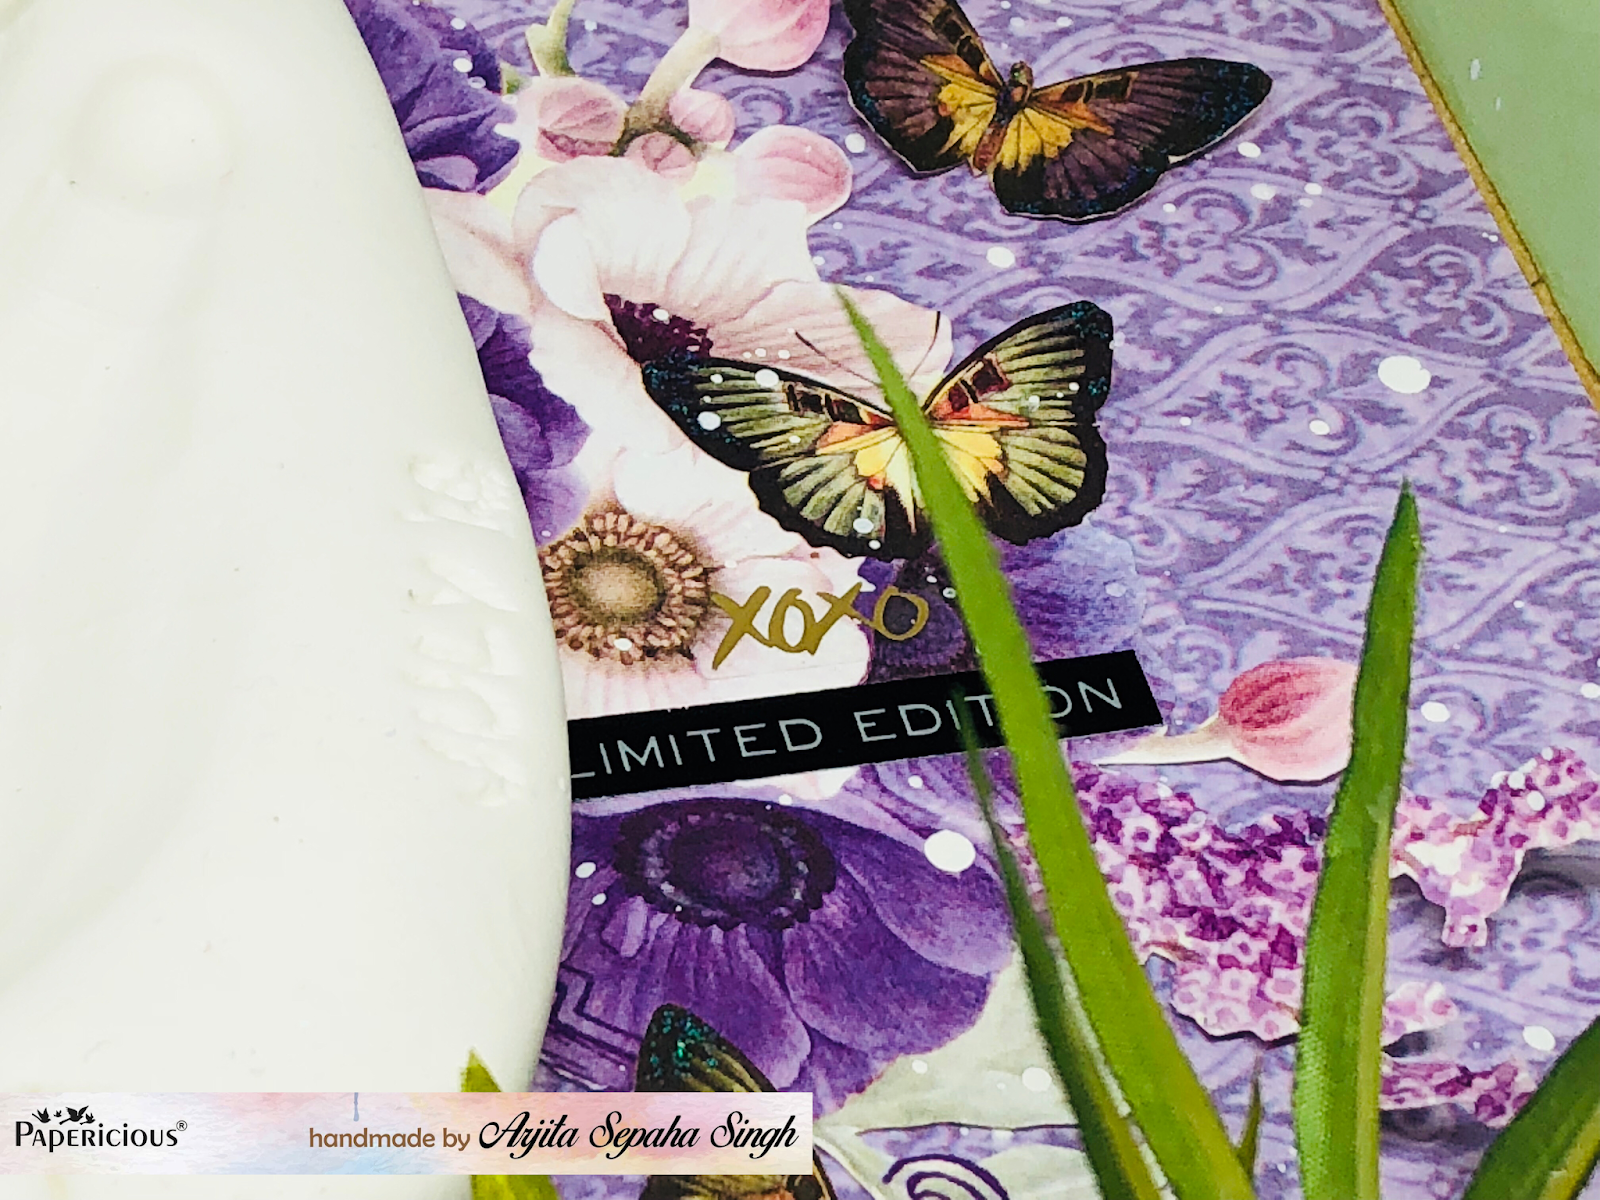
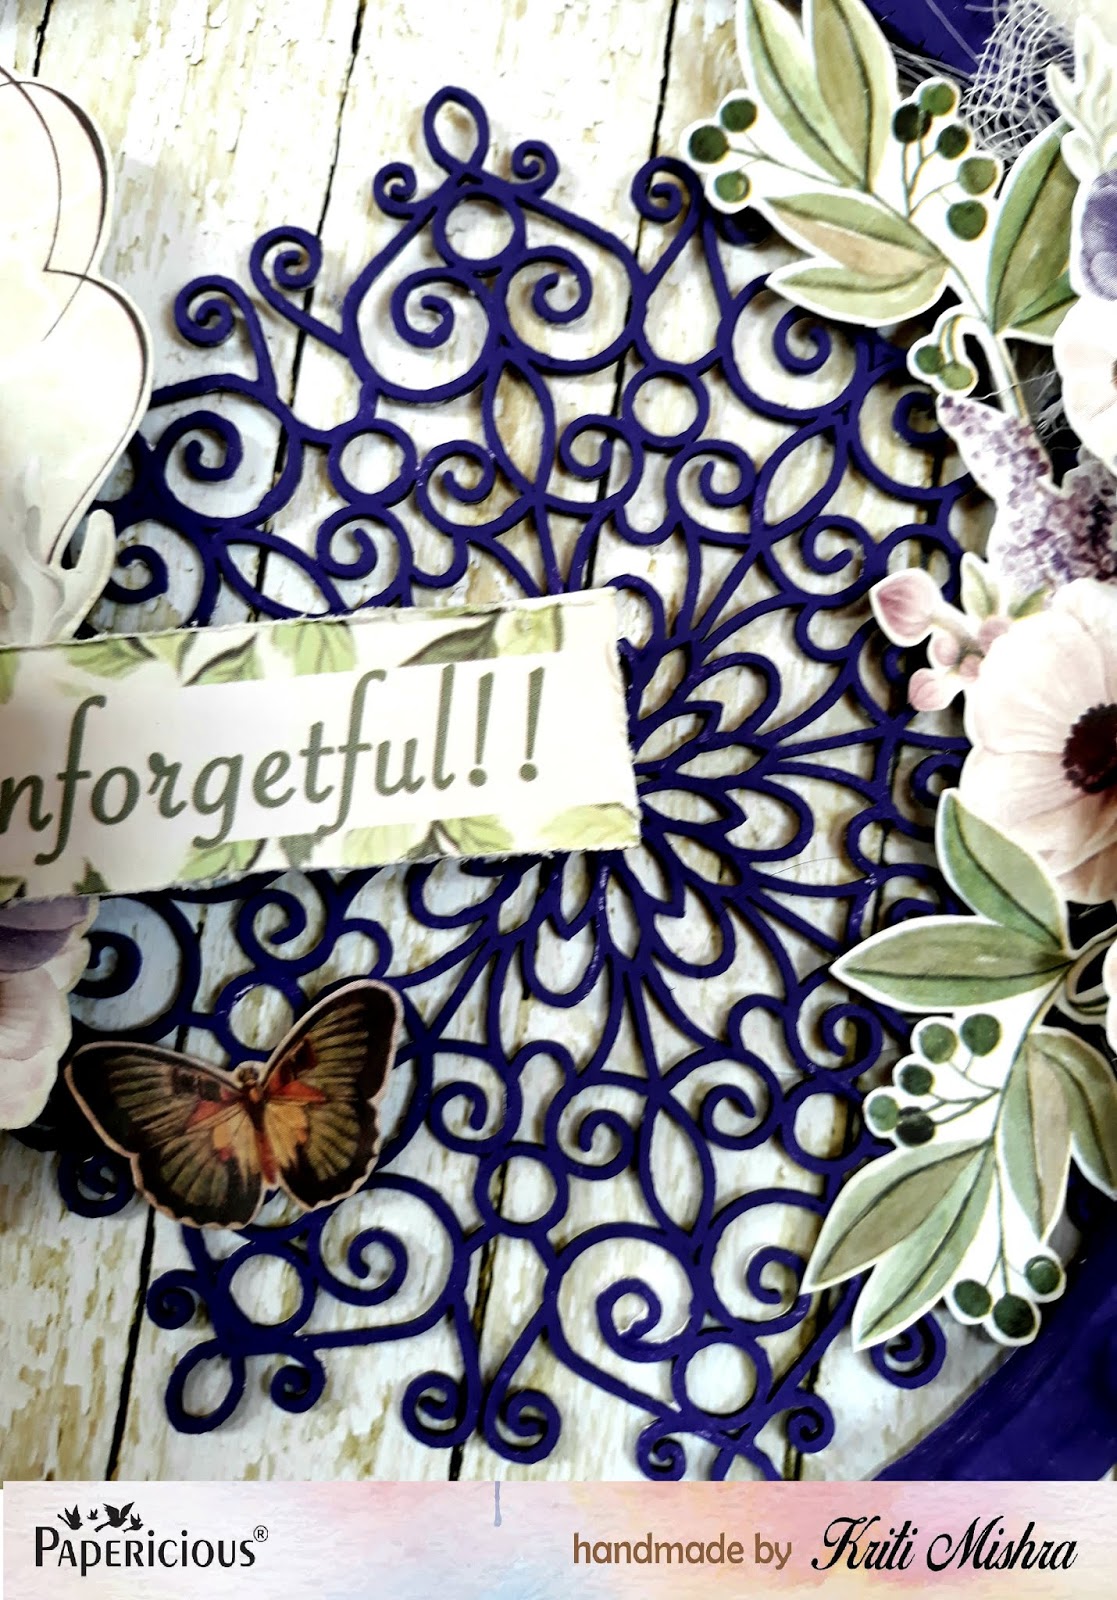
And after adhering all the die-cuts from the paper pack...this is the final output..


Some close-up pics


I hope you like the project and the tutorial. 

Hugs 
Kriti Mishra

Supplies used


Card cum mini waterfall album- with whimsical papers.

Hello crafty friends!
Today it's my turn to inspire you all with Papericious stuff..so let start..
It's a tutorial post today with Papericious whimsical papers,chippis and chalk paint. I have made simple gatefold card with waterfall mini album inside..which can be an ideal gift for your birthday's, Anniversary's   or  for coming Raksha Bandhan you can make a card in this style with photos of you and your brother inside..which  can be cherished  forever....


Now let's start with the pictorial with step by step instructions..

 Step -1: cut cardstock according to the given mesurements....
1 pcs CS - size 6.25"*8.75"
2 pcs CS- size- 3.25"*6.25"
4 pcs CS- size 6"*4.5"
1pc CS- 5.5"*5.5"

Step-2: now take 6.25"*8.75" cs and on 8.75" side score at 1",1.25" from both sides
Step-3: now take two pcs of CS 3.25"*6.25" and stick on both 1" sides and will get two gatefold flaps.( See picture)
Step-4:now take all 4 pcs of CS of 4.50"*6" and score at 1/2" on all 4.5" sides..and that's our  4 photo flaps for waterfall.

Step-5 : now stick these 4 flaps inside of our card in the middle part leaving 3/8" from top..one after another to form waterfall flaps...and on two side flap of our gatefold we can give pocket or belly band with tags..


 Step-6: now for closer if you want to use ribbon or magnet..then at this step you have to use that..here I have used ribbon for my card closer..


Step-7: then cover all insides n outsides with pattern papers 
Step-8: now take 5.5" x5.5" CS piece which is left from our cut out pieces and stick on the left side of our gatefold card over the ribbon part..and your card is ready..with  ribbon closure , two belly bands n tags inside on two sides and in middle we have waterfall flaps which can hold  9 photos of 4"*6".
Now you can decorate your card according to your requirement or choice.
Here I have done one birthday card..and second green card I wasn't sure so just used simple sentiment from that same paper pack..and later as per requirement I can add more sentiments.
Supplies used:
Mulberry flowers from my stash


 Colored this cute little angel using Papericious Chalk paint and Prime waxes. I have used this cute angle in my purple card.

Hope you are still with me.. thank you for stopping by..if you have any queries regarding this card please feel free to ask.. will definitely reply.
Love n hugs
Daksha


Baby Keepsake using Whimsical Paperpad

Hi friends, 
Welcome to the blog.Today I have used the Whimsical paper pad by Papericious to create this beautiful Shadow box.
Few days back I found a DIY kit to create a keepsake by taking the palm impressions of the baby. Its a non toxic, baby safe clay which needs to be baked in an oven.
I love the Papericious shadow boxes which can be altered in various styles. Today I kept it simple and easy. I used the Papericious decoupage glue to stick the papers on the shadow box and allowed it to dry. I fussy cut few flowers from one of the printed paper from the collection and arranged it at the base of the shadow box. 
Next I glued the baked clay piece on top of the flower cluster.I also added some butterflies from the same paper pad and scattered them all around.To add some more interest on this very simple Shadow box I added some White paint splatters and some silver sequins around it.
So this is the adorable project I did today using the whimsical paper pad and I am quite happy with final result.I will gift in this to my friend whose daughter has just turned one and she is an adorable kid.I hope my friend likes it and if you want to create a similar project visit www.papericious.com and you can get all the supplies there. 

Thank you so much for stopping by....
Hugs

Supplies

Whimsical Paper pad


Shadow Box
Decoupage Glue


Canvas Panels with Whimsical

Hello everyone,

Sunila & Aditi here with a pictorial on creating mixed media canvas panels using the Paperiicous Whimsical Collection and other products.

Here's a look at the panels:


Here's a step by step quick tutorial:

Step 1: Prime the canvas using Papericious Heavy White Gesso


Step 2: Add texture to the panels. Using a stencil apply Papericious White Crackle Paste.


Step 3: Add colour. Use Papericious Spritz Sprays and mist them with water to blend them. Leave a few white spaces.


Step 4: Paint chipboard elements with Papericious Chalk Paints.


Step 5: Fussy cut elements from the Papericious Whimsical Collection, and pick other embellishments- lace, chippies, etc.


Step 6: Layer and adhere the elements on to the canvas panels to complete them.


Supplies used:


Hope we've inspired you today! Happy Crafting!