Showing posts with label Pattern Paper Stack. Show all posts

A Layout using Often

Hello and Good Morning! ^__^

I'm Halak and I am pretty excited to showcase the super awesome Often Paper Pack by Papericious along with the Co-ordinating Die-cuts!

(I secretly think that they have named this often because they knew, that is paper pack is going to be used pretty often by crafters! LOL)

What's special about this collection you ask?
Everything!
The colors are super bright, fresh and fun! Suitable for a variety of occasions, this collection is a MUST BUY of 2015!

I made a layout using this! My first ever layout too!

Check out some cool close-ups!

I have cut these medallions from one of the sheets of Often paper pack.
Ofcourse I had to jazz them up using some glitter and that's exactly what I did!

Look at the die-cuts! They are just as beautiful and vibrant as the paper pack and oh the quality!

I was amazed at the quality of these die-cuts, trust me, they are way better than many international counterparts and go beautifully with the Often paper pack.

All the die-cuts used on here (including that lovely bloom) are from Papericious.

If you notice the blue metallic foil finish stars on the layout, there is a funny story about it... I noticed that one of the designs from the Often collection features a beautiful navy blue background with white stars, and when I saw it, I began hunting for my blue metallic decorations to pair with it, only to realize after an hour that the embellishment jar was under my phone! LOL!

So that's about it dear friends, do let me know what you think! I love hearing from you.

(P.S. Incase you were wondering, who's in the picture, well they are two of my most favorite people in the world! Mum and sibling!)

Till next time! *Hugs*


Posted via Blogaway

Gift Box and Envelopes!

Hello, crafty friends!
 This is Hussena here to share with you some inspiration using the Papericious Vintage Rosewood Stack and the Papericious Dusk and Dawn Collection. These are our earlier releases and have some of the most beautiful papers in the collections. When I saw the Vintage Rosewood papers, it was love at first sight. It has the most gorgeous woodgrain background along with vintage flowers. I had so much fun creating with these papers.

Without further ado, here's a look at what I have created. First up, is a top note box perfect for gifting those small trinkets/chocolates to your family and friends, all elegantly packaged. 

Next up are envelopes with a bordered band perfect for gifting on any occasion, the top envelope is made from the Vintage Rose Wood collection and I have used handmade flowers and die cuts on it to give it a rich elegant look and the bottom purple envelope is from the Dusk and Dawn collection ...I have done a bit of stenciling on it using Wendy Vecchi embossing paste mixed with Ripe Persimmon Distress ink to create a beautiful background.The envelopes are further embellished with handmade flowers and foliage.


And here's a look at the trio of the gift box and envelopes I have made using the two paper collection.Aren't they so pretty :) Do let me know how you liked my gifting ideas's by leaving me your comments/suggestions..Looking forward to your reviews on it !!
Have a nice day everyone. :)


Embellishments with Vintage Rosewood!

I (yes it's me again, Halak) was super thrilled when given the opportunity to work with the Vintage Rosewood paper stack.

Had been staring at the papers for an entire week, (my parents thought I'd gone nuts) not because I didn't know what to do with them, but simply because all the designs are oh-so-gorgeous... inlaid with a whole lot of roses and woodgrain texture print, so how best to capture that?

I'm sure you must have seen the stunning scrapbooks and album projects that my fellow Papericious DT members made.

So, I went ahead and created something that would perfectly compliment scrapbooks, albums and cards!

Yeah... I made embellishments!
Using the gorgeously classy paper sheets from Vintage Rosewood paper stack with some stamps, ink, glitter, beads, rhinestones, ribbon, washi tape, stencils etc. I made an assortment of embellishments that would go with a whole bunch of varied projects! (I even fussy cut! Gasp! Yes, it's true!)

Let me tell you, Papericious paper takes ink really well. I have directly stamped onto the paper for my project. It is also great for stenciling and ink blending! I even went ahead and directly colored a stamped image using Sakura Pens. (Yeah... how cool is that!) ^__^

Here are some fun close-ups, check these out!  

I made tag, decorated quotes and messages, a paper tile! (The one in the shape of a flower, using Papericious paper, some pearls and glossy accents), a fussy cut bead decorated feather and added a bit of color to a stamped image!

Really guys, the options are endless! I just made simple shapes for the benefit of those who don't have any crazy fancy tools, but image the quantity you can make when you combine these ideas with die-cut shapes! Or just directly die-cut these!

Go ahead, make custom embellishments for your scrapbooks from the same paper out of which you create the scrapbooks. No other embellishment will co-ordinate like it and you definitely will have a whole lotta fun in the process! ^__^

I hope you enjoyed looking at these and it inspired to make something new today!

Till next time! *Hugs*


Posted via Blogaway

Dusk N Dawn, Let's Celebrate with Papericious! ^__^

Hello! Once again it's me Halak and today is about the GORGEOUS Dusk N Dawn paper stack by Papericious.

As you can see, I have made some pretty paper bows and rosettes.

The tutorial is focussed on the paper bows, simply because they are made minus the hassle and the stress of measuring, looping and gluing (well almost!).

Yup, absolutely no need to stress over a glue gun and burn your fingers or go crazy trying to figure out math and measurements!

A cool little bonus tip involving the rosettes is featuring towards the end.

Here we go :

Paper Bows, the Halak way, in 6 easy steps.... (did I mention it's a picture tutorial? Yup... ^__^)

1. First things first, what all will you need?
Paper Bows look pretty because of their shape and so you should never opt for thin paper which can bend them or lead to losing their shape.
Papericious papers are of great quality and quite sturdy. They beautifully hold up shapes and are quite suitable for other 3D projects too!

So, you need 1.5 cm paper strips, a stapler, a small square of paper with tacky tape stuck on it and some glue. (I used the generic Fevicol, a basic pva glue available in India, but you can go crazy and use whichever brand glue suits your fancy!)

Here are my paper strips and tiny tacky tape coated square. (Adhesive backing is not yet peeled off.)

Oh, which paper sheets am I working with from Dawn N Dusk, you ask? These.

2. Okay, so after this here's what we'll do. Take an end of the  strip and make a tiny loop and staple it to secure. Once it's done, trim it and repeat process. Have a look at this pic.

To make a medium sized paper bow, you need 15 such loops... 6 each for two layers and 3 for the final layer.

I made three layered bows but hey,  once again, you can always make more loops and create a bigger bow or instead of 1.5 cm go for 2 cm or 2.5 cm and create a thicker loop.

Tip : When you are done making the 12 loops and securing them with a staple pin, make the last 3 and secure those with pva glue.
Why? Cos, well the last three are in the final layer and I don't want staple pins to be seen!

Here are the 15 loops. (Note that 3 are glued whereas the rest are stapled.)

3. Now, trim the base of the loop a bit.
Why do we do this? Simply because it makes layering them super easy for the bow.
You wanna see a pic? Here you go.

4. After this it's easy. You remember that square? Yes, you remove the backing off that tacky tape and start layering the loops on top of it.

Tip : Remember how we secured loops with staple pins? This method not only saves time but also that makes it easy to position the loops on tacky tape without excessive clinging of adhesive to the paper loop!

So, now our bow looks like this...

5. Now you gotta build the second layer, but you don't need a separate adhesive square. Just cut a piece of tacky tape and add it on the first layer to build the next layer.

6. Last step! Yup, now all you gotta do is add a tiny piece of tacky tape or just squeeze some glue into that tiny space and fit the final 3 loops in there. That's it!

What did I do with the bows I made? ^__^ Packed up a gift for a friend... many more to go, Christmas is coming!!

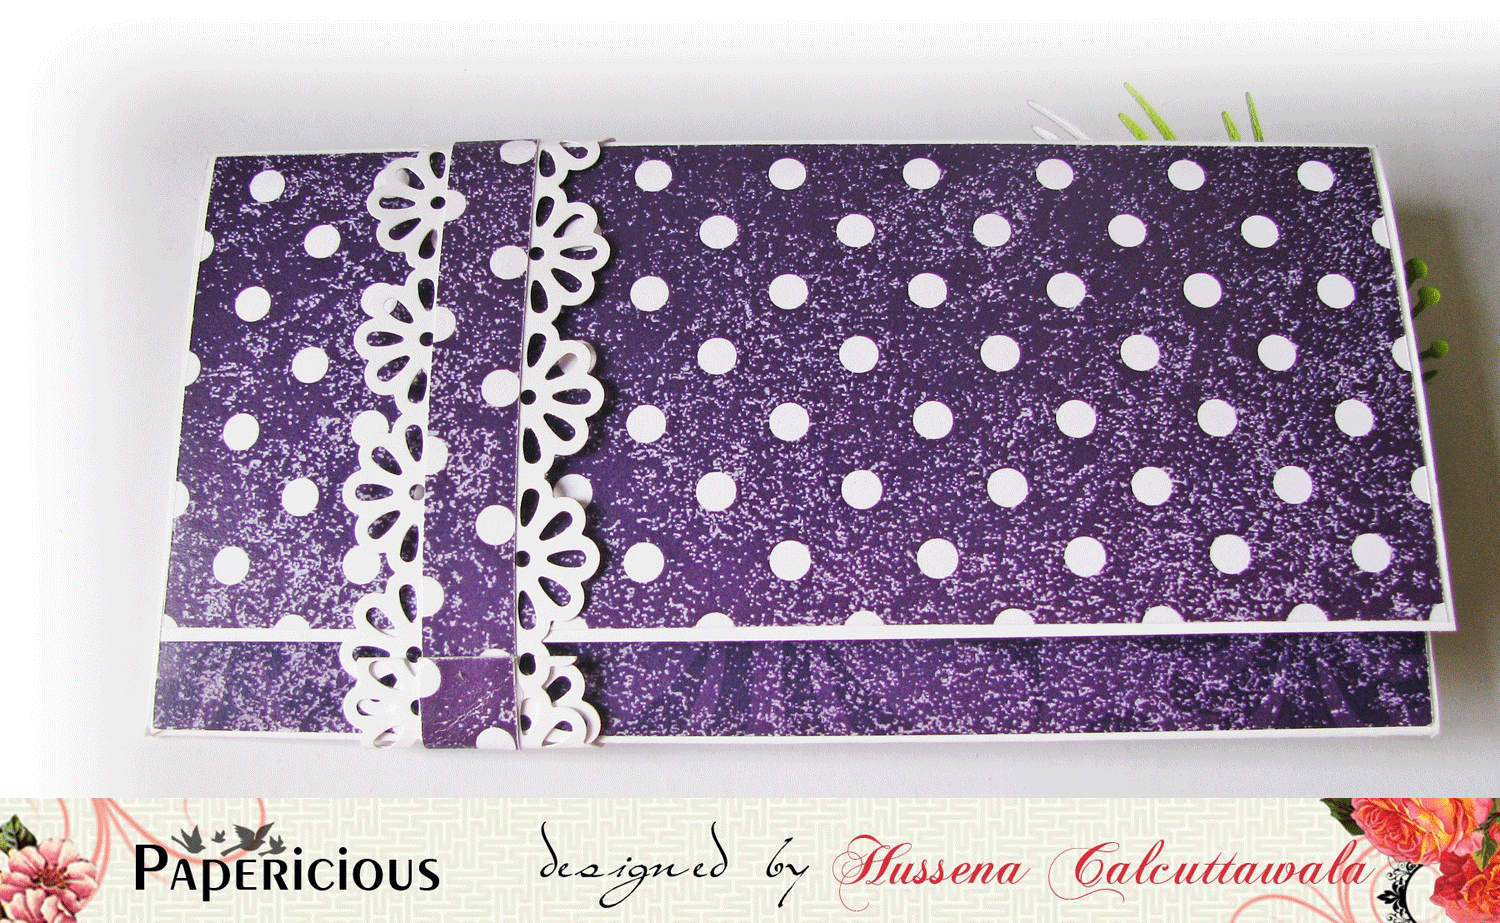
Ta-dah! What's inside? A book. Which book? Shhh... it's a surprise!

I know I promised a cool tip for paper rosettes too and here it is....

Most people use glue gun to seal their paper rosettes but if you don't have one or are scared of burning away your fingers like me, check this out.

(Also, if you don't have a scoring board, fret not, secure your paper with a tissue tape to the cutting mat, take your metal ruler with a butter knife and score away....)

Yeah... not only did I score the lines with a butter knife, I also punched a pretty edge using a paper punch.

Tip : The greater the scoring distance, the more is the thickness of the rosette.
So let's say you want to make one for a card, then the ideal scoring distance would be to score at an interval of 0.5 or 1cm whereas if you are opting for a wall decor rosette piece which is huge, a scoring distance interval of 1" (one inch) would be perfect!

After this, use the trick that we used while making bows... take a square, stick tacky tape onto it and remove backing. Then, form a rosette and then instead of sealing it with hot glue, just position it on top of that tacky tape square and press it down firmly. Done!

Quick and easy decorations using Papericious papers from Dawn N Dusk!

I also did a couple from the Papericious paper stack Let's Celebrate which is just so perfect for Christmas gifts and decorations! (Oh yeah, decorate the Christmas Tree with these beauties!!)

This festive season, give the store bought stuff a miss and make some handmade happiness!

Till next time dear friends! *Hugs*


Posted via Blogaway