Door Hangers with Papericious Adhesive Buttons!

1:49 pm Unknown 4 Comments


Hello! ^__^

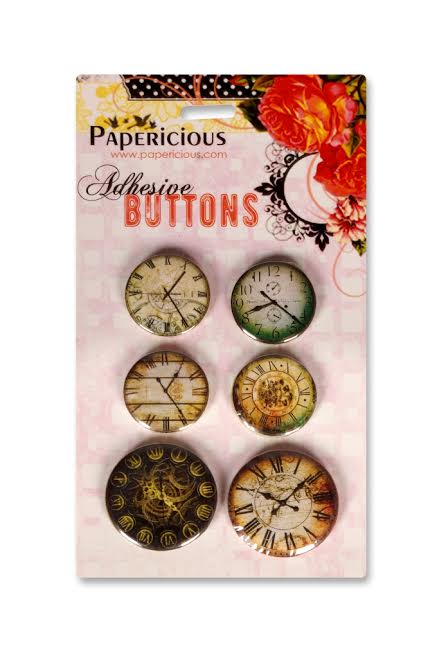
I'm Halak and today I bring to you something that is super fun to make using the AMAZING new release at Papericious, the Adhesive Buttons!

I made.... Door Hangers!

It's my very first time and I was a tad nervous but boy.. I sure am glad to see the way they turned out!

Let's call the orange and black door hanger on the left, DH (Door Hanger) #1 and the one on the right, DH #2.

Here's how I made them :

DH #1

1. I took a sheet of paper from the lovely - Orange Fall paper stack by Papericious and covered my wood base.

2. After that, I decided I wanted to go with the black Adhesive Buttons, so I picked the Be You button pack to work with.

3. Once I decided where to place them, I put them aside and began stenciling to create the background I thought of with a couple of stencils.

Tip : For a texturized look, always opt for more than one stencil.

4. Then, I placed the buttons back on, this time after removing the protective backing and stuck them firmly to the project along with some butterflies and black sequins!

5. I also dug up some black and white stickers from my stash [the word Hope and the tiny design on the black circle are stickers] and added them to DH #1. (Have I told you I absolutely LOVE collecting stickers?)

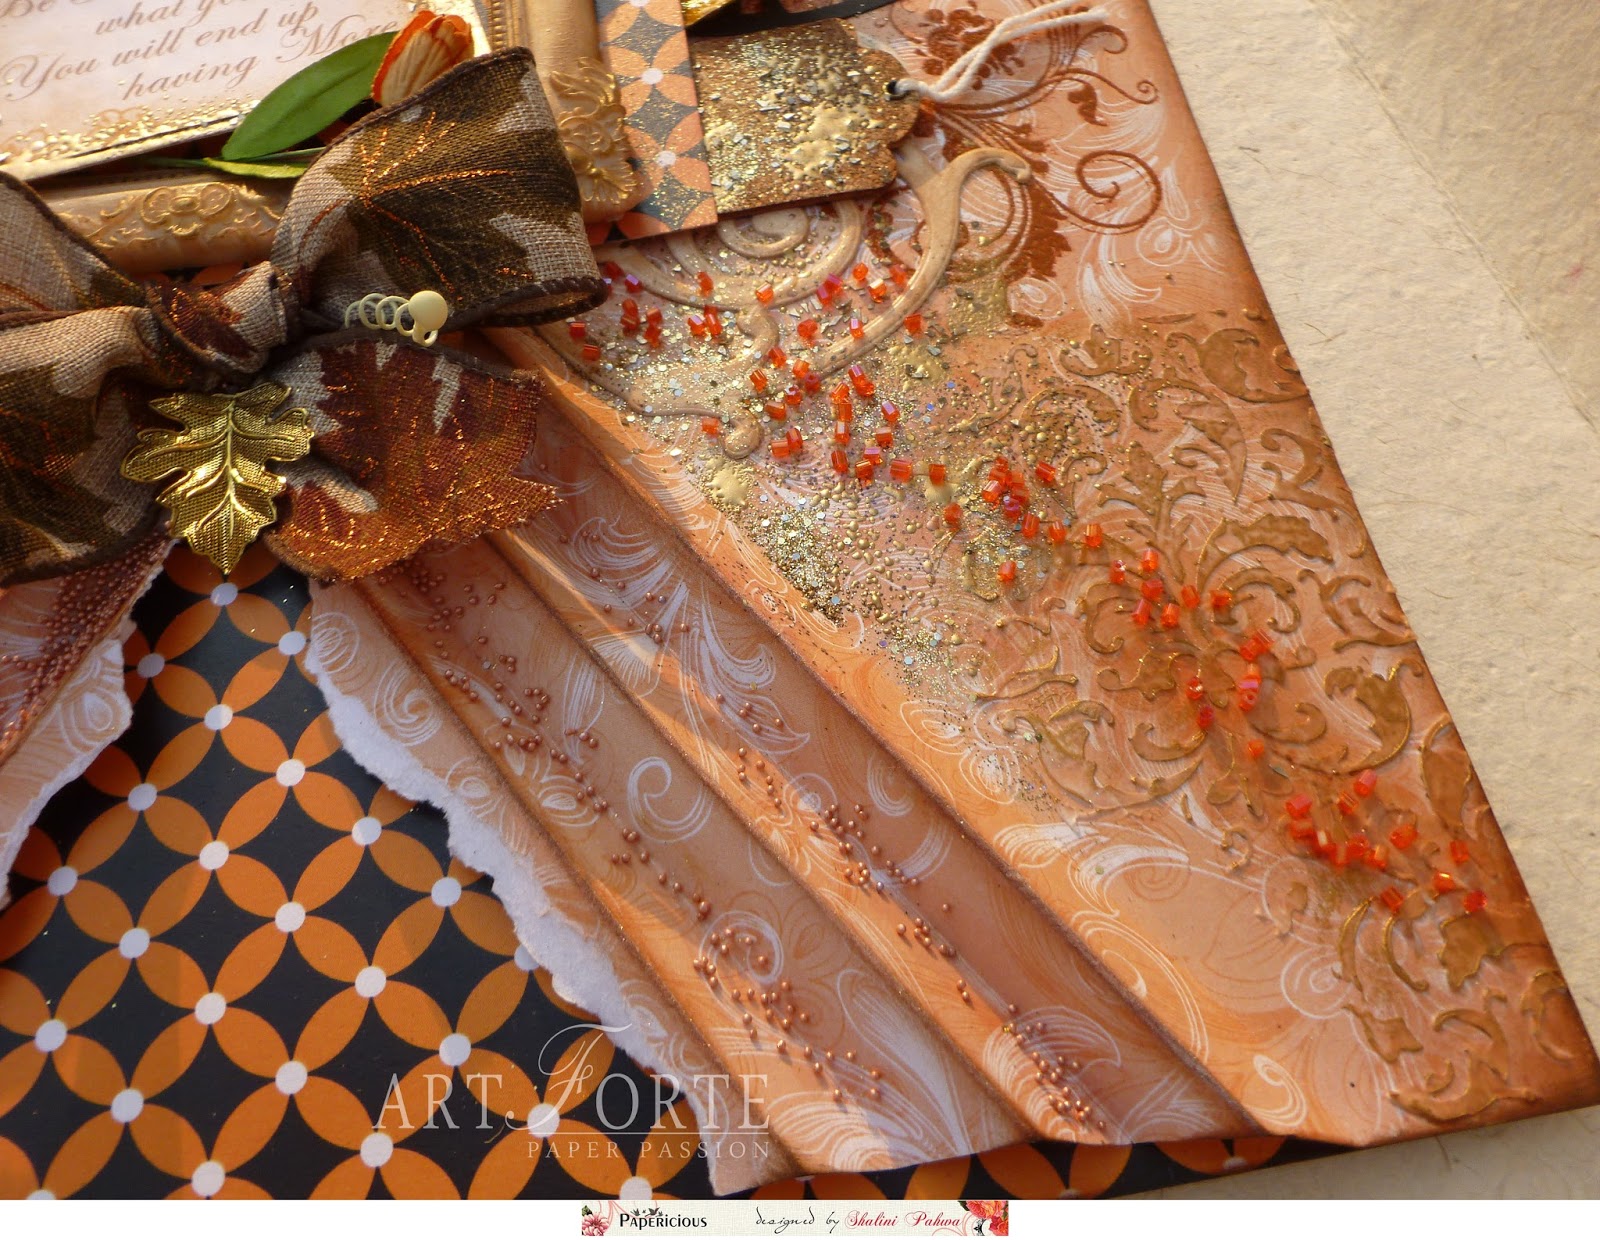
That's it! Super easy! Check this cool close up pic out!

Now onto DH #2

This is how I did it :

1. The background for this is a lovely sheet from my favorite paper stack... yup, The Vintage Attire by Papericious.

I wanted to make this one for my sibling and she LOVES all things PARIS!
When I think of Paris, don't know why... Vintage Chic is what comes to my mind so that is what I decided to go with.
The Adhesive Buttons are from the Paris button pack.

2. When I looked closely at the buttons, I absolutely loved how the Eiffel Tower images on the buttons had pretty flowers so I inked up some flower stamps in red and added them randomly to the project.

Did you know, Papericious papers are archival safe, acid and lignin free and are FANTASTIC for stamping on and even color blending! ^__^

3. Once the flowers were stamped, I stamped a nice sentiment cos well... let's face it, all siblings are pretty awesome! (No matter how much we fight with them most of the times! LOL)

4. Again, just like how I did it for DH #1, similarly, I took a couple of stencils with my Papericious Blending Tool (Circle) and began stenciling to my heart's content.

5. I cut up some leaves from My Golden Garden embellishment sheet and stuck them to the project followed by the buttons. I also scattered a couple of tiny black leaves in the background.

6. Lastly, punched out a few green butterflies, glued them to the project and gave them a matching rhinestone center.

And it's done! Here's another close up.

I had so much fun working with these buttons.... and my sibling was absolutely stoked with the fact that I made one for her in her favorite theme.

She was seen showing it off around the house. Here's her door....

Till next time dear friends! ^__^ Have a lovely day! *HUGS*


Posted via Blogaway

4 comments:

Gift boxes

2:04 pm Nikkita 4 Comments

Hello Crafty peeps
Papericious is back with  new festive collection of pattern papers "LET'S CELEBRATE" perfect for making gift boxes and bags specially keeping in mind the upcoming festivals , these come in shades of red and green.
I have made few gift boxes perfect for gifting chocolates and sweets .


Papericious papers are acid free and are available in various sizes you can select as per your convenience.
I loved making these cute gift boxes you can make paper bags as well.

Do leave some love

Happy Crafting 
Love

4 comments:

Introducing- Papericious Adhesive Buttons

11:00 am Hussena 12 Comments

Hello, everyone!
This is Hussena here and I'm very excited to introduce the new Adhesive Buttons from Papericious. These buttons/flairs have adhesive foam behind and come in TWO sizes of 1 inch and 1.5 inch. They have a very well finished plastic coating on the top and add such beautiful dimension to your projects.

So, here's a look at the gorgeous buttons being released. :)


Here's a look at two of the designs that I got to work with. 
You might have seen these designs before, as they were introduced in our Circular Collage Sheets which come with Adhesive backed Dome Stickers. These buttons differ from those Collage epoxy stickers in the sense that this has more dimension compared to them and when I tried using both on my projects, I definitely felt that these flairs/buttons gave more dimensional look and ofcourse, the designs are gorgeous!!

So, here's a look at what I created using these buttons. I have two projects to share today. The first one is an altered hoop and the second one is a Mixed media tag!
For this hoop, I have used the Pattern Papers from the Papericious Grey Bloom collection and the Wooden Collection. The pink flowers and the leaves are fussy cut from the Grey Bloom collection paper and mounted on square foams for dimension. As you can see, I have used these buttons for the centre of my bow as well as a part of my sentiment.  These make very pretty centres and look great on cards, layouts and mixed media projects!


Here are few of the close ups!


Moving on to my Mixed Media tag :

 I first created a burlap flower using the Tim Holtz Tattered florals die and layered it with some tulle and fabric cotton laces and finished it off with our Adhesive button. Isn't it gorgeous??
I have created the background of the the tag using embossing paste and a stencil with Distress Stain Sprays.


  Hope I was able to inspire you a little on the different ways you can use our Adhesive Buttons. For more ideas on how to use these buttons, I would urge you to check out our design team samples coming up soon.

Thank you for your time and have a nice day everyone! Please do not forget to leave your comments/suggestions. I love to get feedback from you :)

12 comments:

Thanksgiving Day-Papericious Orange Fall

9:38 am Artforte 5 Comments

Hi Friends

Its time of the year where you meet all your relatives, friends and well wishers and exchange gifts. Be it Diwali in India or Thanksgiving in the US, the season of exchanging gifts and saying thanks to all your loved ones for being in your life, is here.

Inspired by this lovely custom and  the New Pattern Paper-“Orange Fall” by Papericious, I am presenting here a Mixed Media layout for such an occasion. Made from acid free paper and using the paper stack “Orange Fall ” by Papericious, this layout also uses various innovative techniques of paper crafting like torn-effect, swirl die cuts, stamping with heat embossing, modeling paste with inka gold and distress inks, leaf stamping with distress ink and glossy accents and diamond dust and encrusted heat embossing, fall ribbon, tags.


These techniques and the lovely pattern paper have combined to give a unique pristine look to this layout – which can be a perfect gift to anyone to say thanks for being in our life .


I hope you all will like my work and would love to hear some comments

Have A Nice Day!!!

Love and Regards
Shalini Pahwa


5 comments:

Paper bags with Papericious - Orange Fall, Happy Halloween!

10:21 am Unknown 8 Comments

Hello & Good Morning!

I'm Halak and I'll be taking you through a really cool tutorial today.

How to make paper bags without any fancy tools and equipments!

I have used the AWESOME sheets from Papericious - Orange Fall paper stack.

It's Halloween time folks, and even though it is not exactly celebrated in India, I thought it'd be fun to make small paper bags and fill them with treats, Halloween style!

Let's get cracking then!

These are the beautiful 12" by 12" sheets from Orange Fall paper stack that I used. (Soooo pretty....)

I'll explain the process by showing you what I did with one sheet of paper. I made all the bags in this exact same way.

So, I took one sheet and turned it over and drew a line at 14.5 cms.
(If you get confused, see the cutting mat, each square of the cutting mat equals 1 centimeter.)

I haven't cut the sheet yet, the photo is cropped to show you the line that has been drawn a tad better.

After this, I scored the line using a scoring tool and folded the sheet.

Then I measured 1 centimeter (cm) from the right hand side edge and scored that too.

You can see the 1 cm scored edge in the picture below.

After that I applied glue on the edge and pasted it.

At this stage, this is what my project looks like :

After this, I scored 2 cm on the right and the left hand side of the project.

Here's the picture :

The key to getting a perfect bag is to score correctly.

After scoring, remember we had a 1 cm edge on the right hand side that we glued down?

Well we do the same and create a 1 cm edge at the bottom of the bag, because without it, the stuff we put in the bag will fall right out!

So I created a 1 cm edge at the bottom which looks like this :

After this I applied some glue on this edge and sealed it up too, just like how I did the first edge.

Then, just like how I scored the right and left hand side, I scored the top and bottom of the bag using the same measurement of 2 cm.

After scoring, it's time to shape the bag.

Have you noticed in paper bags how the edges of the bag's base are neatly foldable making the paper bags easily stackable?

We have to do the exact same thing and that will lead us to this :

They kinda look like kitten ears, don't they? Lol... Stay with me guys, we're almost there!

Glue down those triangles (kitten ears) and fold the scoring that we did on the top of the bag and push it inside the bag.

If you want, you can make a bag without scoring at the top, just score on right hand side, the left and bottom.

The reason why I  scored at the top is to give the bag a uniform neat look. (Yeah, I'm kinda weird that way!)

Ta Dah! Check these out! (You can see here the scoring on top that I pushed inside the bag for that neater look!)

Once the bags were ready I punched holes in the bags and set black and white eyelets.

It's time to decorate!!! ^__^

Yup, I did a Halloween themed look complete with ghosts, skeletons, sticker sentiments and a whole lotta sequins!

You can use strings to make your bag a cool little carry bag or you can affix a ribbon through the holes and tie them up into a neat little bow to make it a cute treat bag!

You can make bigger bags using two sheets of Papericious 12" by 12" instead of using a single sheet per bag like I did.

I had a blast making these bags which I filled with candy (and also ate a whole lot of candy in the process!) ^__^

Till next time folks! Have a lovely day!


Posted via Blogaway

8 comments: