Showing posts with label #shadow box. Show all posts

"Dino Party" Shadow box ft. Hatchlings

Hello friends
Hope you are enjoying this festive season. Nandini here, back with a delightful inspiration designed with the newly released paper pack collection from Papericious.
Here I have designed a lovely shadow box with the paper pack "Hatchlings". This paperpack is perfect for making craft projects related to kids theme. 
Some more images:


Supplies Used
3-Chippies Decorative Corners
Hope you all liked the project.
Love
Nandini Ramchandani


Together Forever Featuring Papericious Rosabelle Designer Paper

Hello friends!
Seasons Greetings!
This is Parita Galani, here today to share inspiration project using Papericious Rosabella designer patterned  paper. 
I have made a small shadow box frame and a pretty card. I am absolutely loving how it has turned out that's the beauty of the paper.
So lets have a look at my project:
Supplies used:
I hope you like my inspiration and will create very fun projects of your own.
Best regards,
Parita K Galani


3D Shadow Box Frame w/ Envelope


Hello Papericious fans!
Priya here again. Today I'm going to be showing you how to make your own custom Shadow Box Frame with an Envelope.

Here is step by step tutorial:

To create a Shadow Box, you need a sheet of Cardstock or Pattern Paper  measuring 12'' X 10'' and you have to score all the 4 sides each times at 1/2 inch.
Make extra 1/2 inch on short side of paper but only to the second scoreline. Now you have to trim all the marked areas off. And after that you fold all the score-lines and use glue or red tape to stick them and your shadow box is ready!

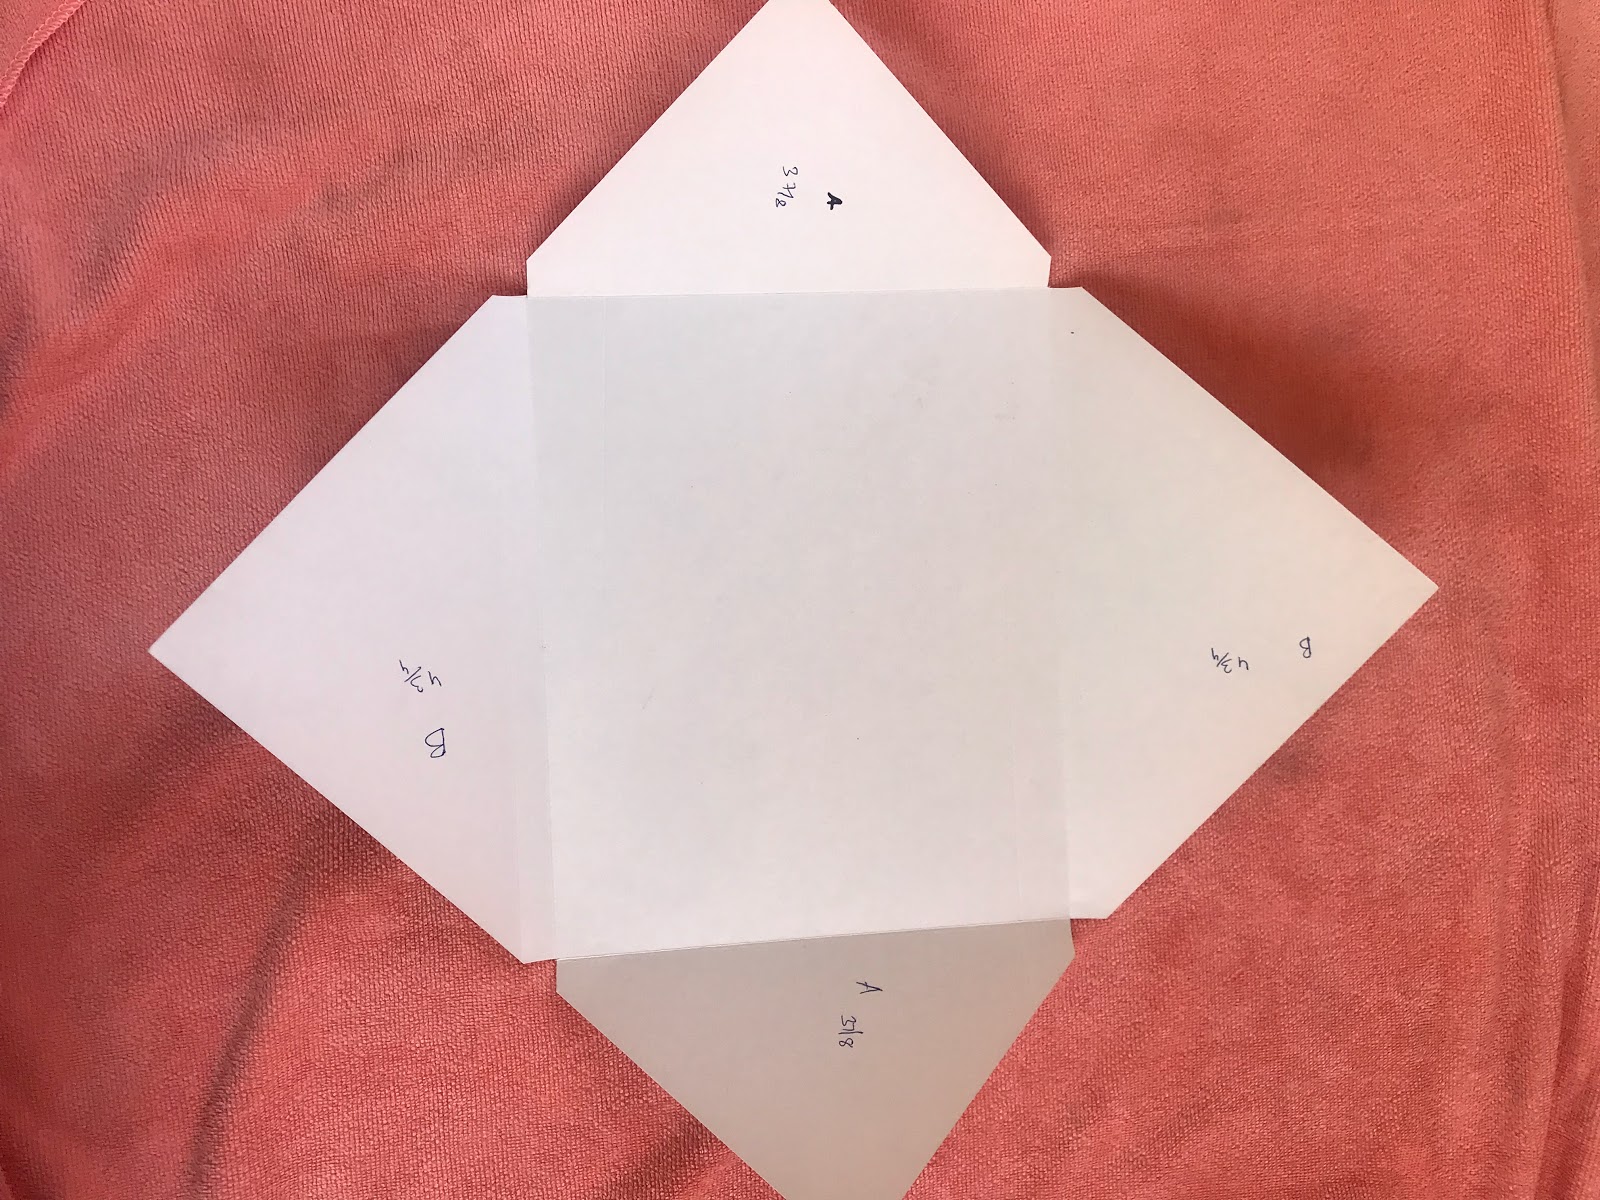
Now on to the envelope:

You need a sheet of Pattern Paper measuring 12'' X 12'' and score the A side at 3 7/8'' and B side at 4 3/4''. Glue the 3 sides and your envelope base is ready!

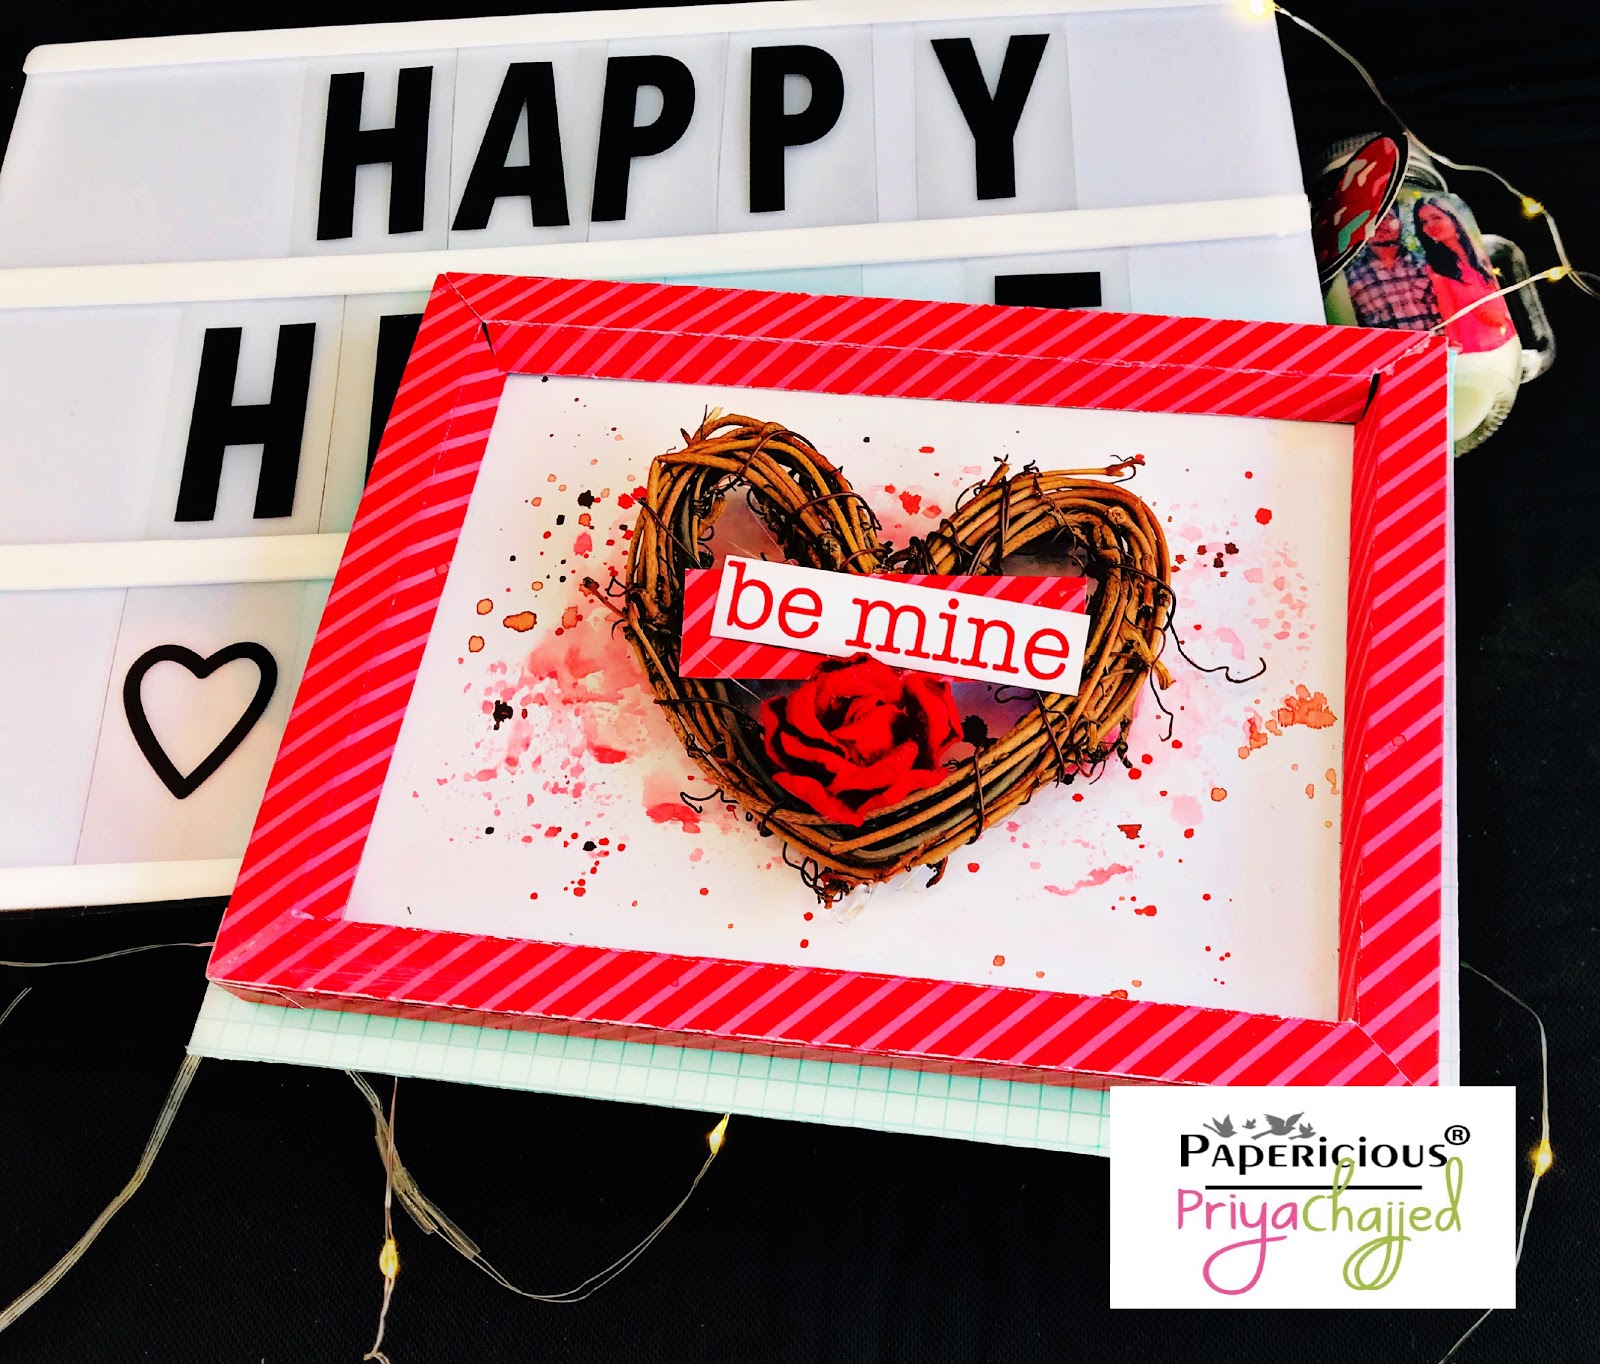
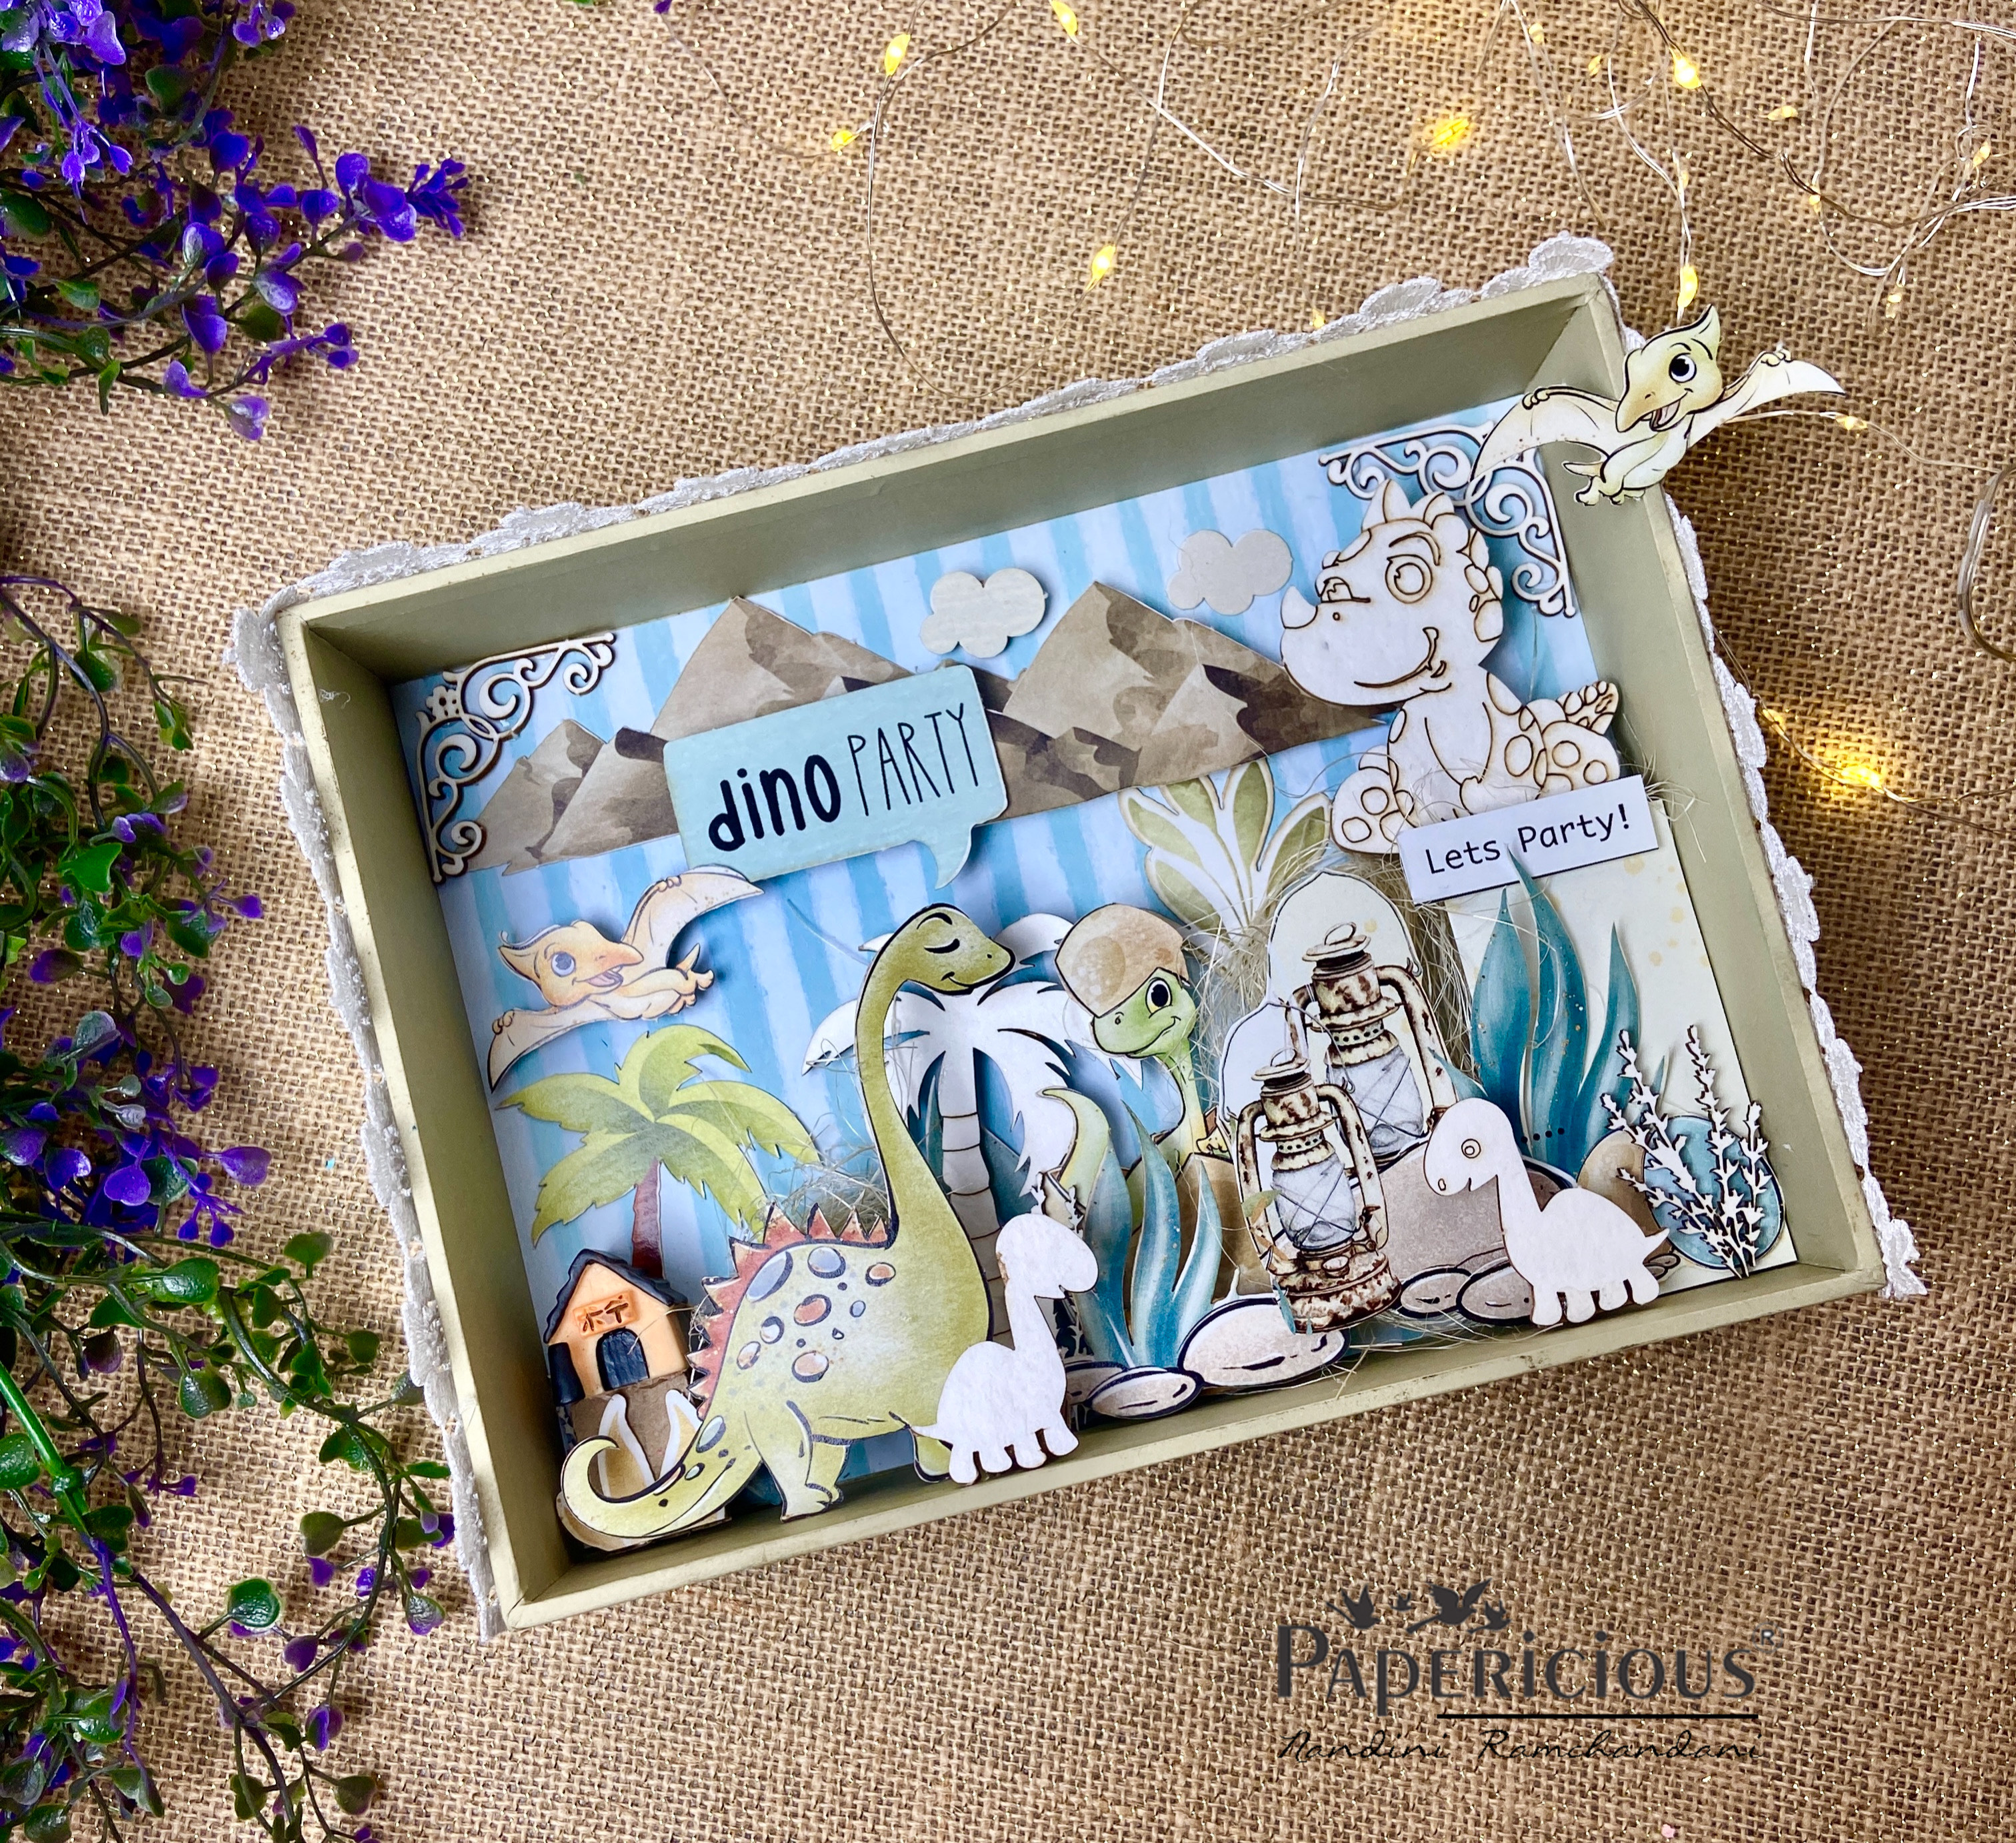
Now you can can decorate them as you wish!!
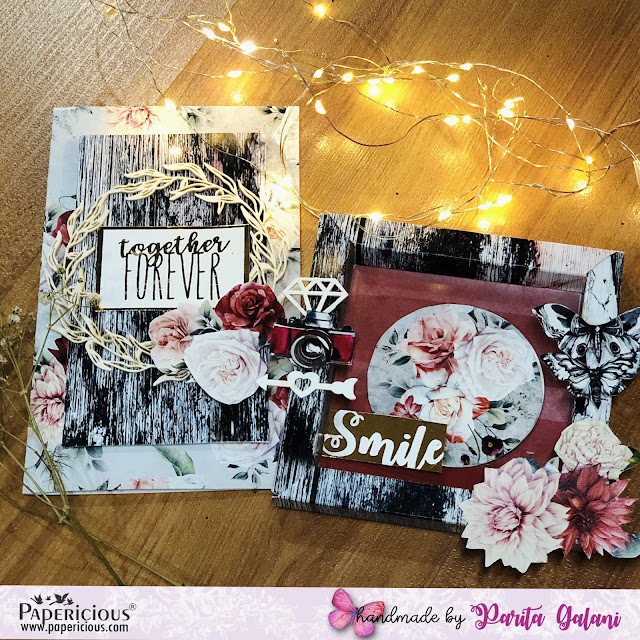
For my project I have used amazing paper collection by Papericious "I LOVE YOU''

And they are just perfect for any love project!
Here is glimpse of my project:


That's all from me today!
I hope you all are inspired to make your own shadow box envelopes!
If you have any query, please get in touch in comments below. I'd love to hear from you.
Love

List of Supplies:

Elegant Shadow box with an Initial

Hi Creative people,

Today I will be featuring the gorgeous Guilded Onyx Pattern paper and the Shadow boxes by Papericious. I love these paper so much and did not have the heart to chop them ;) I used two square shadow boxes for my project today. They come in 10x10 and 8x8 inches.This is one one the quickest and easiest projects to do with minimum supplies.


Step 1: I painted the 8x8 inch square shadow box with white chalk paint and allowed it to dry. I did not paint the bigger one and left it like that only.

8x8 inch Shadow box
Step 2: For the bigger shadow box I adhered the white and golden paper using 3M tape on the back side of the shadow box. I just had to trim it a bit and used a paper cutter for that.


 Step 3: Then I sticked the smaller Shadow box with the right side up and this is how it looks. I used a strong liquid glue and allowed it to dry properly.


Step 4: Next I used the black and gold script paper from the collection and cut it to fit the small SB.


Step 5: I printed a alphabet A with my printer and cut it out on a golden glitter paper. Added foam tape on the back and placed it inside the box.


To finish the box I added few golden pearls and butterflies. This piece of decor is going to be placed in my daughter's room and her name starts with letter A. 
I want her to have few qualities and she should always remember to be 
- Appreciative
-Agile
-Adventurous 
and 
-Affectionate.

 These are the pictures of the project and I hope you liked it.


take care
hugs

SUPPLIES
Papericous Shadow box - 8x8 and 10x10
Guilded Onyx Paper pad
White Chalk Paint

Double sided tape
Foam tape
Paper trimmer
Paper cutter
Liquid Glue
Golden Glitter paper
Golden pearls
Metal butterflies


Shadow Box Frame Panel

Hello Lovely People there!!!!!
This is Pavitra this side, hope you all are doing well .For today i have a lovely shadow box frame panel to share with you guys .Its a huge project which i created using the Papericious Shadow Boxes and Glided Onyx Pattern Paper.
Have a look!!!!
For creating this panel i glued three shadow boxes together  , gave them a coat of Chalk paint - Bracket Green , Next applied crackle paint and finally applied brown paint for achieving a weather wooden look.
For the inside of the panel , trimmed the Glided Onyx Pattern Paper to the size of the pattern paper , applied a  light coat of white gesso , did some stamping with water proof ink. 
 Next did stenciling with Modelling paste and added color using various acrylic paints.
 Cut tags out of pattern paper and layer using 3d foam tape. For Chippis i used various acrylic colors.
Mixed Shaker Beads - Yellow with Soft Gel and applied randomly here and there.
 Finished it off with handmade flowers and sentiment cutout from the Love only Pattern Paper. 


Hope you like my work for today
See you soon

Love
Pavitra

Supplies Used

Soft Gel 
Glided Onyx Pattern Paper