Showing posts with label Papericious RIbbons. Show all posts

Wedding box and Gift card holder tutorial


Happy my dear crafty friends and welcome to my second October Papericious post.
Today I am going to share a full paper crafting tutorial for a book shaped handcrafted box and a gift card holder.
This project was made with the most delicious Wedding kit and yes, this is a wedding trinkets box and a wedding gift card holder we are going to craft today.
So follow my easy instructions and you can make the very similar box and gift card holder in no time.
Step 1: Cut the thick chipboards to two pieces of 11 1/2*17 cm. and one piece to 3 cm*17 cm.  You can use any chipboards, even to recycle some old boxes.


2. Cut the Wedding kit dark red cardstock to fit the chipboards and leave 1 cm. for the folds.The cardstock here is shown with the front side up.


3. Use double sided glue and cover the chipboards as shown.


4.Glue three pieces of cardstock on the bare chipboard's as shown using the very same double sided glue.
Add the same glue around all four sides of the dotted cardstock for the next step.


5. Use your scoring board or score by hand the glossy pearl cardstock from the wedding kit. You just need one 30*30 cm. cardstock and score it on 1 cm so you get 12 mountain scores. Cut the cardstock into two parts vertically. Cut  each half into two pieces -one 11 cm long and one 16 1/2 cm. long.


6. Arrange one long and one short folded piece over the glue strip as shown. Arrange the second two pieces to get the full frame of folded cardstock. Add another layer of double sided glue over the folded frame.


7. Heat emboss the cover edges with gold embossing powder as shown.
You can use brand of gold ink and gold powder or just use clear embossing ink with gold powder.


8. Use stitched rectangle dies to make two die cuts for the front cover.


9. Glue the die cuts as shown over the front cover.


10. From this step on I wouldn't show  each paper piece cutting, the general arrangement of the elements.
So here is the inside of the cover here. I die cut a dark red cardstock and layered with smaller patterned cardstock die cut. Two hand cut post cards were added over the inside cover.  Then die cut two stitched circles and add the sentiment over it.


11.Use fabric stitffener over a few of lace cuts to make them " standing" after they are dry.
Make the same procedure with a long piece of red waxed twine. Let all pieces dry.


12. Die cut the stitched oval and add the lady's image inside the folded frame.
Cover the frame with deep red patterned cardstock as shown.
Add the hand cut word " Happiness" on the right low corner.
Tie the red and pink waxed twine around the cover.


13. This is how the finished front cover looks after I added a couple of die cut doilies using red cardstock and heat embossed a  few more die cut doilies with the same gold embossing powder.
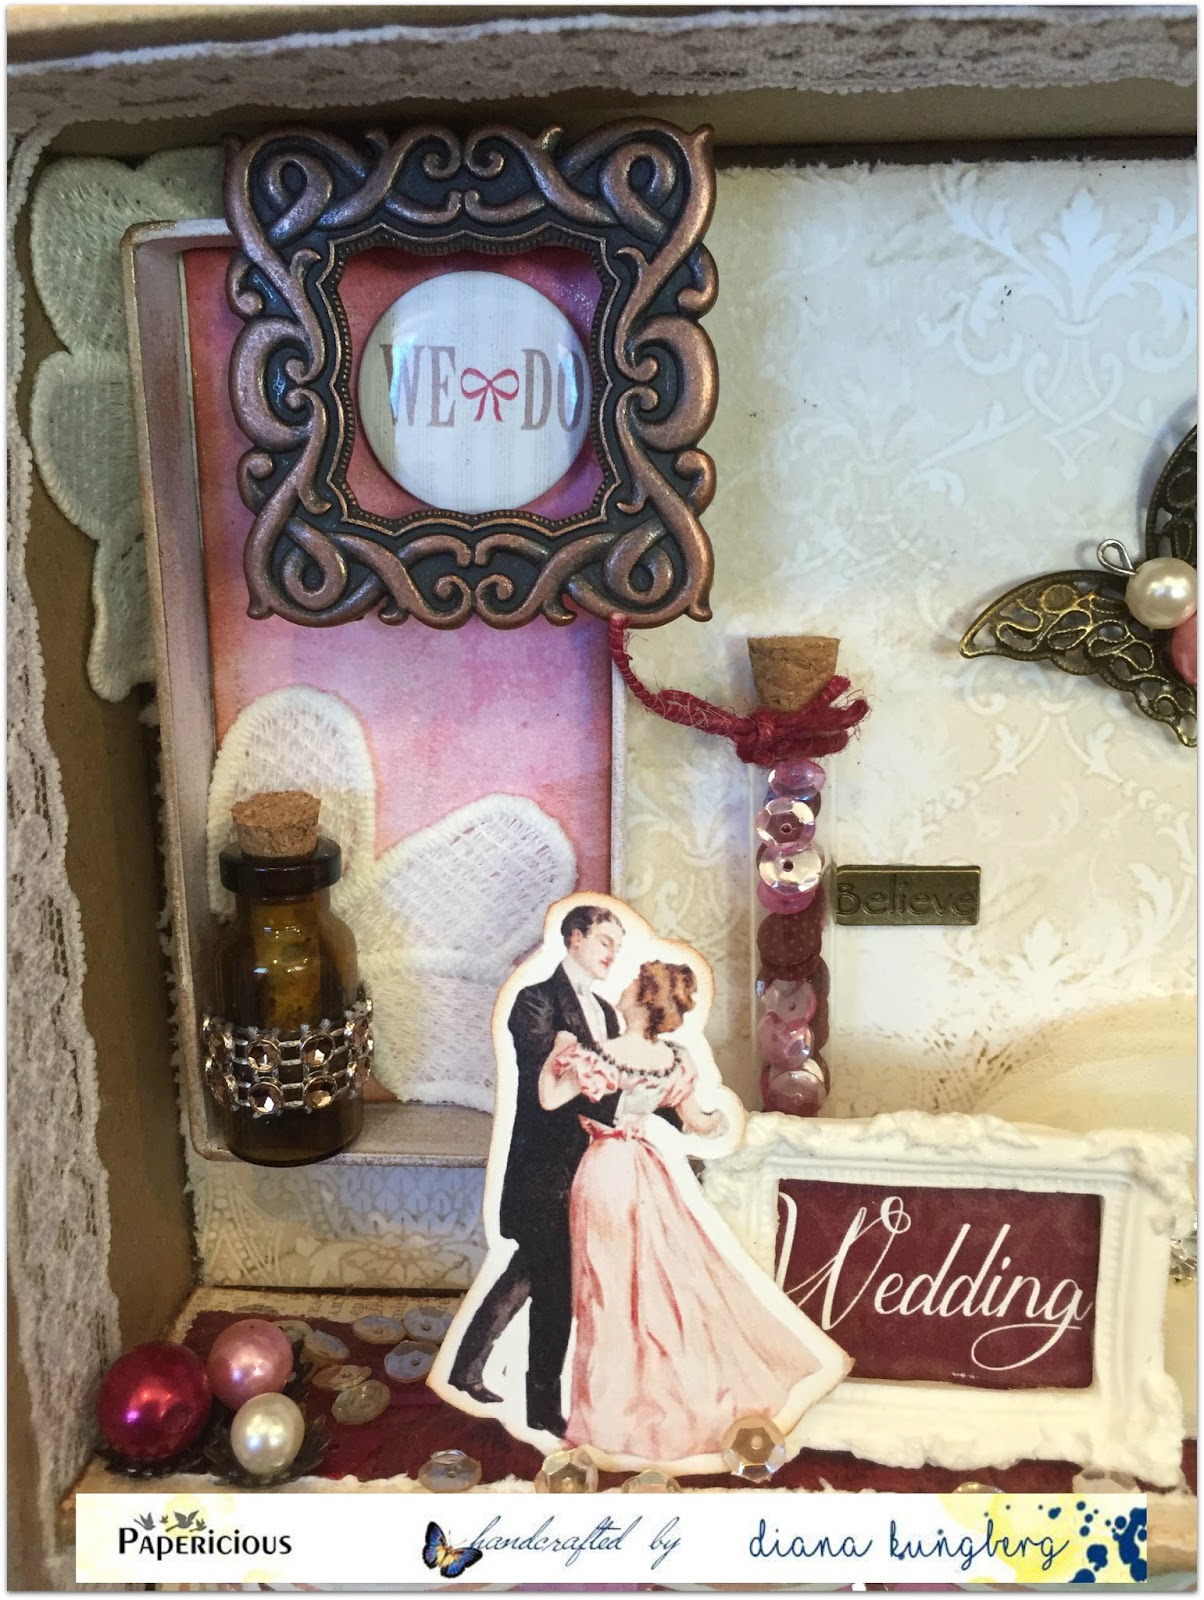
The doilies, fabric flowers, leaves, butterflies and twine were arranged over the cover and some sequins and pearl beads were added as shown.


Here is a close  up of the main cluster over the front cover of the box.


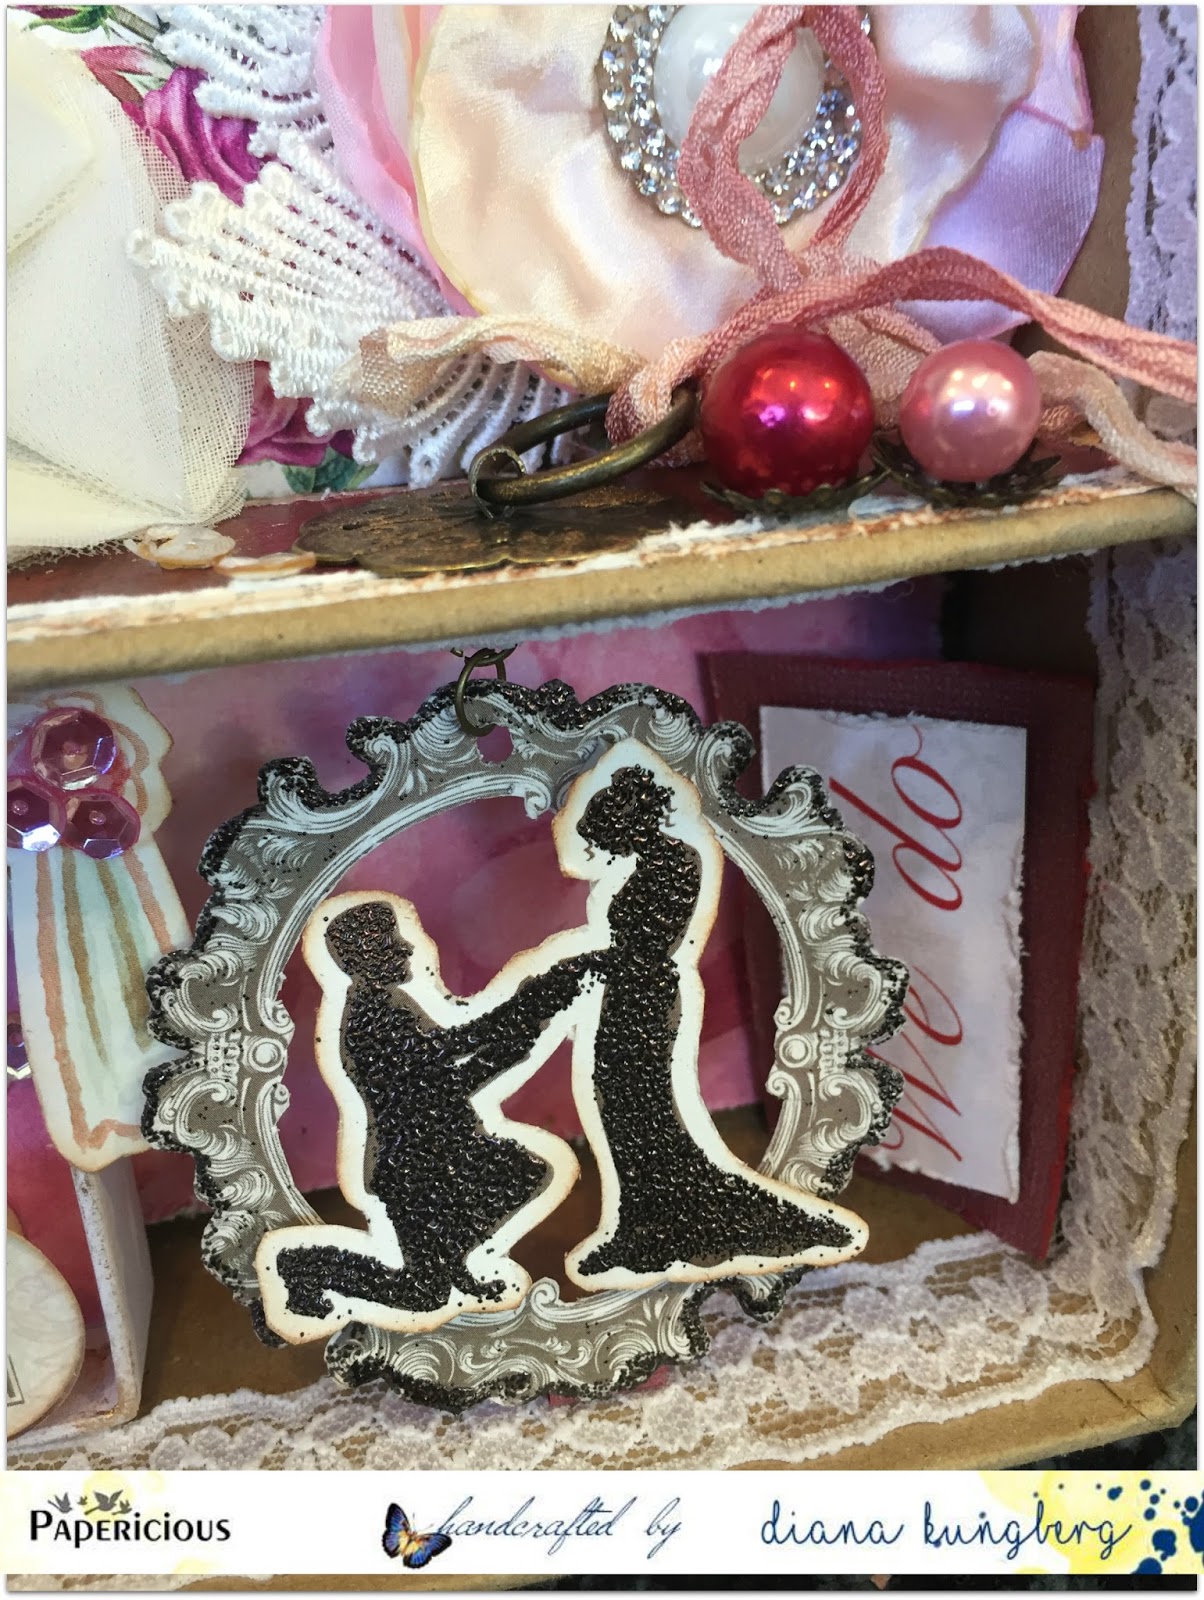
And the upper embellished part is here:


14. Now lets make the gift card holder.
 Make a small  bag using patterned paper and cut the half circle on the top with punch.
Cut  the  gift card size strip using two connected paper images.


15. Embellish the bag with twine. hand cut paper, image and sentiment as shown.


16. Add photo corners to keep the gift card inside.


This is how it looks with a folded card holder inside the bag.


And this is how it looks with the gift card holder inside the box.


I hope you like my small tutorial and you can make the very similar  project with our fantastic Wedding Kit !

Papericious Products Used:All products are from the Wedding kit

Paper Stack-The Wedding Kit
Fabric Flowers
Laces
Ribbon
Twine
Sequins
Pearls
Adhesive Flairs

All these products available at:


www.lulupu.com

www.thecraftshop.in

www.craftadda.com

www.imaginationsonline.com

Anantha Stationery

www.krafterscart.in

Nirmal Stationers, Delhi


Always and Forever Wedding layout


Hello my dear crafty friends and welcome to my first ever post as a Papericious Design Team member.
My name is Irit , I am and Israeli designer and Mixed Media artist and I am totally thrilled to be on this fantastic team and to design with all those gorgeous products.
The first thought I had when I opened my DT box and found the vest ever Wedding  kit was how lucky I  with all  lovely wedding photos from my dear daughter Ortal's last year wedding.
Actually her twin sister is getting married  on September 30 and I will have more delicious wedding photos for my later crafting with the leftovers of this collection.
Lately I try to scrap more than one or just two photos. This layout has four of them.
The background clock is a photo of my living room clock (the bride was at my home before the ceremony). And as the only thing we were thinking about was to be on time, this clock is a significant part of  my daughter's wedding day. So it's here, but a bit hidden in between few layers of cardstocks.
The main photo is the bride, as it  should be (says Mom of the Bride).
Other two photos are the top photo of just married couple and the bottom photo of my new Son in Law with the ring on my daughter's finger. Both of those photos were die cut with circle dies . I really believe that for wedding layouts circles are the must. It's like the wedding rings and the connection of the new weds.
Here you can see the layout layers- it's pretty much 3d, but still not too bulky.


An now for some close ups.
Here is the main embellishment cluster made with lace flower that was then layered with one silk pink ribbon flower . On the top I added the pink  ribbon bow with the long tails.


The right top corner with the couple photo was embellished with lace butterfly and hand cut and colored flower circle using paintable  piece  and embellished with natural sequins.


Look how gorgeous is the metal " Just Married"flair piece on this top cluster!


The title was die cut  and misted using Wedding kit sentiments and then embellished with different sequins.


And just one last close up of the main part of this layout.


I really hope that you got some wedding inspiration from my layout and see you in a week with a totally different wedding project made with the same Wedding kit.


Papericious Products Used:

Paper Stack-The Wedding Kit
Fabric Flowers
Laces
Ribbon
Sequins
Adhesive Flairs

All these products available at:


www.lulupu.com

www.thecraftshop.in

www.craftadda.com

www.imaginationsonline.com

Anantha Stationery

www.krafterscart.in

Nirmal Stationers, Delhi


Wedding Shadow box

Hello.
Today I am excited to show  the Wedding shadow box. (To watch the video scrol please down)
This is the lock of the box. I started with the background.  The frame I made of the Papericious lace. I cut the leafs in small pieces and glue around. 

I used Papericious Wedding Scrapbook Pattern Papers. They are so lovely. Love the romantic patterns. The heart is made of wood and I painted it with white akryl color and som small details covered with inka gold.


That how it looks inside. I love how all the details came out.


You can see better the details here. Such a beautiful fabric flower. Die-cuts from the  wedding pappers pad, lace and the sequins.


Inside the box. I pur´t some sequinsin the mini glas bottles and at the "floor" where the dancing couple is. Even here you can see the beautiful fabric flowers. I added some pearls/beads on the metal butterfly for extra charm.


LOVE -  I cute each letter from the Wedding  papper pad and glue with epoxy dots to get the 3D feeling.


Some more die-cuts from the papper pad.


You can watch the video here
 

I hope you enjoyed my Wedding Shadow box

Here is the products list I used :
1. Papericious Wedding Scrapbook Pattern Papers
2. Papericious pearls
3. Papericious Ribbon Flowers
4. Papericious Tulle Flowers
5. Papericious Jute Twine
6. Papericious Pink Ribbon
7. Papericious Wedding adhesive buttons
8. Papericious sequins (different ones)

If interested, you can purchase these products from following stores.

www.lulupu.com
www.thecraftshop.in
www.craftadda.com
www.imaginationsonline.com
www.krafterscart.in

See you soon
hugs from Sweden


Papericious The Wedding Kit - Love and Romance Cards

Hi All,

This is Priya here from Priya-n-papers and it's my first inspiration post for Papericious. I was so thrilled to see my DT kit and especially the Wedding Collection Scrapbook kit. It has some vintagy, shabby chic feel that for an hour I kept gazing all the gorgeous ribbon flowers, sequins, twines and kept flipping through the gorgeous papers! 

 I am sharing 2 projects I created using The Wedding Scrapbook Kit.

Card 1 : True Romance Card
First up is a tall card I made. It's 9x4 inches card. it's a 100% Papericious card as I used only products from papericious. :D even the cardbase is from Papericious that comes in the Wedding scrapbook kit.


I took the pearlized cardstock from the wedding kit to use as my base and layered it with pattern papers from the same kit that that  lacy/ribbon effect. Used the pink Ribbon from the kit to create the base of my embellishments. After that I cut the Leafy Lace from Papericious into separate leaves to add foilage along with some twisted jute twine. To finish up, I glued one ribbon flower and one Tulle flower from the same kit. The cutout the sentiment from the die cut sheet to finish up my card.

Have a look at the gorgeous flowers!! Believe me the picture is not able to capture the elegance and shine of these papericious flowers. These are a class apart!


Card 2 : Accordion wedding tag card 

This is my signature style of making multifold cards :D .. And I couldn't resist myself to make one with gorgeous Wedding scrapbook kit from Papericious!

It's a 6x3 card that opens up to 6x12 with 4 panel and 4 pockets. I also created 4 tags to write sentiments/messages for the recipient.

The cardbase is again from the Wedding kit. I simply loved the cardstock as it's super sturdy and shiny. I did some diecutting here using circle dies to create the focal point of the card and added some mulberry flowers and enamel dots.  The foliage was created using a leafy die and die cutting a Maroon colored pattern paper from the wedding kit.

here is a look of the card when opened. I added some gold effect by using gld glitter paper and diecutting it with scallop background die. Isn't the Cream, Maroon and Gold color combination looks awesome?

I added gold glitter strip so that tags can be inserted. I applied the glue only on 2 ends and left 75% of the strip open. I diecut 4 pieces of 3x2 inches to make tags. Added a ribbon effect by using a fishtail die to create pullout tab.

Here is a closer look of one such panel for you to enjoy! :)

I hope you liked all the projects I created for you.
Here is the complete supply list :
1. Papericious Wedding Scrapbook Pattern Papers
2.  Papericious Leafy Lace
3. Papericious Ribbon Flowers
4. Papericious Tulle Flowers
5. Papericious Jute Twine
6. Papericious Pink Ribbon

If interested, you can purchase these products from following stores.

www.lulupu.com
www.thecraftshop.in
www.craftadda.com
www.imaginationsonline.com
Anantha Stationery
www.krafterscart.in
Nirmal Stationers, Delhi

Do leave a comment if you liked what I shared! It's awesome to read comments from our lovely followers!

Thank you and have a great day!
- Priya Sondhi