
Flip Flap Album - Tutorial with SWATI
GOOD MORNING!
Swati here from Swati's Crafting World, Guwahati saying Hello to everyone. Today I am
back with a new step by step pictorial showing how to create a album by yourself. This album features FLEUR FUN Paper Pack.
FLIP FLAP ALBUM :
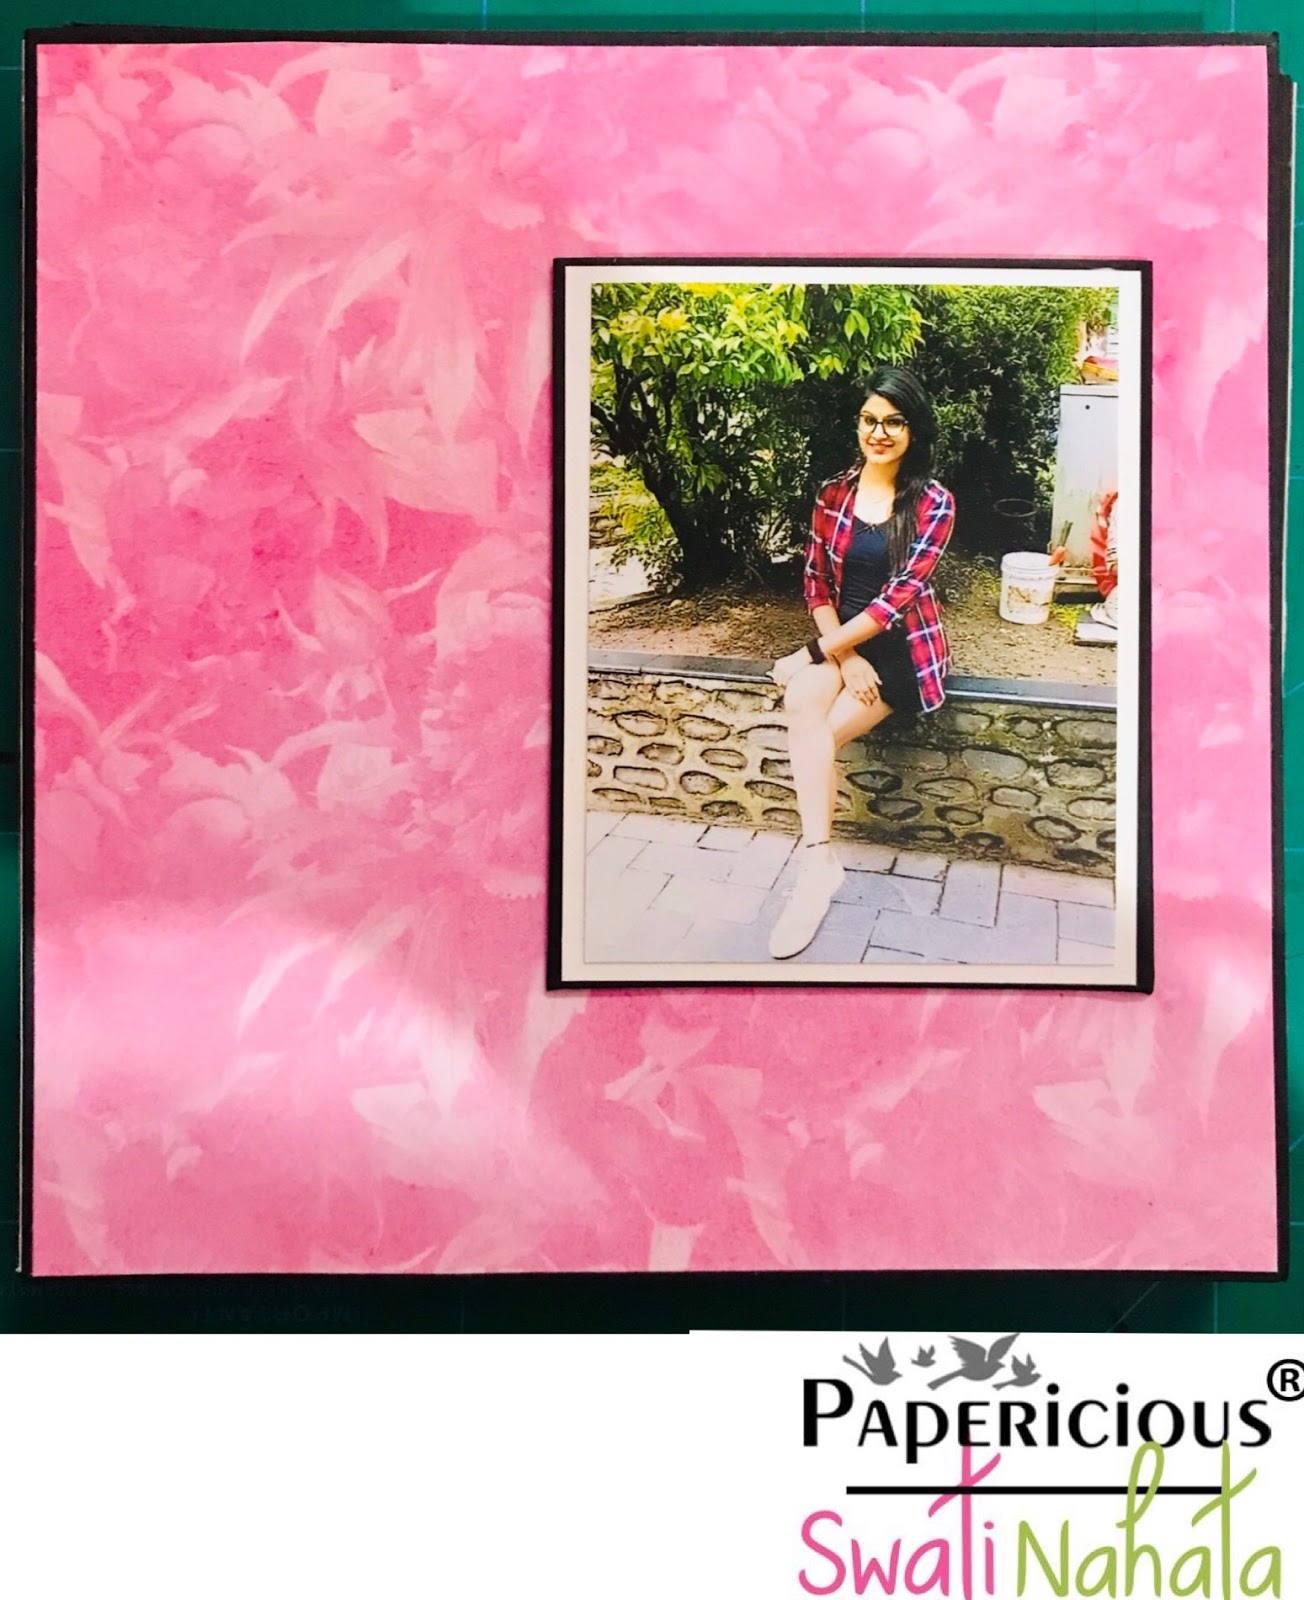
A book of memories : a heartfelt gift, perfect for any occasion. It's a beautiful concept of card
that has a lot of space to fit your beautiful memories. This card can house more than
10 pictures and/or tags.

Isn't this wonderful? On to the Tutorial :
Cover Size of the album : 6 by 6 inches & the album pages are 5.3/4 by 6 inches.
1. 6 by 6 inches - 2 pcs.
2. 6 by 12 inches - 1 pc.
( Score at 2 5/8, 3, 9 & 93/8 inches from 12 inch side.)
3. 5.75 by 12 inches - 3pcs.
( Score at 3, 9 inches from 12 inch side.)
Once the scoring of the album is done, we need to paste the 5 3/4 x 12 inches cardstock one after another to create flaps.
Detailed Picture :


After we're done with creating the flaps, the next step is to create the album cover. We need to paste the 6 by 6 inches cardstock on the 6 by 12 inches. After scoring is done, paste 6 by 6 pc on top of both the ends which measures 6 by 2 5/8 inches. The base of the album is ready.
The next step is to add magnets to the cover album. Now cut the pattern papers
accordingly & paste them.
Detailed Picture :


For decorating the cover I've made a small pocket & tags.
Pocket of size - 4 by 3 1/2 inches.
Tags - 3 1/2 by 3 inches,
3 by 2 1/2 inches, &
2 1/2 by 2 inches.
If you want you can add more tags, I've added three. I've also fussy cut some peonies & leaves
from FLEUR FUN Paper Pack & added them to the cover to give a lustrous look.
Detailed Picture :


CARD LAYOUT :


SUPPLIES USED :

I hope you liked it! Hope you guys will surely try this.
That's it from me today.
Thanks for stopping by.
Love


0 comments: