Showing posts with label Papericious Vintage Chic Planner. Show all posts

Monthly and weekly pages in planner

Hello everyone,
 Its Kavitha here today and i am sharing the inside pages of my planner.Hope you are enjoying amazing tips from all our DT's.I never used a planner and this is something new to me.So i kept my pages quiet simple,so let see the first page on my planner

I used a insert to match the cover page of my planner(if you remeber i made it in teal color) and used some inspirational words stickers and a die cut from papericious .

Here is the insert page for February ,i have used some love theme stickers and word sticker is from the planner kit.

Here is my monthly page for February,those clear words from the planner kit is really awesome.As you can see i went crazy with sticker,i love stickers and i  hoard a lot of them and thought this is the perfect time to use them.The icon stickers are from the planner kit, you get a lot of them and there are some really useful ones.I also used some simple stories stickers and puffy stickers from my stash.

Here is my weekly page, i mostly used it for my DT assignments and blog post.Again i used a lot of stickers and kept my page really simple(or i should say i have just started and still clueless about many thing regarding planner),but i hope you can find a little inspiration from my pages.

Happy crafting,


Bookmarks and their usage in Planners

Hello Everyone!!

This is Manu here and i'm going to showcase how you can use bookmarks in your planners. My first detailed post about the color splash planner by Papericious can be seen here where I have covered an in-depth view of how to use the planners and I also have a few videos and an extensive view of how I'm using my color splash planner.
I'm sure that you must be enjoying the pretty planners that Papericious has launched, they have come up with two amazing planners, a colorful one called Color Splash and a vintage one (for the very first time) called as Retro Chic! Both are amazing and by now you might have had a look of both in the planner inspiration posts done by my fellow DT's .

I'm going to show you how I  use the bookmarks in my planner. Nothing very fancy, but it's all handmade!!! 


I have made about ten bookmarks and a few are a little different from one another. I also have a little fun technique done on how to make the bookmark last longer and avoid them being teared !

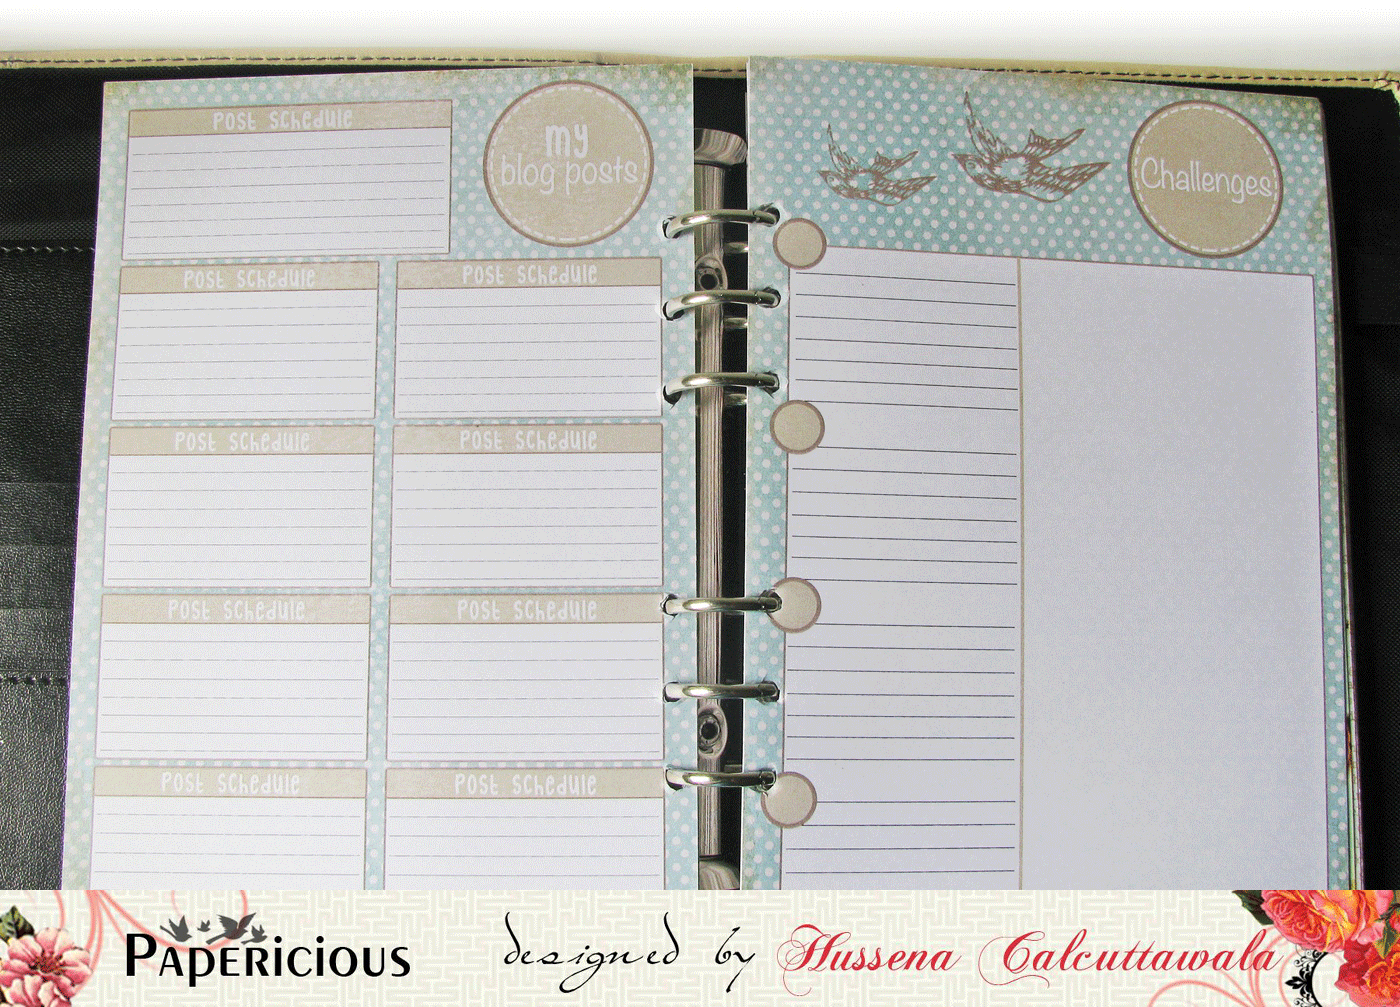
You can see a peeping head on top of the planner and a few on top of the planner. Letme show you the insides.


I wanted a few personalized bookmarks and I made then using a papericious panel and the stamps.


I kept it very very simple, nothing tooo fancy, it has some of the quotes that I really like! 
Now I also wanted this bookmark to last longer, hence I laminated it!! okay, it's not a store done lamination, but a very simple and pocket friendly which I did. I covered it up with Cellophene Tape!! Now that is sure easy peasy and it sure protects your bookmarks! 


Once I was done with how I wanted the bookmark to be, I punched the holes and slided it inside!
Notice the little label? I kept that to scribble something on it with the white board marker. Easily erasable since I have the tape on the complete bookmark! 


I also wanted a prima doll (and this stamp is a gift from a dear friend and I love this one to the core) so I used a bookmark that was included in the kit and stuck the prima doll on top. 


Here's another bookmark!!! I have always loved the Mason Jar's and I was sure I needed this one in the planner!


I made my own Shopping list panel!!! 


and here's a MENU planning bookmark that I did!!! The good thing about these bookmarks is that they are re-writable and can also flop from one week to another!! So I need not make a  new one each week!


Here are a few more bookmarks that I made!!! 
See that butterfly, bunny and the apple one?? They are all handmade!!! All I did was to stamp the images I like, color the, protect them with the tape and then mounted them on to the u-clips that one can get in the local store!!! 


The Bunny with the quote and the one with flower is made in a little different way! I took a bookmark that came along and folded it in half, then using some magnetic tape, I cutted out strips of magnetic tape and glued it to the inside of the folded bookmark on both the sides!! Now, you can embellish the bookmark!! Easy peasy, Isn't it??


I'm sure your must have liked the little itty bitty things I have done to make my planner all bright and fun looking!!! Who says that the planning part is boring and dull?? It's all fun and super exciting to do when you all a few things to jazz up and color the planners!!
I do hope you all would love to make a few things for your planners too!! I hope you do!! 
Do letme know if you liked the post and until next time!!

Happy Crafting!!
Manu

Papericious Planner - RETRO CHIC!

Hello friends,
This is Hussena here and today I am sharing with you all the first look and all the details of the newly launched Retro Chic Planner.

A few days ago a good friend and fellow blogger Arjita did a short video of the unboxing of this planner where she has shown what you can expect when you purchase this planner kit. Her video is very crisp and clear about the contents of the planner and she shares some tips too on how she plans to use it. I would definitely urge you to check out her video HERE
Having said this let's begin by seeing what this planner looks like and what accessories you get with it.This is a picture heavy post so please be patient with it :)

This is how the planner looks like, it's a light beige in color and quite big in size .The outer cover is really soft and it handles quite well.

 You get  4 pack of accessories with this planner and it includes 2 Stickers sheets, one Hole-Guard sheet and one Journal sheets pack.

When you open the planner there is a side pocket on the right hand side to keep all your accessories like die cuts, tags, bookmarks and even these stickers sheets. The left hand side is the side with the journal cover or the first page insert.

Next is the monthly planner page which gives a overview of the entire month.This entire planner is meant for 6 months only and the best part is you can start using the planner from any month of the year as there are no dates given. You can customise the month and dates according to your personal preference.

 There is a "Things to accomplish" page where you can jot down your monthly or yearly goals too.

  These are the weekly pages, each month has 4 weekly pages done in the beautiful vintage style.


This is the monthly blog schedule page and also a page to note down all the challenges that are taking place in the blogland. This page is a boon to all the bloggers as it will really help you to keep track of all your scheduled posts as well as help you remember the current challenges in which you might want to participate.

This is a monthly notes page where you can write down notes of how your month was and what you have accomplished in that particular month ...On the other hand, it can also be used to jot down your favorite memory or even your favorite recipe too. The sky is the limit :)

This is the last page of the journal and on the left hand side there is a pen holder to help keep a pen with you at all times.

Now, here's a look at how I have started to use this planner. I am still in the basic stage of using it and will be including a lot of details in my second post in the meantime here's how I have started decorating the insides of it. 
I have put some die-cuts and sticker sheets on the left hand side pocket and created my own cover page on the left hand side by using the pattern paper from the recently released If Only collection.


Here I have marked a few of the important dates for the month of February.


 The important days for the first and second week of february which I have highlighted using some stamping and doodling.

The page for blog schedule and challenges :

As you can see, I have just started using this planner and I have still to fully use it, but I promise in my second post I will share with you more ideas on how to decorate the insides of your pages using the stickers in this planner kit.

Hope you all enjoyed the overview of this planner and have got a general idea on how this planner looks when you purchase it.

My team mate Manu has done an awesome post and video on the how the Color Splash Planner looks like and how she has been using it. Hope you have checked it out. Also stay tuned as my other teamies has a lot more information to share on how to use these planner !
Have a nice day everyone.