Showing posts with label Gift Basket!. Show all posts

Mini Album w/ Basket


Hello everyone!
Priya here, sharing a Mini album with Basket using Papericious BLISS Paper Pack!

I have also share a step by step instructions to make the same!
Here it is, enjoy!


Start with a piece of Pattern Paper - 12" by 9". Score at 3" and 9" on the 12" side and 3" and 6" on the 9" side.
Then, on the 12" side score at 2" and 10" up to the first score line you come to (3" in length), turn a 1/2 turn so the other 12" side is on the top fence and score again at 2" and 10" up to the scored line.

Cut away the rectangle formed at the corner by the 1/2 score and then cut as in the photo to form a flap that will create the corner on the basket.


Repeat on all corners as you see in picture.

Turn over and add Tacky Tape to the flaps and form the box.
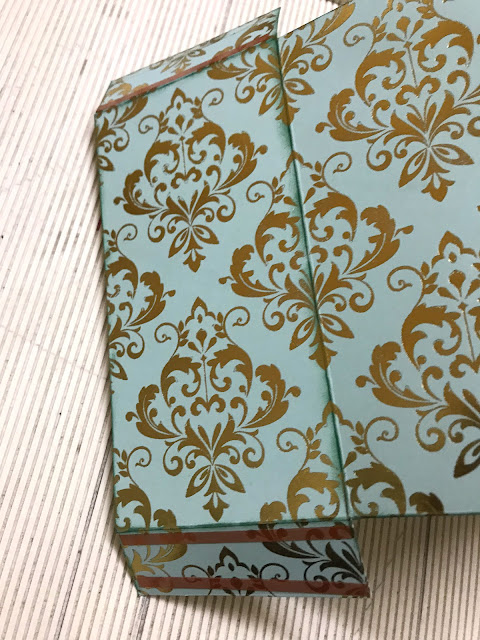
I have added ink to edges!

Create a handle from a piece of Pattern paper 12"  by 1" 

Attach the handle!

The Mini Album is created from 2 piece of Pattern Papers measuring 12" by 6" both scored at 4" and 8" along the 12" side. To attach the two pieces together, create a flap from a piece of pattern paper measuring 6" by 1 scored at 1/2" on the 1" side. 

Attach the two tri-folds together.


 Now it’s time to decorate!
Decorate the way you want! Your mini album with basket is ready!


Well that’s all from me today!
I hope you have enjoyed this!
 Love,
Priya 


Papericious Scalable Chipboard


Gift Basket with Perfect Affair

Hello friends,
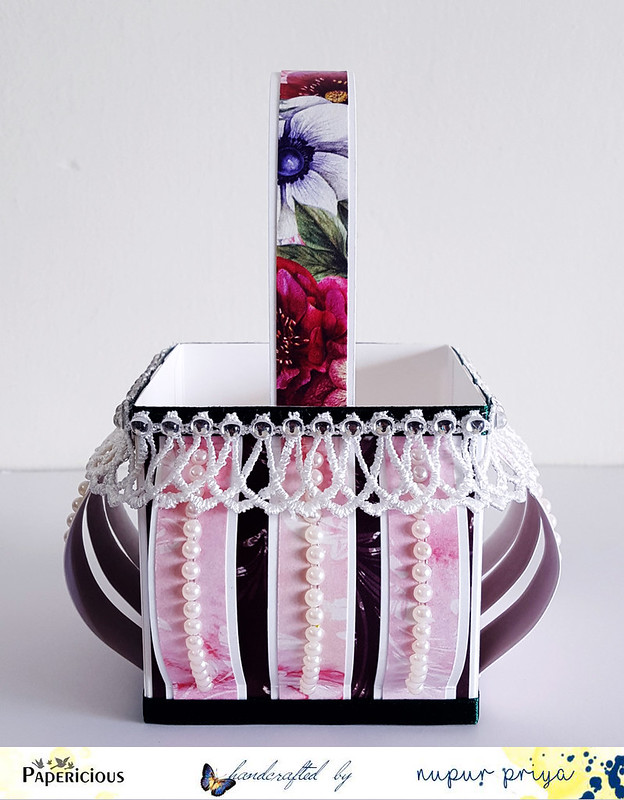
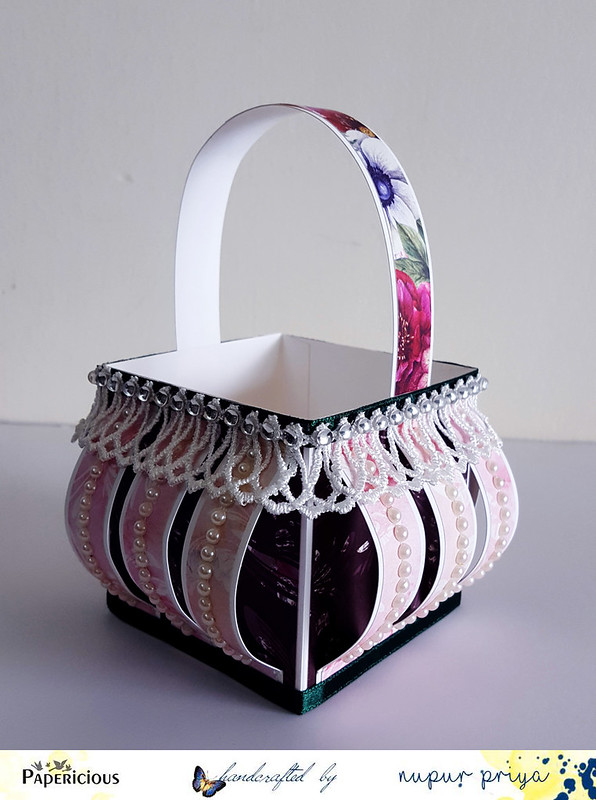
 This is Nupur here from Nupur Creatives & today I am sharing a cute basket made with Perfect Affair paper pack...
This is a gorgeous paper pack with gorgeous floral images, hearts, swirls....And the color combination is just perfect...

20170203_103347
This is a simple & easy gift basket but the results are beautiful... I embellished it using Swirl Mesh Lace, satin ribbon, some pearls & rhinestones... & love how it turned out...
20170203_103425

If you would like a pictorial on how I created this let me know in the comments...
Thank you for visiting today :)
nupur

Treat Basket and a tutorial

Hello Everyone!!

I'm Manu and I have a super cute basket to share with you all today!! This basket can be a super way of gifting gifts to your loved one and is pretty simple to make as well!! Now you can gift anything in style!!!
I received the Bird song paper pack in my DT packet and loved the soft colors this pack has. So decided to make a basket!
Check it out here!


Now this sure is a pretty way to hand out the gifts!! Right!!

Lets check on how this one was made!!!

1. Take a 12*12 piece of cardstock (make sure that it's a sturdy one) and score ar 4" and 8". Turn it at 90Degree and again score at 4" and 8" . You would get a 4" grid pattern on your paper.
2. Now, take one side and cut through the 4" slot marked and 8 inches slot marked for 4 inches each. rotate the paper 180 degrees and cut throughh 4" and 8" slot again.
3. Now, make a valley fold across the cut out paper and make a shape like below.


The base of your basket is ready and now you can adorn it with papers and embellish the way you like!

Here's how I did mine !


I hope you liked the basket and would definitely want to try out one for yourself!! after all who doesn't likes gifting in style!!!

Until next time!!
Ohh yes, do participate in the current challenge!! It's all about cooking up a Recipe!
Find all the details here
http://papericiousindia.blogspot.in/2016/06/june-challengea-recipe.html

Happy Crafting!
Manu