
Folio Card with Tutorial by Swati
Good Morning Crafty Souls!
Swati this side from Swati’s Crafting World, Guwahati saying Heya to everyone. I am very excited to share my first tutorial post for the new term 2018-19.
Today I’ve a cute project with detailed instruction to share which I made using one of the cutest-EST paper packs from Papericious which is newly released – Jack & Jill & newly launched Space Chippies.
Jack & Jill is the paper pack specially made for kids so i chose Space Chippies which would go with the pack and which are loved by the kids.
CARD LAYOUT :
Folio Card – It’s a beautiful concept of card that has a lot of space to fit your beautiful memories.


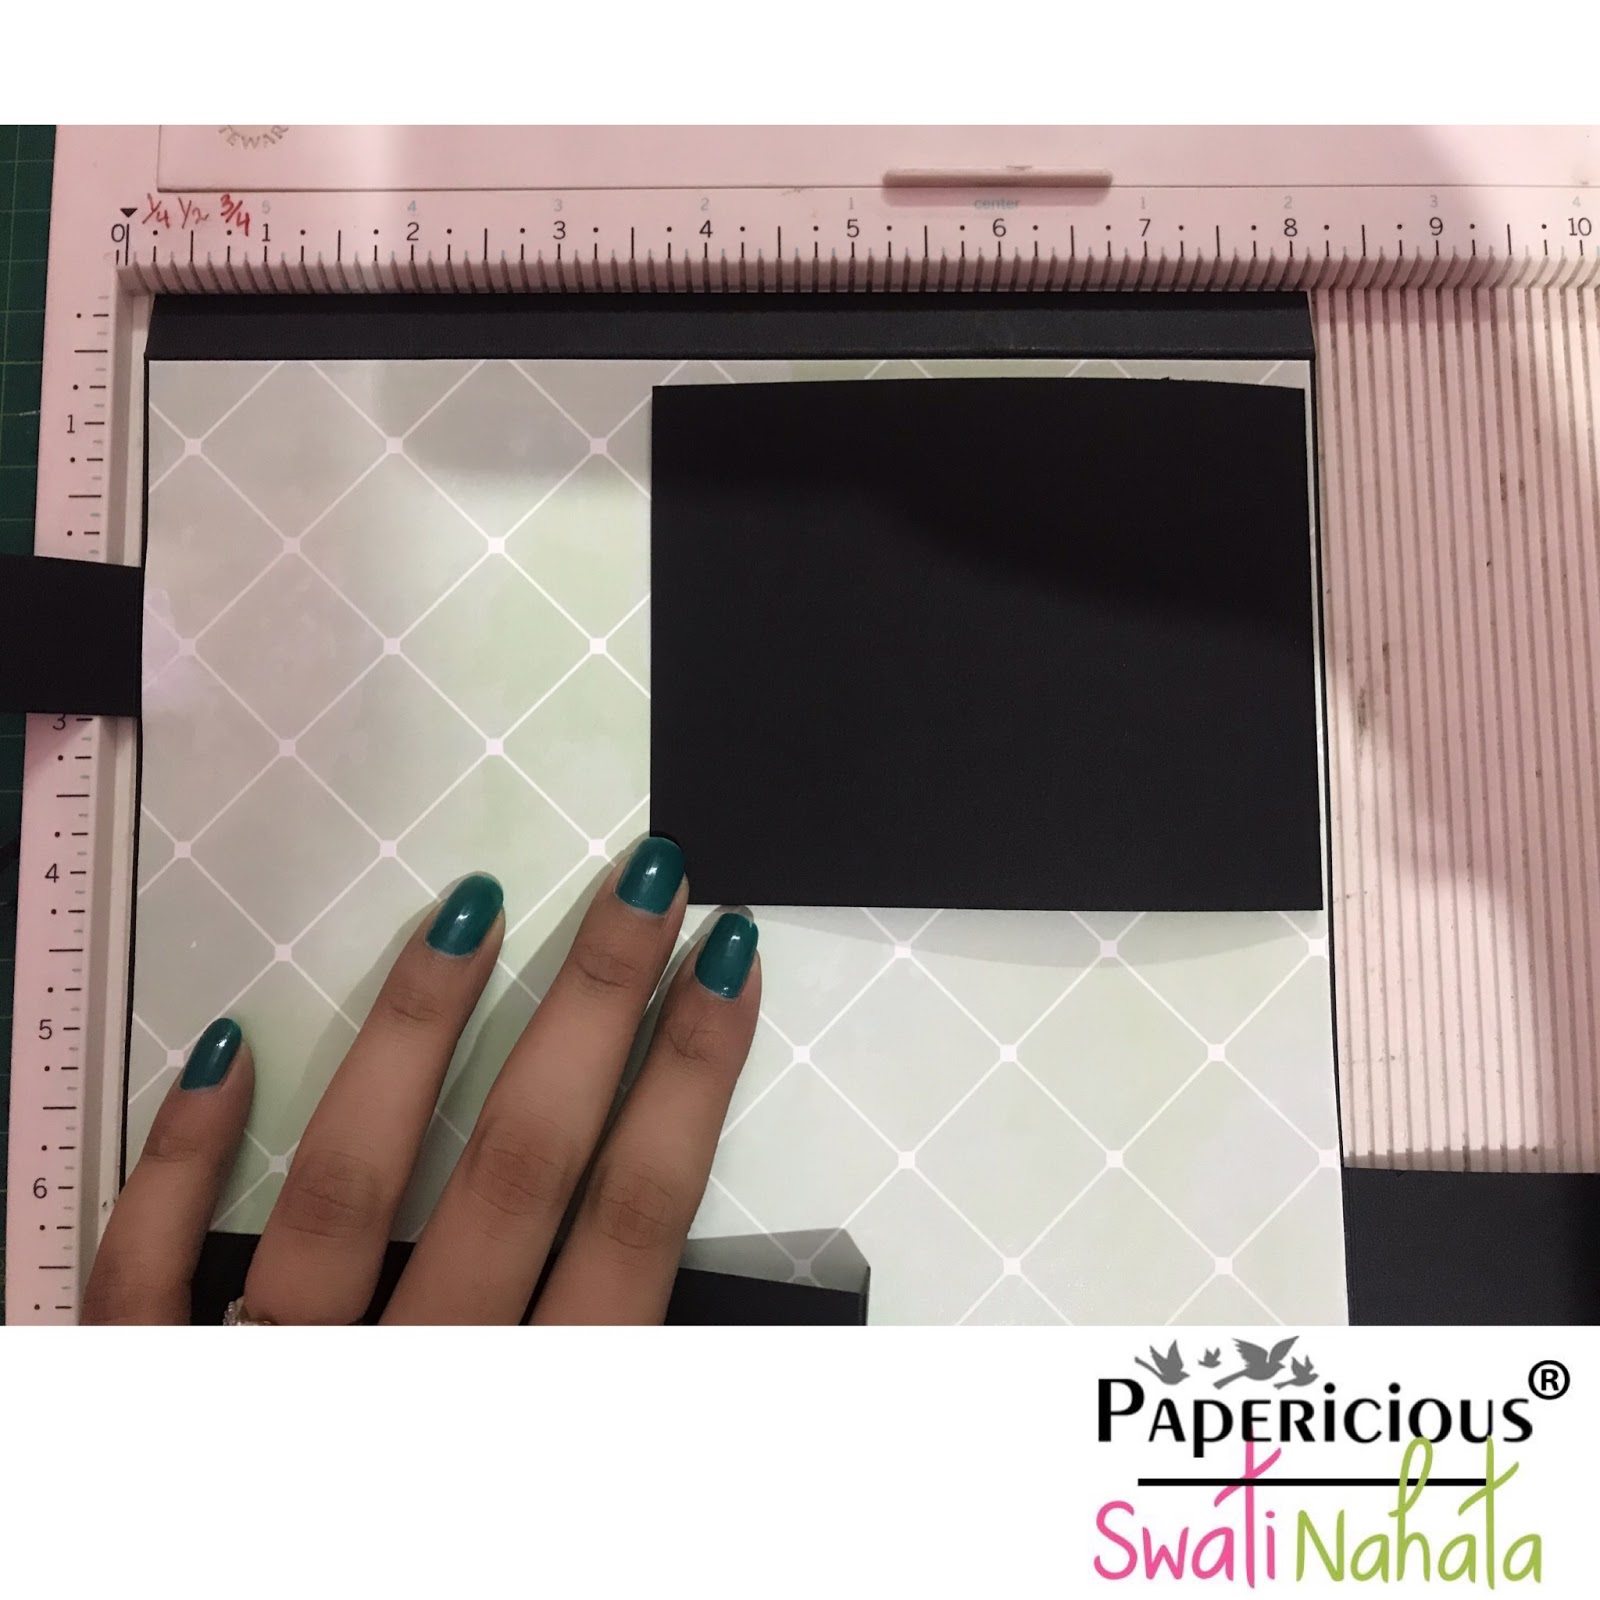
STEP BY STEP TUTORIAL :
Cover size of the card is : 8” by 8”.
I started by cutting four pieces cardtock of 250 gsm .
1. 8” by 8” - 1piece.
2. 5” by 8” – 1 piece.
( Score at 0.5” & 1” from 5” side.)
3. 7” by 8” – 1 piece.
( Score at 0.5” from 7” side.)
4. 8.5” by 8” – 1 piece.
( Score at 0.5 inches from 8.5” side)
After scoring the cardstocks as mentioned above, now add the cardstocks to the base ( 8” by 8” ).
5” by 7” on the lest side.
7” by 8” on the right side.
8.5” by 8” on the top.


Now cut 14 pieces of cardstock of size – 3.5” by 5”
Score at 0.5” from 5” sided. After scoring you’ll get perfect rectangle of size 3.5” by 4.5”
First add pattern paper to cardstock. 8.5” by 8” & then paste the 14 pieces on cardstock. 7 pieces on the top from right to left & rest 7 pieces on the bottom from left to right. You’ll get a perfect waterfall, now add flap of size – 1” by 6” to close the waterfall as shown in the picture below & also add magnets.


Now add pattern papers to the rest of the flaps & it’s ready. I’ve painted the chippies from Duck Egg Chalk Paint & covered them using Papericious Crystal Clear for giving it a shiny look.

For decorating the card I’ve used the newly launched Space Chippies, fussy cutting of some characters from the paper pack itself & added pockets & some tags which gives it a flawless appearance.


The card is ready, now on the cover to give it a lustrous look, add a small piece of cardstock of size 3.5” by 4” & decorate it with chippies & Fussy cut elements. Add this piece of cardstock on the cover which helps it to close the album.

And the layout is ready :


SUPPLIES USED :


That’s it from me today. Hope you like it & will definitely try this.
Thank You for joining me here.
Happy Crafting!
Love,


