Hello My Dear lovely friends!!!!!
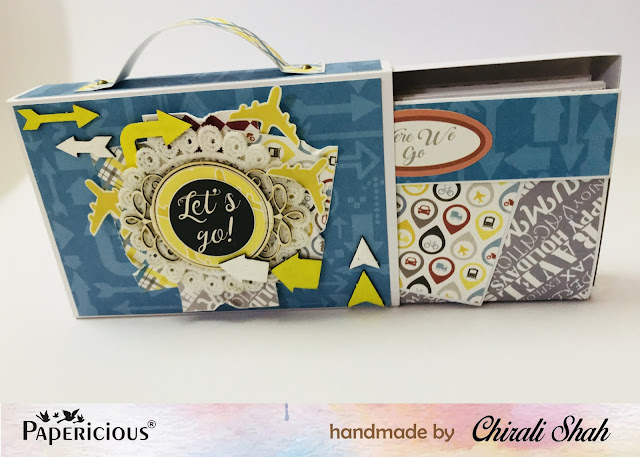
Whimsical - Papericious pattern paper is truly magical with gorgeous prints and beautiful colors. I created a slider and pop up mini album using the same collection.
Have a look!!!!
The finished folio measures 8 x 7-1/2. Here is how i created this folio. Its a picture heavy post to sit back grab a cup of tea and enjoy.
For creating the outside cover first cut two green cardstock at 12 x 8. Score one cardstock at 2, 7-1/2, 2, 1/2 from the longer side and fold as shown. Apply tacky tape at 1/2 inch portion.
Score another cardstock at 7-1/2 , 2, 2-1/2 and fold. Attach the part A to part B through 1/2 portion, keeping the 2.5 inch portion outside for closer as shown in the below image.
For inside upper flap of the album cut green cardstock 8 x 8 and score at 1/2 inch.
Cut another piece of green cardstock 8-1/2 x 4 , score at 1/2 inch on three sides as shown for pocket. Apply tacky tape on 1/2 inch portion and attach it on the outer side of the upper flap as shown.
For the pop up part cut green cardstock 8 x 6. Score at 3 from the shortest side and cut strips of 1/2 inch of varied length as shown.
Apply tacky tape and attached the pop up part from the inside of upper flap. Attach the another part of the pop up part to the base of the album as shown below. Once ready mat with pattern paper and decorate with fussy cut images from the paper pack.
For the lower flap of the album cut two pieces of green cardstock 8-1/2 x 4-1/2, score at 4, 4, ans 1/2 inch from the longest side and 1/2 inch from the shortest side.
Apply tacky tape to all the scored 1/2 inch portion. Attach the two sides flap for creating pocket. Once pockets are ready attach the pockets to the base album as shown.
For the left side flap cut green cardstock 7-1/2 x 10, score at 7-1/2 , 2, 1/2 from the longest side apply tacky tape to 1/2 inch portion and attach to the center portion of the album base as shown.
For the slider part green cardstock 7-1/2 x 4 and cut out 3/4 inch from the middle of the cardstock as shown. Also cut a strip of green cardstock 1 x 8 inch for sliding. Apply 3D foam tape and adhere it on the outside of the left side flap.
For the right side inside flap cut green cardstock at 7-1/2 x 10, score at 7-1/2, 2, 1/2 inch and apply tacky tape to 1/2 inch portion.
The right side flap consists of a pocket, For pocket cut green cardstock 8-1/2 x 7-1/2, score 1/2 inch from three sides as shown.
Apply tacky tape to all the three 1/2 inch scored portion of the pocket page and attached to the base page as shown for creating the pocket. Attach the finished flap page to the center part of the base album from the 1/2 scored portion with the help of a tacky tape.
Once all the four inside flaps are attached to the base album, mat all the pages with pattern paper of your choice. Inside the pocket place tags from the same collection.
For the decorating the cover of the album fussy cut out the images from the paper collection, colour Papericious chippies with yellow acrylic color and arrange all the elements as shown.
Thank a lot for visiting the blog, hope you like my work for today.
Hugs
Pavitra
Supplies used -


0 comments: