Showing posts with label box. Show all posts

Papericious May Guest Designer | Neha Bhatt | Part 2


Hello, crafty friends!
I am thrilled to be back again on the blog to share some more ideas and projects by our Guest Designer for the month of May - Neha Bhatt! Neha is a super talented designer and cardmaker whose projects always have such an edge to them. She is someone who surely doesn't need any introduction - Her work speaks for herself! :)

We couldn't be more happier to have her as a Guest Designer on our blog today. Please join us in giving a warm welcome to Neha!

Hello friends,
I am Neha here. This is first time for me on Papericious blog. I love their papers but they are mostly available in 12" x 12” so being a card designer, they are difficult to design with. I specifically like their Gilded Onyx and Bliss Paper Packs. I was eagerly waiting for Gilded Onyx papers in 6x6 inches. I don’t have words to describe the beauty of these papers. The colors are amazing, foiling is superb and they are super sturdy. I am sharing few projects using both the packs. Both papers go so well together.

6 Note-Cards with Envelopes in a Box

These are pretty easy cards to put together and they look gorgeous. They are 5.5"x3". There is no message which allows you to use it for any occasion. Thick paper allows you to make simple but sturdy box. Box topper is made with Abstract Chippis which was colored with Golden Acrylic Paint.


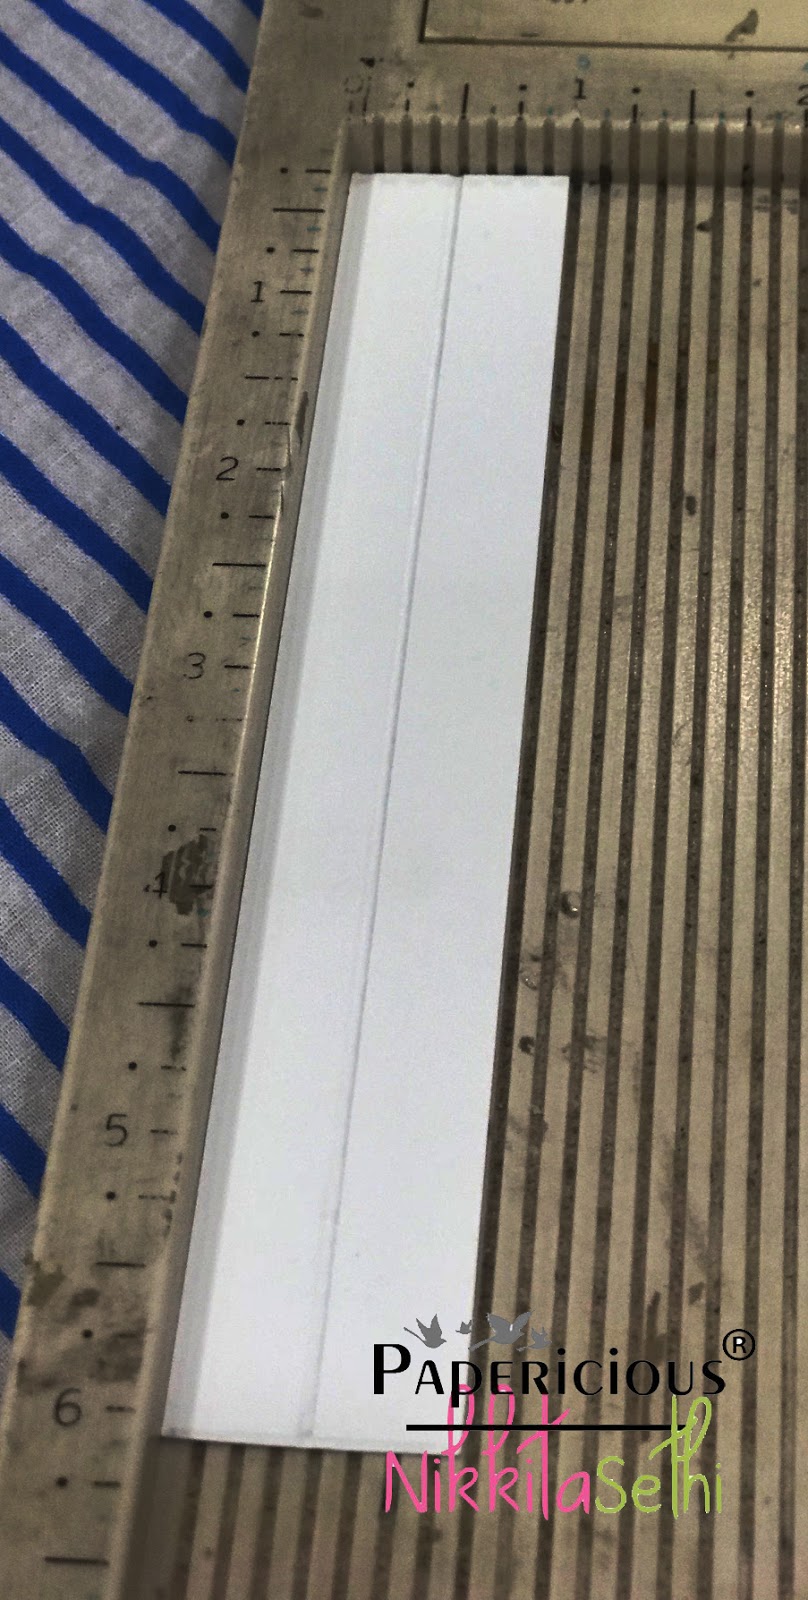
Bookmarks (Ink Blending on Foiled Paper)

They are 2"x6" bookmarks. For the back, I have used this white foiled paper from Gilded Onyx Pack. I have used various altenew inks for ink blending for vibrant colors. I tried with Oxides, but they were coating the the foiled part giving very dull look. For the fron I used matching plain cardstock for stamping. 


Tag (Stamping on Foiled CS)

I tried stamping on text pattern paper and I am amazed. It looks divine with the foiled pattern showing through solid stamping.

I recommend using solid stamps and dye inks for this technique.  


Card (Heat Embossing on Foiled Paper)

I have used patterned papers from the Gilded Onyx Pack on this card.

Once again I used solid stamp to emboss the images with Metallic Embossing Powders. It was hard to capture the sparkling beauty of foil and embossing. For colored embossing, you can try Distress Oxides for stamping and emboss it with Clear Embossing Powder.

That is all for today! I hope you like my creations. Thank you, Hussena and Aastha for this wonderful opportunity. I totally enjoy playing with these papers. Hugs!

GIFT BOXES TUTORIAL by NIKKITA SETHI


Hello everyone! This is NIKKITA and I am back with a new post for PAPERICIOUS blog.

For today's post I wanted to make something fun and quick and yet pretty, so I made some cute boxes which are perfect to be used in this festive season, you can use these cute boxes for gifting perfumes, chocolates, tea-light candles or anything as you like it.

Today I am using the latest release Fleur Fun paper pack and some gorgeous Chippis and Chalk Paints.
GIFT BOX


Here I am with the step by step instructions :
STEP 1
For the base, take a piece of 7 inches by 12 inches cardstock and score on the long side at 3", 6", 9" then turn the cardstock and on 7 inches side & score at 6" as shown in the picture above.

STEP 2
Take a piece of 1 inch by 6 inch cardstock and score at 1/2" to make hinge for the base.
STEP 3 
Make a slit on the 1 inch width base and score and tape the 1 inch hinge as shown above.

STEP 4
For the lid of the box, take 5.25 X 5.25 inch cardstock and score at 1 inch on all four sides. Score and trim the 1 inch cubes as shown and then tape the corners.

STEP 5
The box is ready and now its time to decorate the box. 

Used the Fleur Fun paper pack and the gorgeous Scalable Chippi and the Butterfly Chippi. I have used Chalk Paints - Pearl Pink and Bracket Green.


For this box the length is 4.5 inches and is made with same measurements as above. You can customize the length and breadth as per your choice its easy to make and quick.


Papericious Chalk Paints - Pearl Pink & Bracket Green 

Hope you enjoy making these cute fun boxes.
Do leave some love.

Happy Crafting,
LOVE,
NIKKI

Chocolate box

Hello Friends

Love Actually Pattern paper by Papericious is one of my all time favorite collection. The bright colors and prints of this pattern paper can instantly glam up any project. For today using the same pattern paper i created a chocolate box. You can find out the instruction and supplies used below.
Have a look!!!!!!!
 Instructions -
 Cut white cardstock 12 x 11 inch.
Score at 1 and 11 inch from 12 inch side and from 11 inch side score at 1 and 9 inch.

 Cut along all the score till 1 inch space and remove 1 inch square from the center part as shown.
Apply tacky tape to the side flaps and adhere to the flap of the center part for creating the box
 Cut pattern paper from the collection 1/4 inch smaller than the base and mat the inside and outside of the box,
For decorating the top of the box die cut out a tag from the pattern paper. Cut two 3 x 3 inch square form the pattern paper and a sentiment quote from the paper collection. Adhere the tag first on the top of the box with clear dry glue. overlap 3 x 3 inch squares and layer them on top of tag with 3D foam tape. Finally arrange the sentiment quote with 3 d foam tape.

Thank you so much 
Hope you like my work for today
Hugs
Pavitra
Supplies used - 


White Cardstock 

VINTAGE CADDY with TUTORIAL

Hello crafty people
I am super excited to share my creation using the amazing collection launched this month.
Today I am sharing a step by step tutorial on Vintage Caddy , used the amazing THE VINTAGE ATTIRE premium collection .
This is a great collection for all vintage lovers the papers are amazing and acid free I am totally loving it , it was a difficult task to cute these beautiful papers.

Now the tutorial,
Supplies required :
#heavy weight cardstock
#scoreboard
#trimmer
#scissors
#distress ink and tool
#tacky tape
#embellishments

STEP 1
Take cardstock and cut 3 piece 4 7/8" * 4 7/8" and score at 1" around all four sides , this will be the base.

STEP 2
For Wrap - 3 piece ( 8 1/2 * 3 , score on long side at 1-4-5-8) 


STEP  3 A
For outer cover,
3.1*9.75 (score at 3.1-6.2-9.3) attach and make outer cover.

STEP 3 B
For base , make slit on scored lines and tape .

STEP 4
Distress the edges.


STEP 5
 Attach the bases together using tacky tape and decorate using pattern paper and embellishments.


I made 3 layers but you can go up to 12 or as many as you want. Its super cute for gifting chocolates or keeping beads and twines,  a cute decor piece.
I loved creating these will create few more for gifting.
Hope you like the tutorial, do let me know your reviews and queries.

Do leave some love

Happy Crafting
LOVE
NIKKI