Showing posts with label Paericious Mi Estilo Paper Pack. Show all posts

Standing Photo Display Book by Nikkita

Hello everyone !
This is Nikkita and today I am back with another inspirational post using Papericious New Release JOURNAL BOOKS.
So, these journal books come in various sizes are the quality is just amazing, its thick and sturdy and smooth.
Can be used to make quick photo books or mini albums or journal books. Lots of layering, Mixed Media, color splashing etc can be done on the book, it won't warp and it's a must for all the Journal lovers or Mixed Media Artists and it's my favorite to because I can make quick photo books for gifting on the go.

So now have a look:

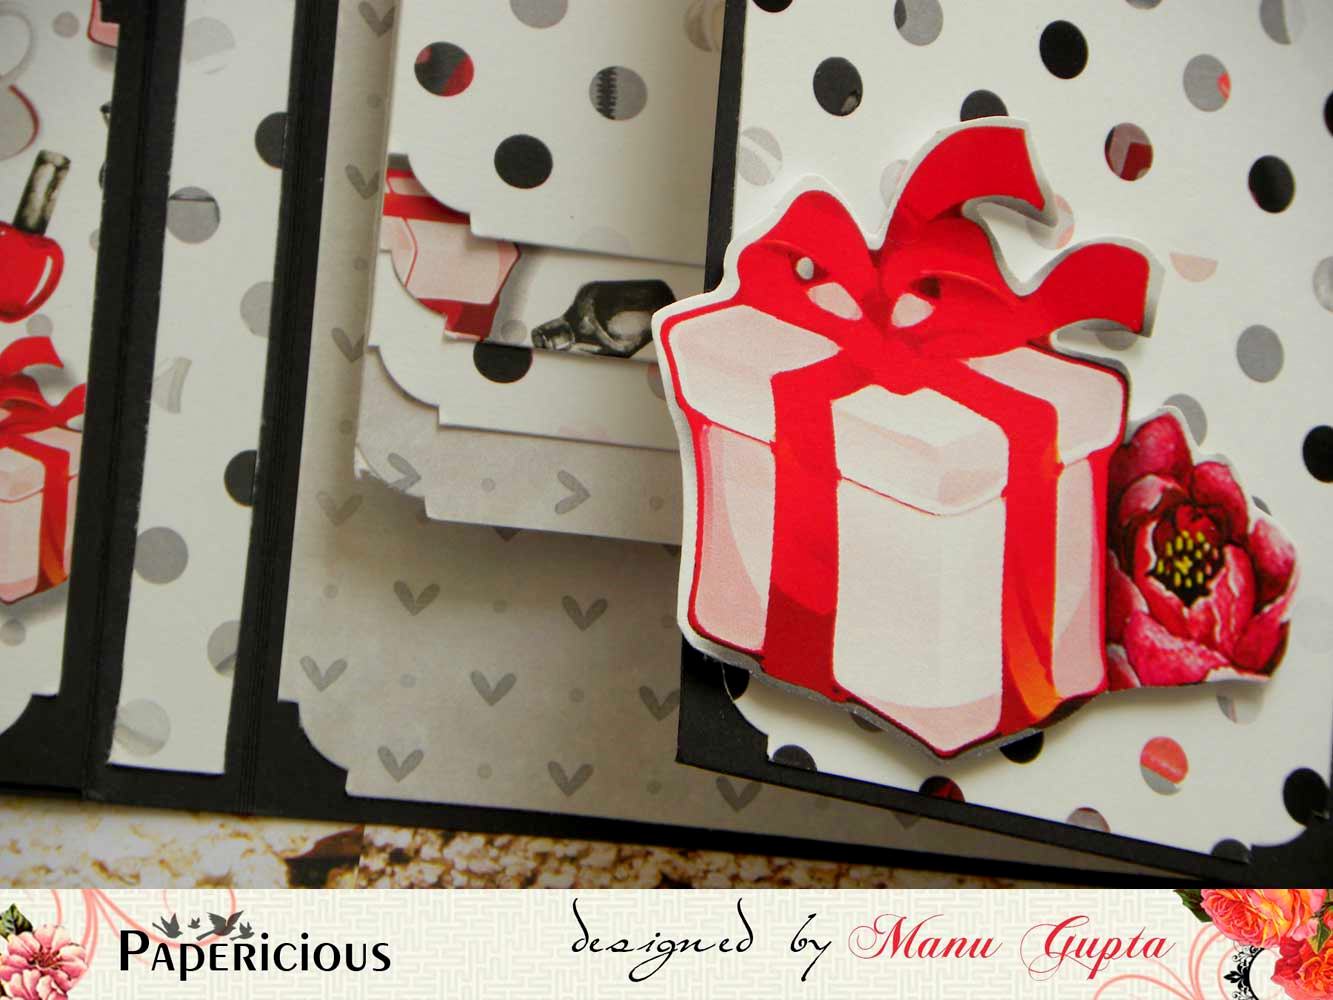
I love Papericious papers and I love hoarding them too, today I have used an old collection from Papericious - MI ESTILO . I have cut 1 inch strips from the sheet and leaving some gap, I have glued them one after another, then I have added layers using some die-cuts and hand-cut tags and added some fussy cut elements from the sheet. I finished it up with a resin frame and a sentiment from the Embellishment Sheet - "Happy GIRLS are PRETTIEST" and my journal/photo book cover is ready.


For my inspirational post, I have used MI ESTILO Paper Pack and the Mini Journal Book and created a quick and simple layered standing photo book for a pretty girl. 

SUPPLIES USED: 

MI ESTILO Paper Pack 

JOURNAL BOOK

BLACK Cardstock 

I hope you like my quick inspirational post using the journal book.
Do leave some love.
Happy Crafting
Love, 
NIKKITA

Photo Album with Mi Estilo


Hello friends!
Erum here today and I have a floral photo album to share with you.
I began by selecting a dark gray text pattern paper from the Mi Estilo Paper Pack. To this I added some ransom stamping and heat embossed this in clear embossing powder. This added so much grunge to the classy paper.
After preparing my background, I made a couple of handmade flowers and inked a few store bought ones. Then I made the window.
After my window was complete I popped it up with foam tape and then arranged my flowers.
In the end I added a few glittery butterflies.
That is all from my side today. I hope you liked my project.
See you soon.
Erum


Supplies:

" Moment to remember" by Niniscrap

Hello everyone,

I'm back today on the blog with a new page ... In rummaging through my papers Papericious, I cracked on this page background. It matches well with my photo.
I mix it with peas in blue paper given the research I has contrasting instead of repeatedly in my sheaves.

And this is my realization and this is preview


kit used


See you soon


Card cum Gift Holder using Mi Estilo and Gentleman | Photo Tutorial


Hi, crafty friends!
This is Hussena here, today I have a very quick and easy tutorial to share for making a beautiful card pouch. I really had a lot of fun creating this. This card pouch would make an ideal gift not only to give to your brother for Raksha Bandhan, but it pretty much covers all occasions including the upcoming Teachers' Day.
My son has a male class teacher & coming up with a gift for him was a challenge as I usually tend to create quite feminine project, so I was pretty happy to work with the newest collections from Papericious which has some really good masculine tones. 

Here's a look at the card pouch :


Here's how it looks when opened up :

I have embellished the insides using pattern papers from the Mi Estilo collection. The bow-tie & sentiment have been fussy-cut from the Gentleman pack.

As you can see, it has two pockets and can hold 4 X 4 inch notecards with coordinating envelopes and also there is enough space to hold a candy bar of your choice.

The note-card & coordinating envelope :


The trio together!


The back side of the pouch :


- - - - - - - - - - - - - - - - - - - - - - - - - - - - - - - - - - - - - - - - - - - - - - - - -
Here's the tutorial on how to create this :

TUTORIAL

Step 1 - Take a 12 X 5" piece of cardstock and score at 5 1/2 and 6 1/2 inches.

Step 2 - To create the inside pockets, take TWO pieces of 2 3/4 inches X 5 3/4 inches piece of cardstock.

Step 3 - Score at 1/4 inch TWICE on three sides of this cardstock and fold it to form the pocket. Cut out the two squares on the sides to help create a crisp pocket-fold.

Step 4 - To create handles of the card pouch, you can either use any punch of your choice or a die, I have used Spellbinders label 4 to create my handles.

After die-cutting the handle looks like this :

Step 5 - To further embellish the handles, create a frame using the same die set. I have distressed it using Hickory Smoke Distress ink. ( I have used the Papericious Craft Sheet & Ink Blending Tool )

Step 6 - To embellish the front & back of the pouch, I have used different pattern papers from Mi Estilo and the Gentleman pack.

The Note card and the co-ordinating envelope were also made using these papers.

For the pouch, I die-cut a scalloped border panel using papers from the Mi Estilo collection and layered it with another paper from the same collection. I then made a handmade flower again die-cut using papers from the Mi Estilo pack. Added few leaves, filler flowers and the sentiment, and my bag was ready :)

For the note-card, I have used die-cuts from the Infinity Collection. I have used three different pattern papers from the Mi Estilo collection.

For the envelope, I have again used a die-cut from the Infinity pack.


Hope you liked the tutorial and give it a try. Please do leave me your comments/suggestions regarding it I would love to hear from you.

Have a nice day everyone!

Wallet card tutorial

Hello Everyone!!

Manu here and I have a wallet style card tutorial. I made a wallet card for the Blog hop that happened between Mudra and Papericious sometime back and I got quite a few requests on how did I made the wallet card. So I decided to make a tutorial for the same.

Here's the card I made


Here's the tutorial.

1. Take a cardstock measuring 8*12 inches and score as marked in the picture below.


2. Now to add flaps, add two flap measuring 3.5*8 inches. Place it as per the picture below


Now the base is done and the wallet card can be assembled as per the choice. I used the Mi Istilo collection to embellish it

Here are the closer pics.


I hope you will like it. Do post your feedback ! I would love to hear your views on this simple wallet card!

Happy Crafting!
Manu

Papericious + Mudra Collaboration Blog Hop - Day 10

Good morning!
We are teaming up with Mudra Craft Stamps to bring you a fantastic blog hop that you won’t want to miss! There will be an abundance of inspiration, and of course opportunities to win prizes! :)


Do not forget to checkout the gorgeous works by the ladies and leave them some love. 
Today, we have the very talented Parul Gupta from the Mudra blog sharing some projects using products from both, Papericious & Mudra. We are so thrilled to have her here. Over to Parul, now !
- - - - - - - - - - - - - - - - - - - - - - - - - - - - - - - - - - - - - - - - - - - - - - - - -

Hello amazing crafters out there!!
This is Parul here and I am super excited to be part of this blog hop. 
Being a CAS lover I was so curious to know the outcome of stamping and pattern papers. And I must say this combination does create the MAGIC. The Pretty Basics from Papericious is my all time favorite paper pack.

So let's have a look at what I created
Project 1:  
Do you see those pattern paper flowers? They look absolutely beautiful and fresh. I stamped the flowers directly on to the pattern paper and then fussy cut them. These flowers are from Wild floral stamp set from Mudra. I arranged them on the card panel with help of foam tape to add some dimension. And that sentiment is from Mudra's Brushed stamp set. How beautiful that font is. I just love it.

Supplies used:


Project 2:


When I received my kit and I had look at MI ESTILO and The GENTLEMAN paper packs I was completely blown away. These are terrific!! As you look at these papers your mind starts get flooded with ideas. In this card I made a background with 1" wide stripes of pattern papers. and sentiments are from "Brother" stamp set from Mudra.

Supplies used:


Project 3:


This card is my favourite and so is the text pattern paper from MI ESTILO paper pack from Papericious.
It did take some time to make those bits and pieces but the end result was worth it. At least I think so :) The sentiment is from "The Man" set from Mudra and  I added a handwritten sentiment too :) Just to make the card more sensible.

Supplies Used:


I totally enjoyed making them. I seriously hope that I left you inspired..

Love and Hugs 
Parul

- - - - - - - - - - - - - - - - - - - - - - - - - - - - - - - - - - - - - - - - - - - - - - - - -

PRIZES:

What is a blog hop without prizes, right?

We have TWO  prizes up for grabs. Yes, that's right. There will be TWO Rupees 1000 vouchers up for grabs EACH to Papericious and Mudra Craft Stamps. Winners will be picked randomly from the comments left across both our blogs in the hop. Winners will be announced on the Papericious and Mudra blogs once the hop is over.


Don't you just LOVE all the projects created by Parul? Don't forget to leave her a comment here! :)

Have a nice day everyone!