Showing posts with label Papericious Twinkling Spark. Show all posts

Mini Album - Pretty Pixie Paper Pack


Hello People!
Chirali this side with a quick post of a Mini Album with the super cute paper pack of Papericious.
Here it is:

Some inside photos:
This is such a cute pack to make such instant albums and cards with the shaker chippies from Papericious.

I hope you liked it. :)
Hugs,
Chirali

Supplies used:

Shutter Card - Tutorial with Giggles Galore Paper Pack


Hello people!
Chirali this side with a cute Shutter Card made from Papericious Products - mainly, the newly released Giggles Galore Patterned Paper Pack which is super cute.
I have a picture tutorial too on the making of the base.
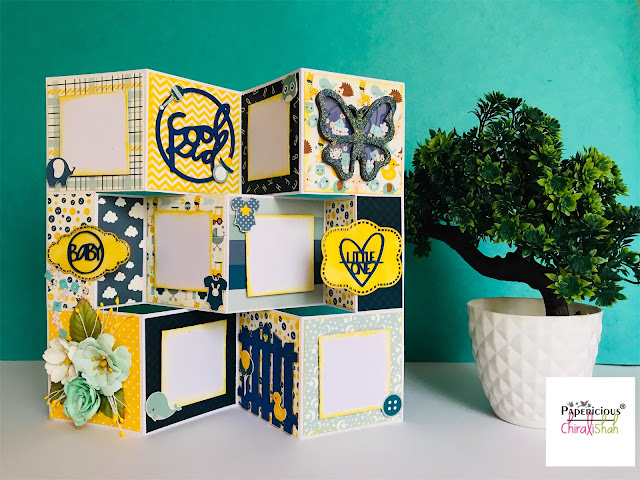
Here is the card:
Let's start with the tutorial:
Take a paper of 9 3/8"x 12 1/2" and score it vertically and horizontally at 3 1/8" so you'll have 12 squares of 3 1/8"x 3 1/8".
Score first and last square of 2nd row in the center as i have marked and scored.
Then cut the marked lines horizontally as shown in the picture.
Fold first row in mountain-valley-mountain style and vice versa for the middle row so you'll get the base of shutter card.
The closed card will look like this.

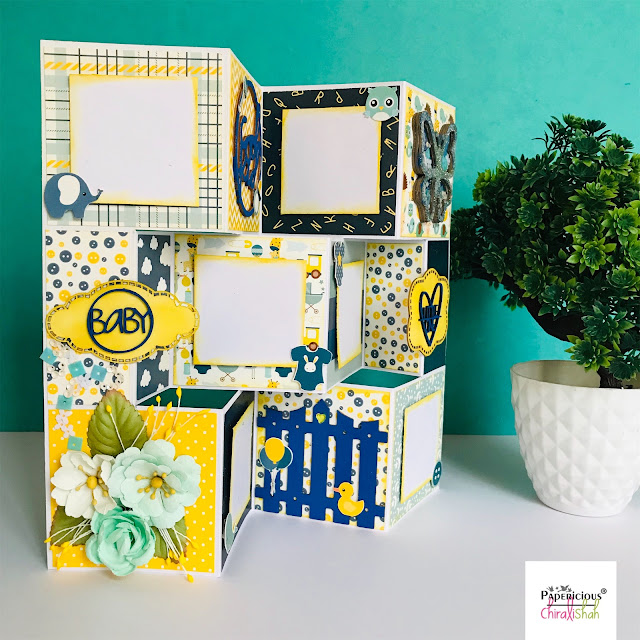
Now cut 10 sheets of 3" x 3", 2 sheets of 1 3/8" x 3" and 2 sheets of 1 3/8" x 3 1/8" of of Giggles Galore paper pack, glue them to the base as you like and start decorating the same.


I made a box to store this card too.
I have used so many fussy cuts from the same pack along with Papericious' Chippies and Sequins.

Here is my final card with box:


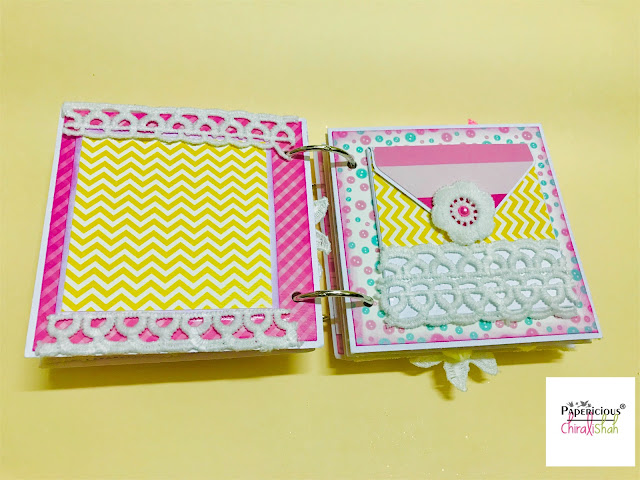
Some close-ups and side pictures of the card:


I hope you liked it.
Thanks for stopping by.

Hugs,
Chirali :)
Supplies Used:

Papericious Journal Cover Page


Hello people!

Chirali here with the very instant journal cover page, and yes, this beautiful high quality Journal is the product from Papericious. It has such a thick sheets inside that you won't get creases after journaling with colours etc, which you would usually find in normal ones

So here is mine:

I created layers from Fleur Fun Papers, added a sentiment and one of the Abstract Chipboard (painted with Soft Rock Chalk Paint and added Twinkling Spark) and at last, added fussy cut flowers and butterflies from the pack.
The inside look!
Some close-ups: 


I hope you liked the cover of the Journal.
Thanks for stopping by.

Hugs,
Chirali :)

Supplies Used:

Mixed Media Panel-- We Made It!


Namaste Friends!!

Kriti this side...hope you all are having fun....today I am here with an inspiration post using Papericious Whimsical paper pack and lots of other products too. This paper pack is really magical....out of this world...so many die-cuts...sentiments...and elements to decorate your projects...whimsical shades....awesome pack..

So here is my project..


To make this. firstly I had taken a heavy chipboard piece of  size 4" x 10", then layered it with few sheets from the paper pack. To add some interest, layered it with corrugated sheet. Then adorn it with Papericious White chippi, sequins and the die-cuts from the paper pack. Finally, sprinkle some Papericious Twinkling spark with the help of Papericious soft gloss gel. The sentiment "We made It" is also from the same paper pack.


Some close-up pics..


Hope you like this project..
Hugs..
Kriti Mishra

Supplies used

Whimsical - Papericious Premium Edition 12x12

Hollow Swirls - White Chippis

Hallowen Sequins - Papericious Sequins Mix

Papericious Soft Gloss Gel

Combo Pack - Rajni Chawla's Twinkling Spark + Clear Embossing Powder + Vellum(180GSM)

Shabby Chic Card with Let's Go


Hello!
Erum here today with a shabby chic card. For my card, I used one of the papers from Let's Go paper pack.
First, I applied gesso onto the background. I let this air dry. Second, I took a layering stencil to add more gesso with a pattern. This time I sprinkled the new Twinkling Spark Glitter generously. Again, I left this to air dry.
While my background was drying, I prepared my chipboard element, Fence Pattern Chippis and the twigs.
I mixed two shades of Spritzz Spray Colour in Deep Teal and Martian Green to make a different shade. I applied this onto the background and in the center of my flowers.
I covered my flowers and wigs with Crystal Clear Glitter.
Before adding all the elements I added a few black paint splatters to balance the sentiment tab that I cut out from one of the papers.

In the end, I added a couple of butterflies on my super sparkly card.
I hope you liked my project. Thank you for stopping by ♥


SUPPLIES: