Hello Everyone, today I am on the Papericious blog to share with you a set of up-cycled bottle lamp and decoupage wall decor I created using amazing Decoupage papers by Papericious.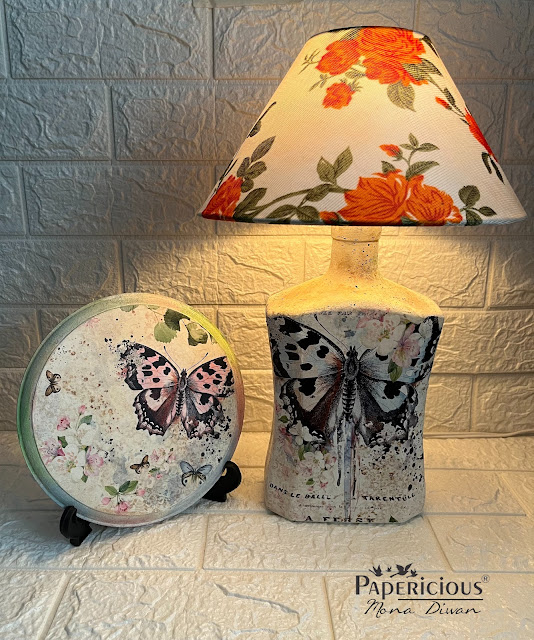
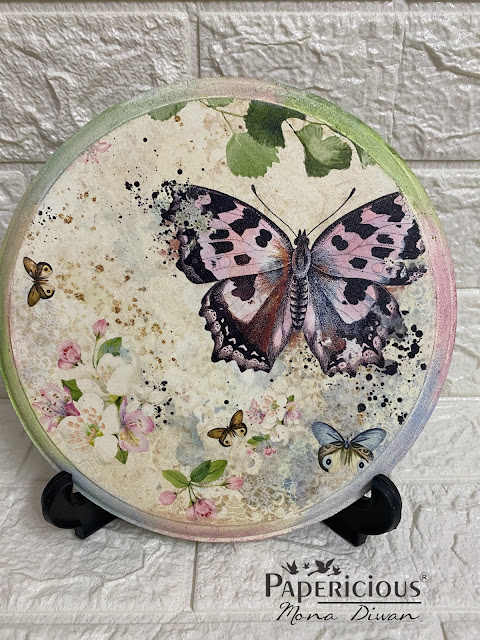
I created the wall plate using amazing MDF bases which have smooth and perfect finish.This royal wall plate handcrafted to perfection will add warmth to any corner of your home.It goes well with modern/ethnic/boho decor.
SUPPLIES NEEDED
- Round 8" decoupage base
- Decoupage Paper
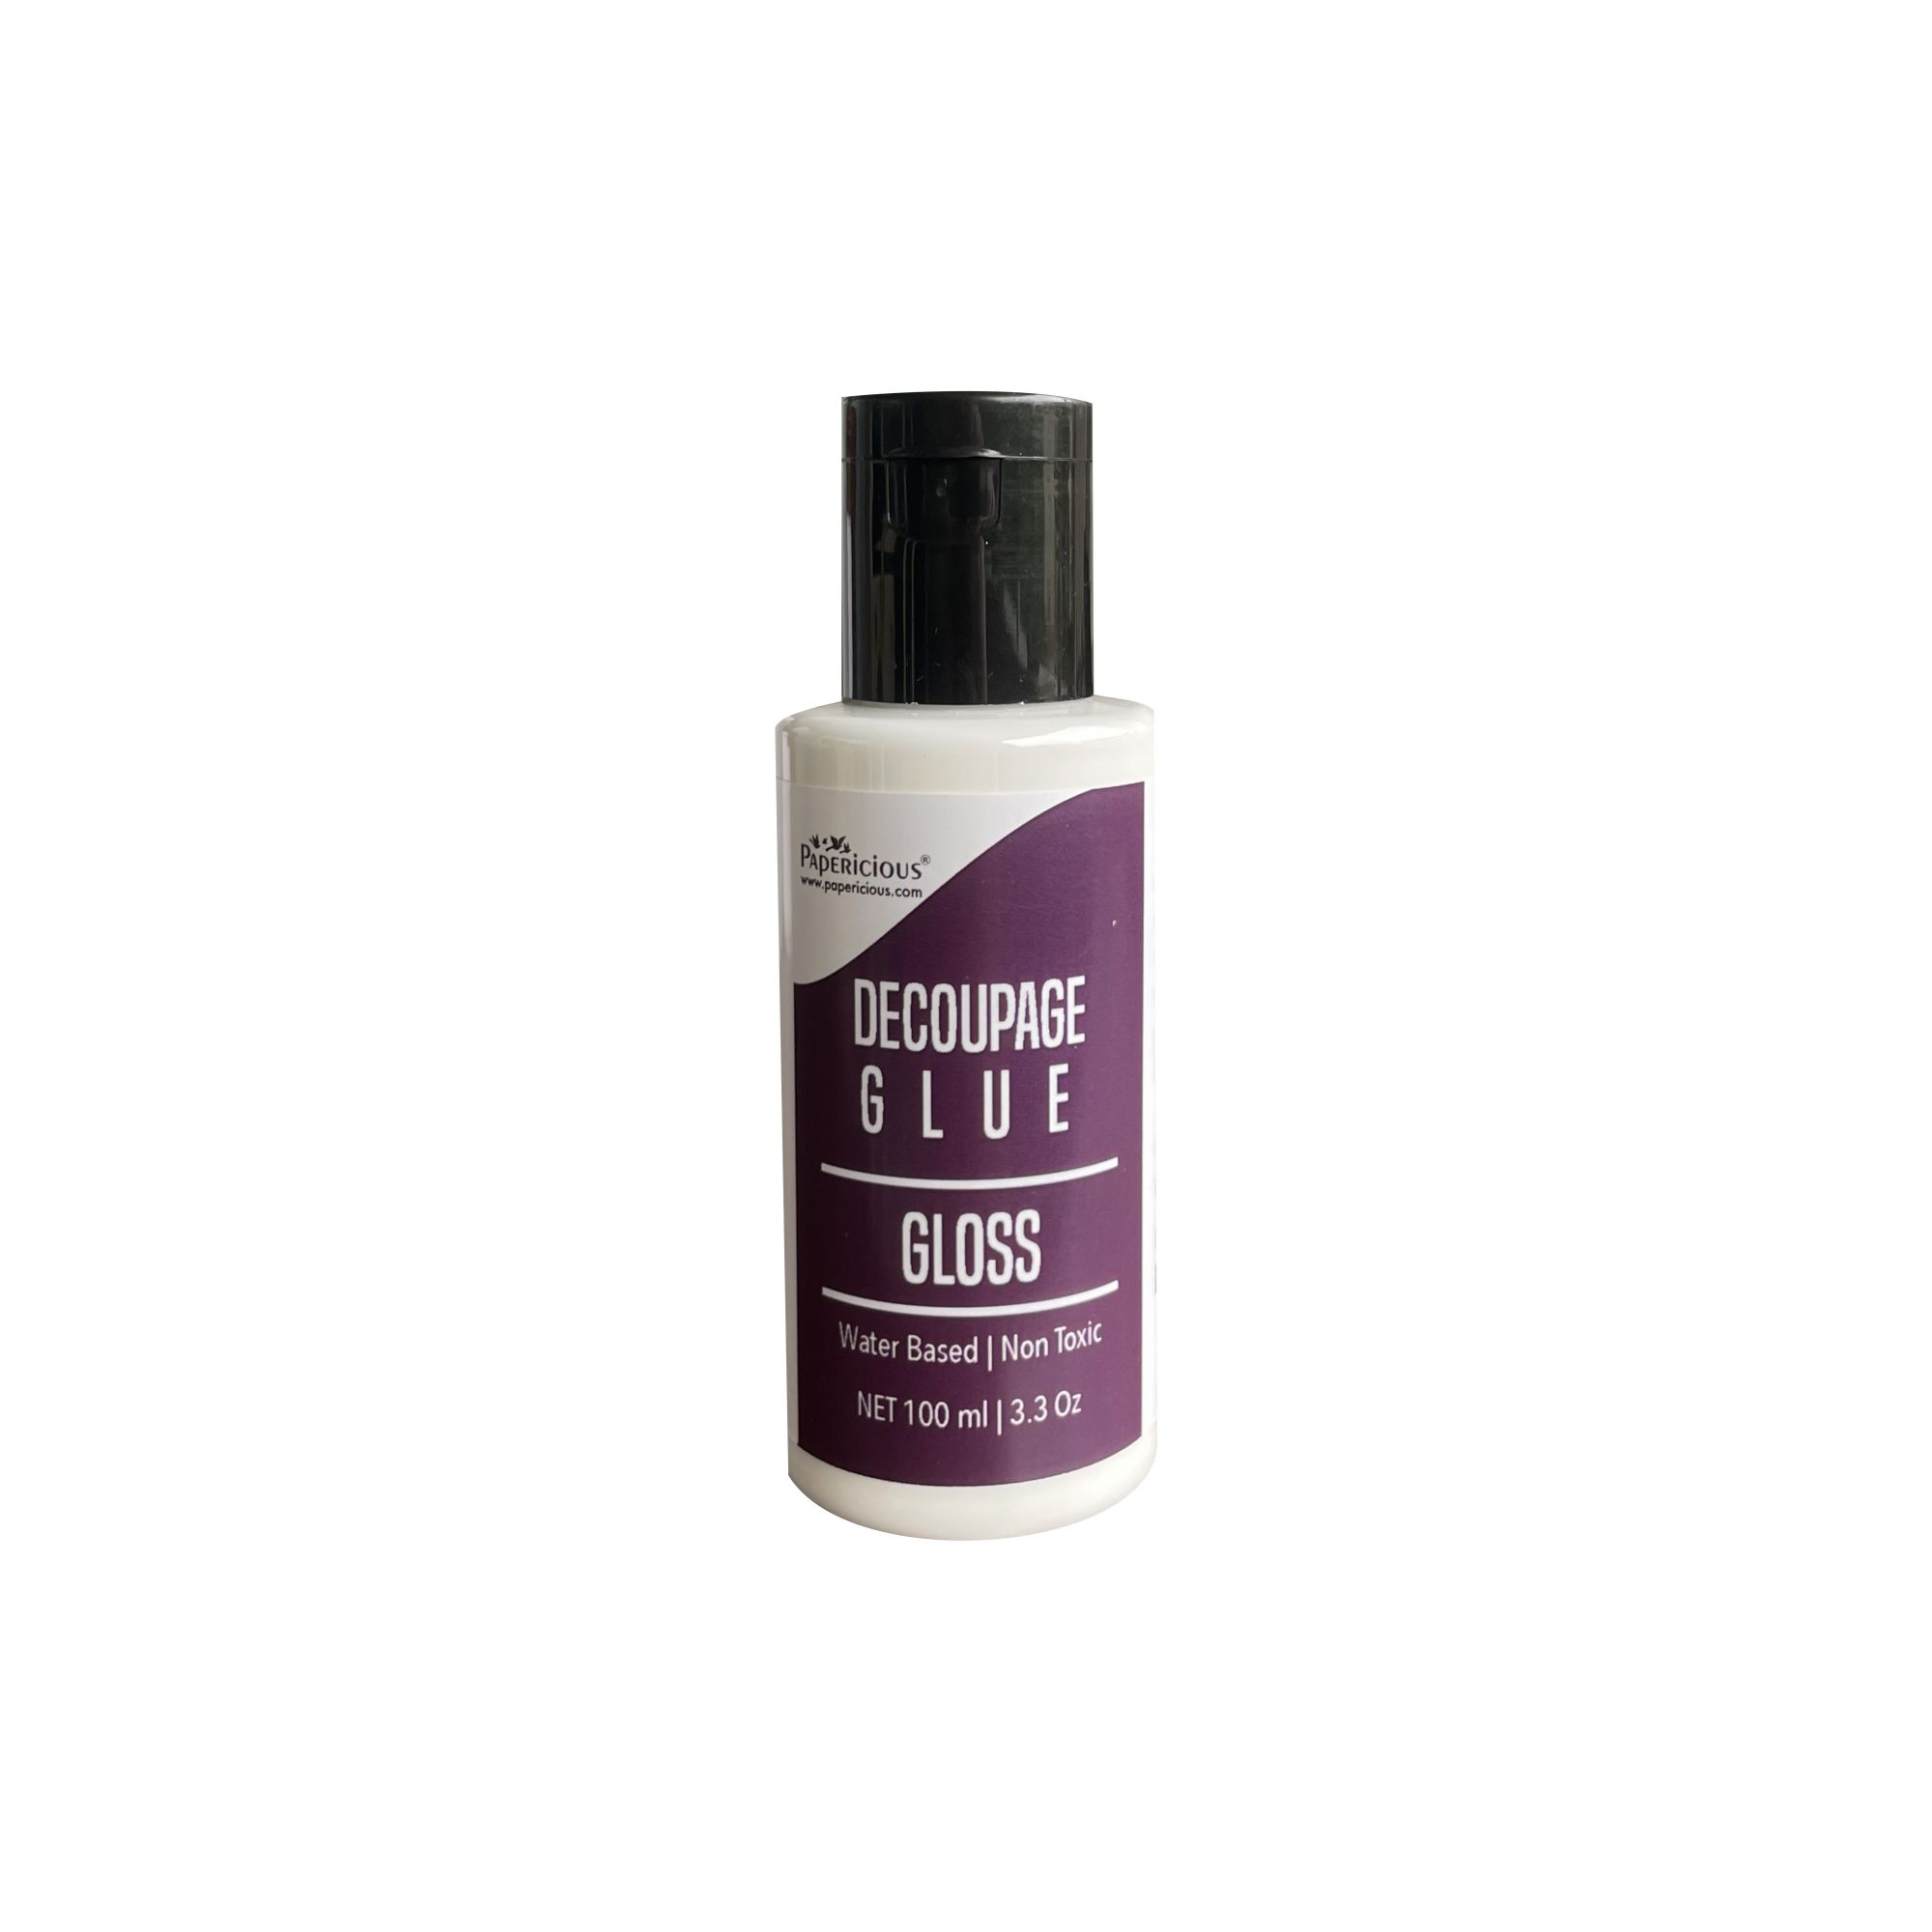
- Decoupage Glue
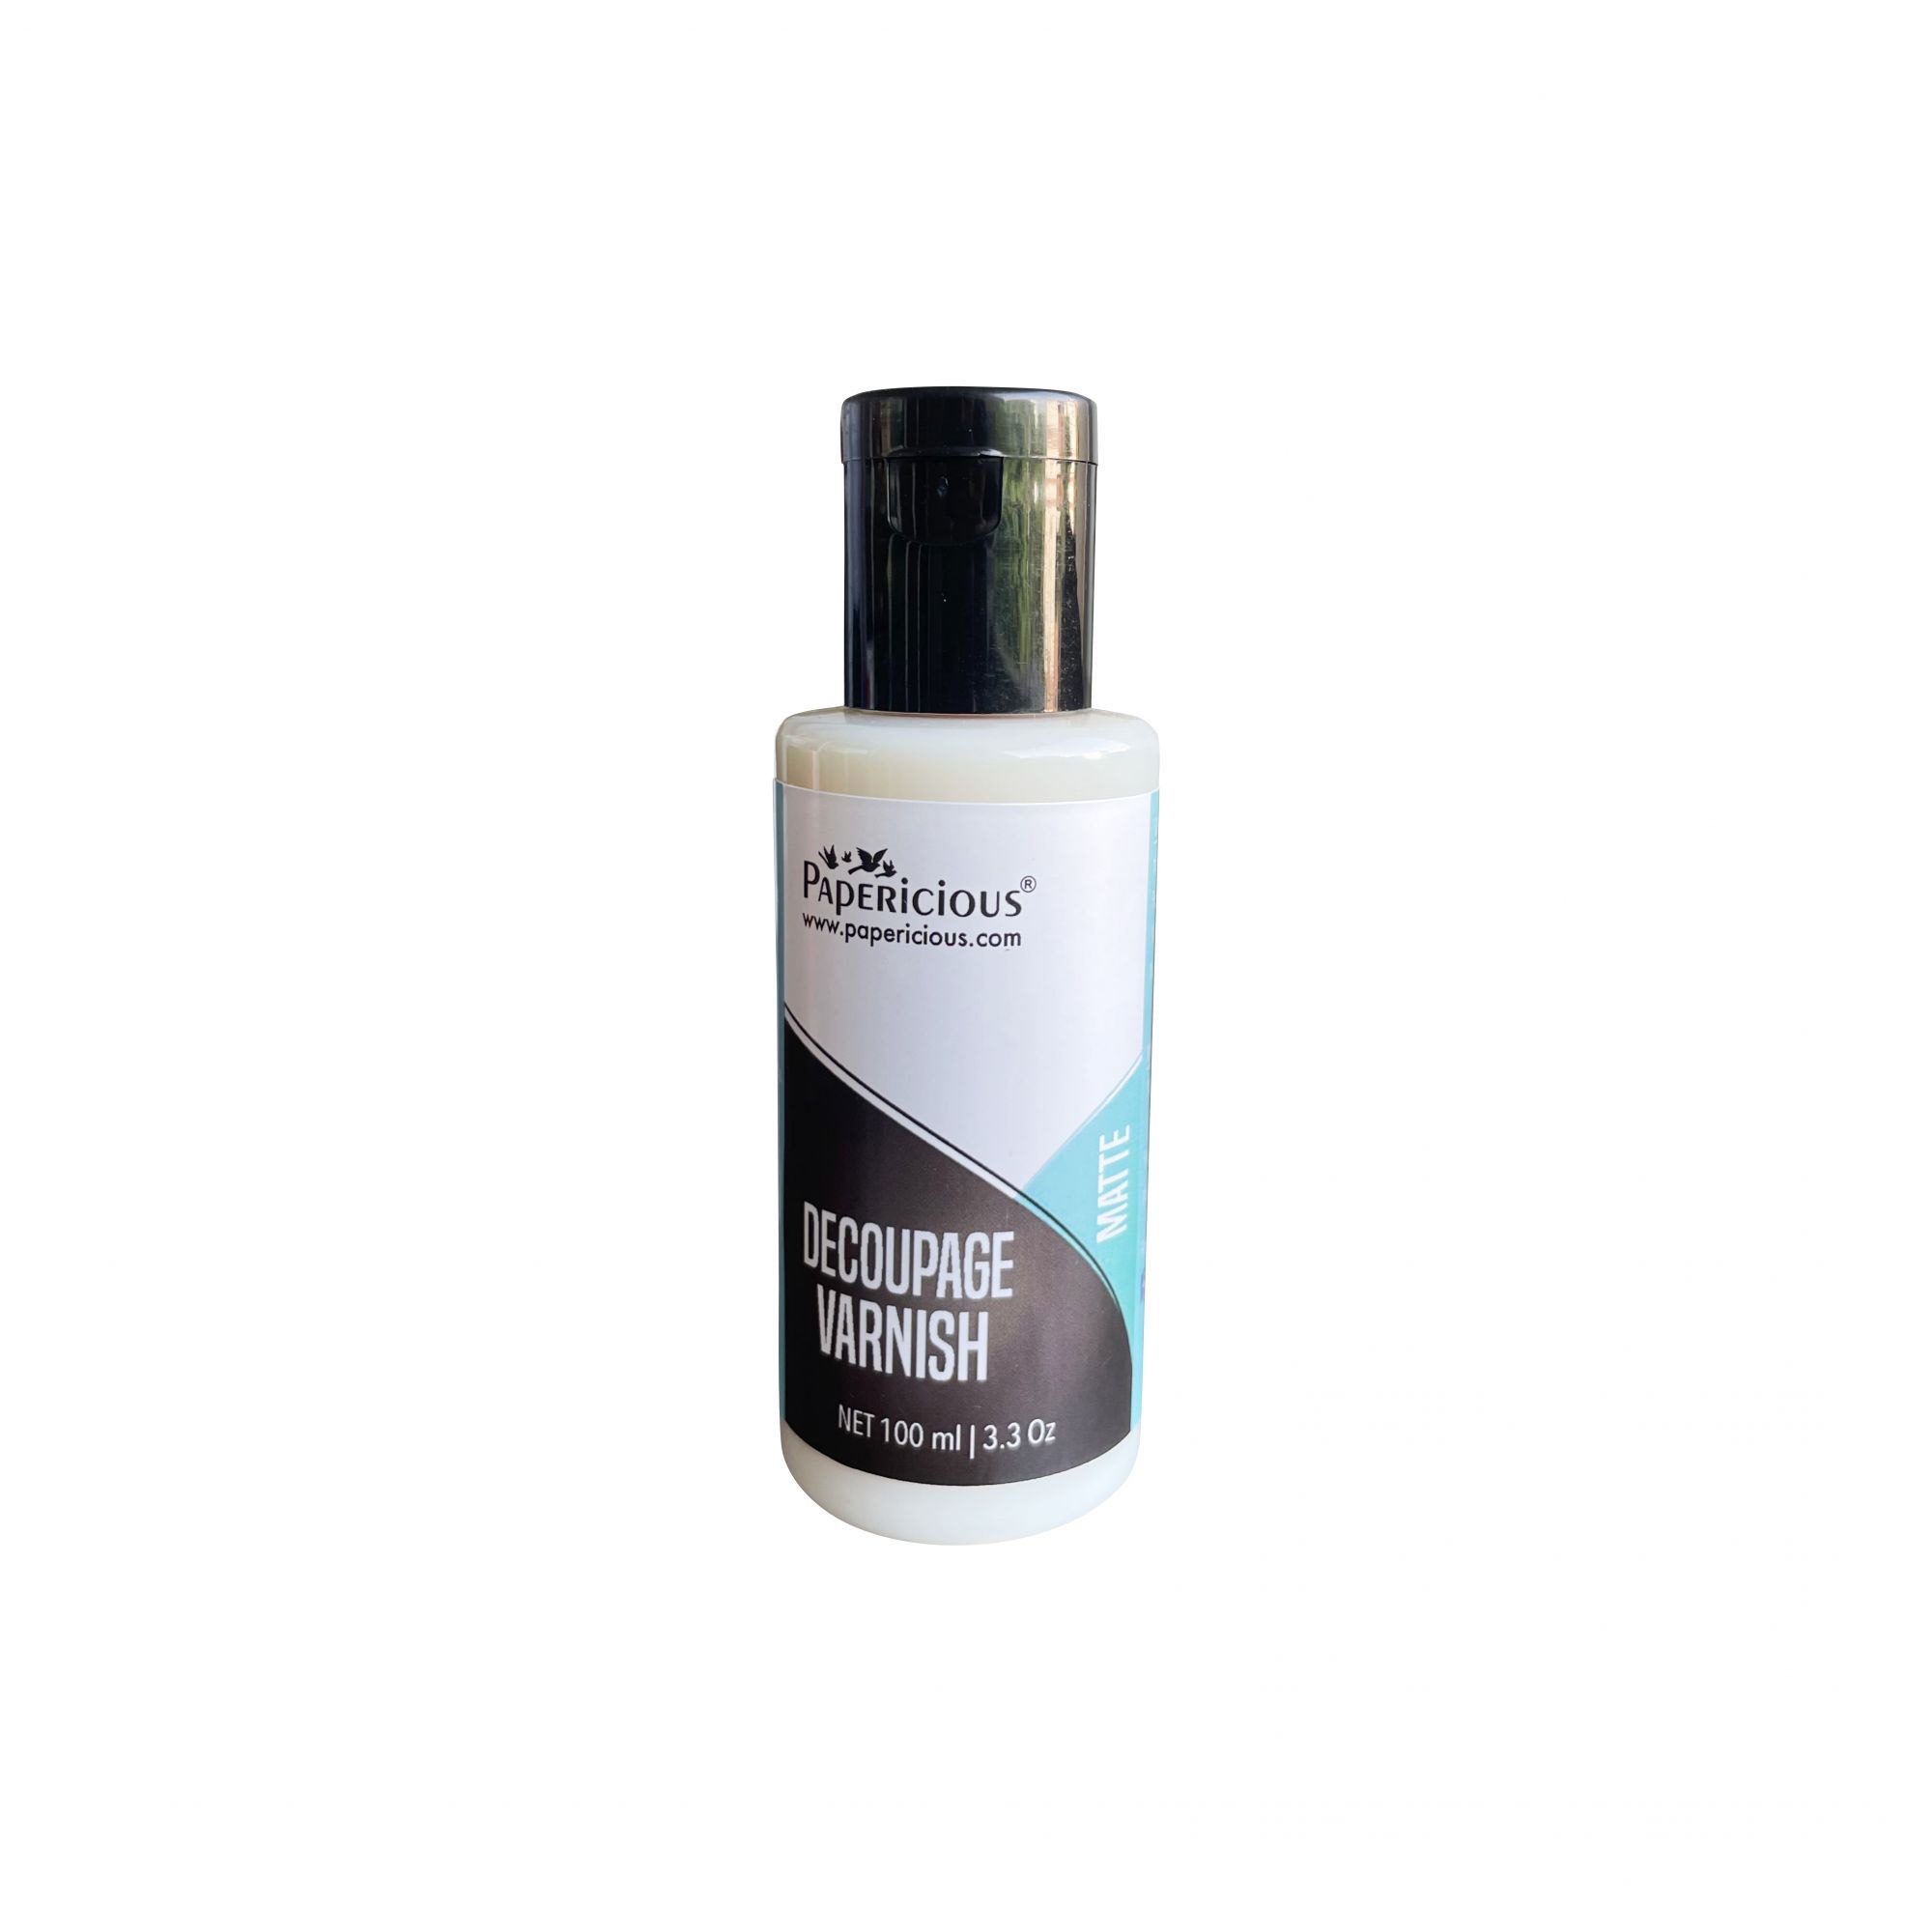
- Varnish
- Various shades of chalk paints
- Scissors
- Sanding Block
- Drill Machine
- Empty wine bottle
- Bulb holder and bulb
- Electric wire
I started with a vision for making a wall plate which can be used as table decor as well.
First I used the chalk paint " Sheep Skin" as base coat and then I used the Papericious decoupage glue for sticking the decoupage paper on the base. Further I sanded the extra paper off the MDF base and shaded the edges of the plate using coordinating colors.Finally I sealed my project with Papericious Varnish. You aren’t going to believe how easy this is, there are minimal ingredients and steps and you really can’t mess this up. I am happy with the final result and enjoyed the work so much so that, I can foresee additional pieces in my future. This is a great beginner craft, even if you’ve never done anything creative before. This plate makes an ideal gift for yourself or your loved ones during the festive season/house-warming/anniversary/wedding. As I said, if you are a beginner, you should try this project. You’ll love it and because there isn’t much too it, wrinkles are easy to avoid. I hope you like what I have created.
For making lamp first I cleaned my bottle using alcohol swab to remove any stickiness. Then I drilled a hole in the bottle for inserting wire. 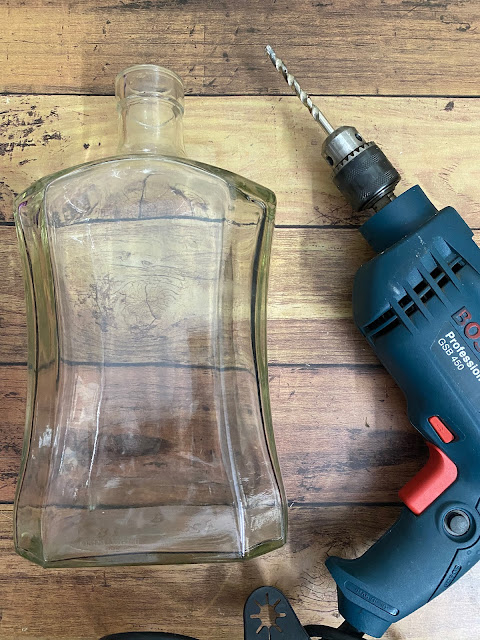
Later this beautiful, up-cycled bottle was hand painted in white color. Then it was decorated with a decoupage technique, using this gorgeous,butterfly decoupage paper. I pasted the paper using Decoupage Glue .To add shabby chic, aged kind of look I distressed the bottle and added splashes of colors on it. Outside of the bottle is varnished for durability using Papericious Varnish . I inserted wire and attached a bulb holder and I finished it off with a lamp shade on top. It creates unique, decorative centerpiece that brightens up your decor with this simple yet elegant country style accent. 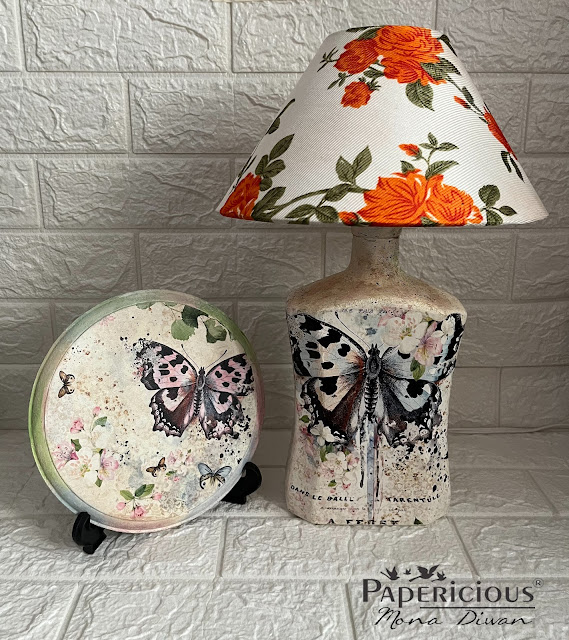
I really enjoyed creating this lamp which makes a great gift as well. So, what are you waiting for? Pick up any empty wine bottle and decorate any space in your home or office with this beautiful bottle lamp.SUPPLIES USED
This dreamy and fun paper pack made me nostalgic about my childhood camping trips, so I have made a Memory Box - Camp Memories to preserve those memories beautifully. If you have basic crafting tools and adhesive you will only need MDF box,
Woodland Walk Paper Pack and its matching
Cut & Create Embellishment Sheets. Instead of MDF Box you can use any good quality box you already have and reuse it.
So let's have a look at my project and its Step by Step Tutorial - Camp Memories
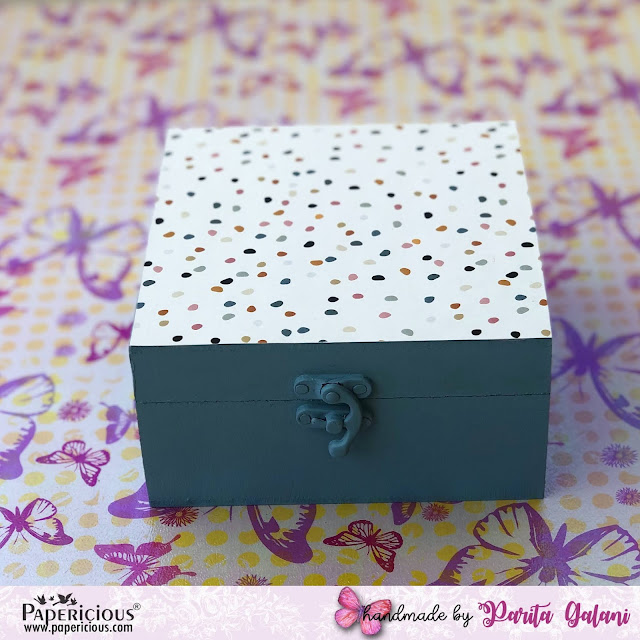
Step 1 - I have taken Papericious MDF Box for the base, painted it whole inside out in shade of greenish blue Chalk Paint.
Step 2 - I took 3 design papers from
Woodland Walk Collection, one for the top and other two for the base and top of inside the box. I have trimmed the paper according to the exact size of my box. I have placed the papers with the help of Decoupage Glue.
Step 3 - I took out various fussy cut elements from the Paper Pack and
Cut & Create Embellishment Sheets. I arranged and placed the fussy cut elements with the help of glue.
Step 4 - I also pasted some cute fussy cut elements on the top of inside of the box as shown below.
Step 5 - Lastly I varnished the complete box with Matte Finish Varnish. Tada! The box is ready to preserve memories more beautifully. You can put in photographs, any objects, souvenirs absolutely anything of your choice which takes you back to that memory lane.
Supplies Used:
I hope you guys liked my tutorial post and will surely craft one to preserve your special memories.
Keep Crafting!
Best Regards,
Parita K Galani