Showing posts with label kiss the cook. Show all posts

Desk Organiser with Kiss the Cook Paper Pack

Hello people!

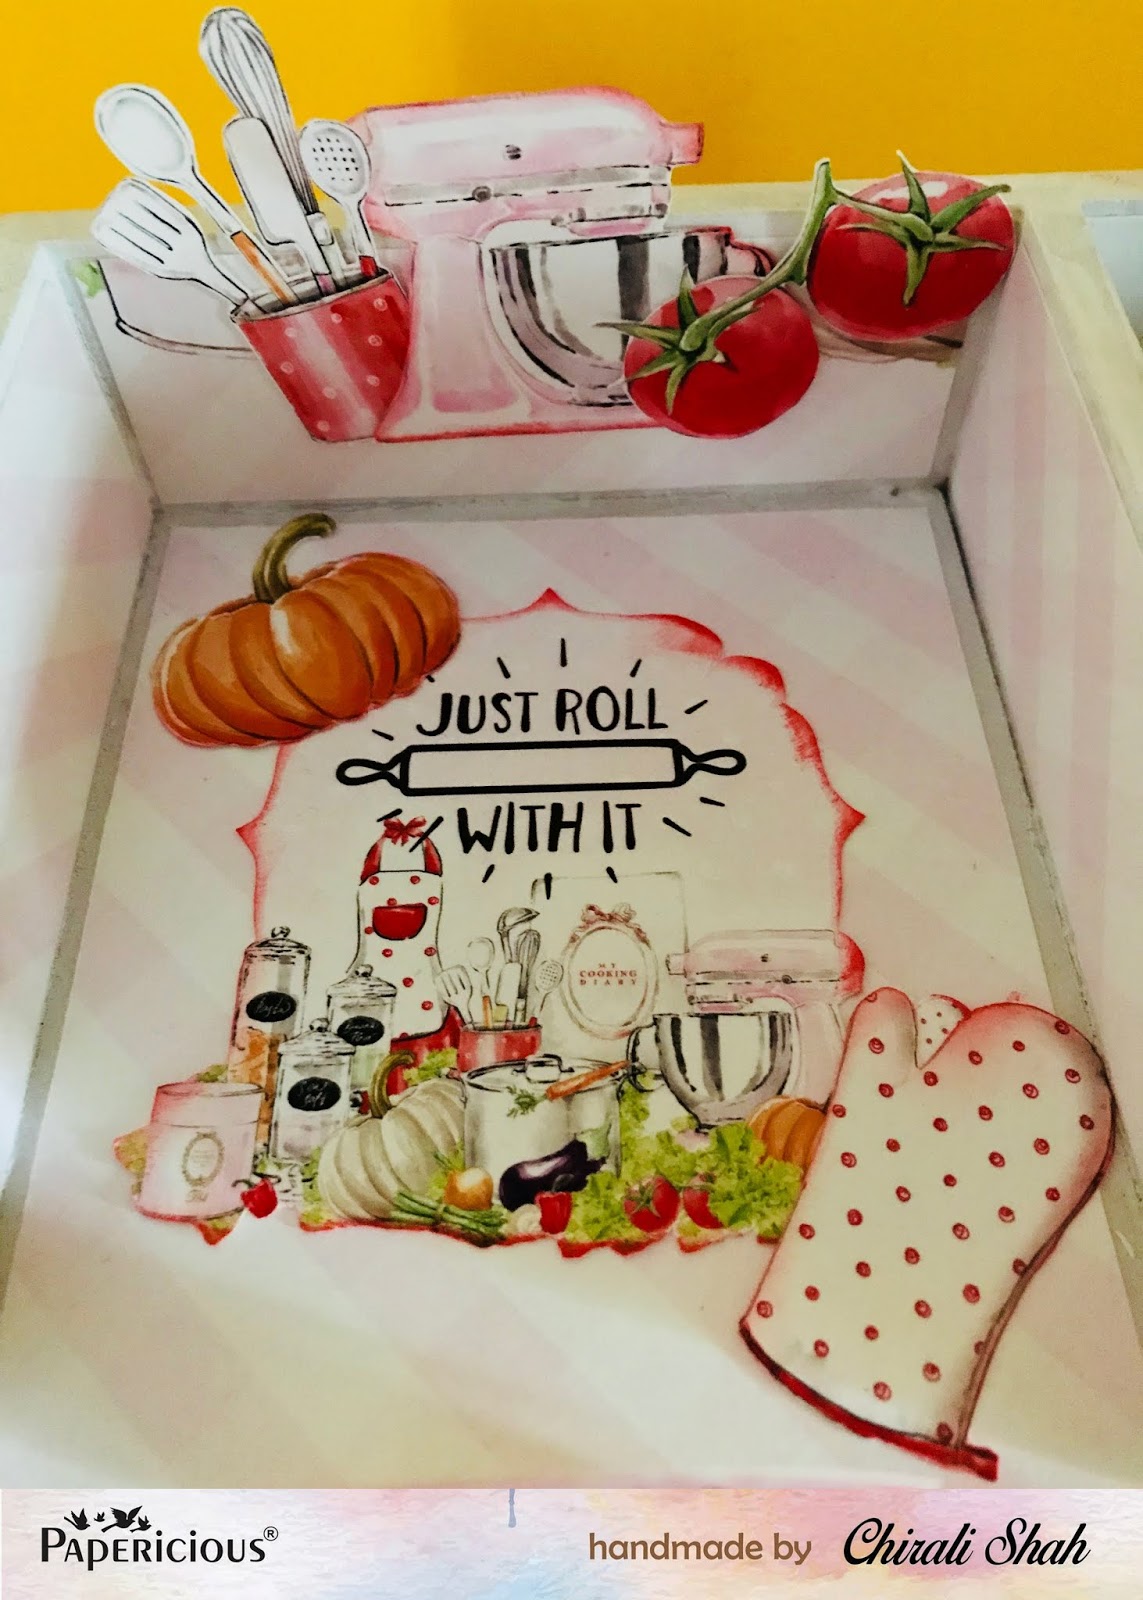
Chirali here with the desk organizer prepared with Kiss the Cook paper pack of Papericious which can be very useful in day to day kitchen routine.

So here it is:


Some closeups:


I have painted all the corners of organizer with white chalk paint and then cut the papers of given sizes and done. It's that easy.

Papericious has a variety of desk organizers which makes one's life easier in a day to day life.

 I hope you liked it.

Thanks for stopping by.

Hugs,
Chirali

Products used:


Projects with Papericious March release & Tutorial

Hello Lovely Friends!!!!
For today i have two lovely projects created using Papericious March release. One is MDF desk organizer and another one is a 3 D card with a detailed tutorial.
MDF desk organizer
Kiss the Cook pattern paper comes in two different sizes 12 x 12 and 6 x 6 inch with two sheets of images for fussy cutting. For altering the MDF desk organizer i first colored it with chalk paint dried lavender, pasted the fussy cut  images from the  pattern paper using decoupage glue and once dried properly applied crackle medium on the front and side panel. Using the chalk paint natural white dry brushed the inside part of the organizer. 


3D Card 
 Here is how i created the card
. Cut white texture cardstock to the size of 12 x 6 inch.
  Score at 2 inch, 2 inch, 4 inch, 2 inch, 2inch and fold.
 Cut white texture cardstock 6.5 inch x 6 inch.
 Score at 1 inch, 2 inch, 3.5 inch from the longer side and 1 inch on both the sides of shorter side.   Cut along the score line as shown and paste the sides creating  a box for the kitchen panel.

 Place it in the center part of the card base as shown and decorate it with pattern paper.
 Cut pattern paper 3 x 1-1/2 inch and place white card stock circle on top of it with 3d foam tape for creating gas top.
 Fussy cut out the images from the pattern paper and decorate the card as shown.


Hope you like my work for today.

Hugs
Pavitra

Supplies used 
Chalk paint - Natural white

Miniature Kitchen using Kiss The Cook Papers


Hello everybody! 
Heena here from bloomingpaperbuds.com, today I have a cute and fun project to share that I created using Kiss the cook paper pack. Kiss the cook is a paper pack filled with fun and cute elements, great for making 3D projects like pop up cards, exploding and explosion boxes ... 
Here I have created a Miniature kitchen scene, the moment I saw this paper pack I knew I had to create a miniature project using this. It is time taking and requires little extra efforts to create miniature projects but it is so worth it I just love creating the tiny little details .. I had created something similar in an explosion box using the Papericious vintage rosewood paper pack also check that out...
  

For this project, I have used pattern papers from the 12 by 12 paper pack and I have fussy cut the elements from both 6 by 6 and 12 by 12 paper pack.
I have used the Natural white and brick red chalk paint to paint the kitchen furniture. 


Here I have filled the multi-colour shaker seed beads in the glass bottle to create a candy jar.


This little kitchen Aid has my heart...


You can also create this miniature kitchen inside an explosion box using kiss the cook papers... 
you can check out my project HERE!


I hope you liked my miniature Project, do share your creations using Kiss the cook with us by using #papericious. Thank you for stopping by!
Have fun crafting with Papericious!
Heena xo

Supplies Used:


Accordion Recipe Book - Pictorial


Hello people.

Chirali this side with a brand new tutorial post of Accordion Recipe Book using Papericious' latest released paper pack 'Kiss the Cook'.

Here is the outer look:


Let's start with the tutorial:


Take 5 pieces of papers measuring 18"x6 1/8" scoring them at 4 5/8", 4 1/8", 4 5/8", 4 1/8" and 0.5 inches.


Attach all the pages at 0.5" scored portion. (By misake, I wrote 6" instead of 6 1/8")


Once it's done, accordion will be very wide.


To handle them, pack each part with magnets as shown above.


Once you are done with one side, it will still be open from other side.


So attach magnets on other sides too.


And it will close completely.


Take two cardboard pieces of 7"x10" and one piece of 1"x10". It's a binder of accordion thing.


This is exactly same as a very common album binding technique so I am not going in detail with it.


There are two sides of accordion, one has 4 5/8" and another has 6" written on it. To hold the whole accordion, I have attached whole thing with 4 magnets.


On reverse side also, attach magnets after co-ordinating with already attached magnets.


You can see magnets on both sides.


Attached accordion!


Add flaps on both sides. Total 19 sides are there.

Now the base is ready. Start decorating it.


This paper pack has such an amazing elements to make any kind of kitchen related stuff.


Inside!


Write a name on that tag, open it, attach a photo on one side and recipe on the other and you can store 19 recipes. If want only recipes, you can attach 38 recipes. Additionally you can add on the left page too which has some paper in a pocket.


Other side of accordion.


You can detach whole accordion thing too. Isn't it amazing?


Back side!


Some more pictures!


Without any single decoration element, you can make a whole thing with this gorgeous paper pack.

I hope you liked this photo heavy tutorial.

Thanks for stopping by!

Hugs,
Chirali. :)

Supplies used: