Showing posts with label Papericious Often Collection. Show all posts

OCTOBER CHALLENGE | Colours Of India!


A big warm welcome Papericious friends!
Hello, this is Swati Nahata from Swati's Crafting World. I hope y'all had an amazing Holiday with some fun time with your family & friends. I am here to announce the challenge this month. I am very excited to host this challenge. My aim is to inspire you to join the CHALLENGE & do something a little creative for yourselves. This month the challenge of  "Colours Of India!"

LET US RUN THROUGH THE RULES

OCTOBER CHALLENGE -  "Colours Of India."
Create ANY project (flat project, 2D projects like Cards, Tags, Bookmarks, etc) that uses atleast 4 colours. Neutral Colours will not be counted in the tally.

1. You can create any project - Altered Items, 3D projects, Home Decor, Cards, Layouts, Mini          Albums, Scrapbooks, etc

2. Remember that you need to use Papericious Products as your main focus to qualifying for the win.

3. The last date of submission of your projects is 10th November, 2019 at 11:55pm IST.

4. Please go through the general guidelines HERE before you link up your projects. Any project not following the rules will be disqualified and it will not be eligible for the prize.

5. If you are entering the challenge via social media platforms like Instagram or Facebook, please remember to write in your post that you are participating in the Papericious Monthly Challenge and give a direct link to the challenge blog post in your post description. Do mention the Papericious products used in your post as well. Then, come back and link your entry using the InLinkz tool provided at the end of the post. 

PRIZES

The Design Team will be selecting a Merit based Winner at the end of the challenge who will stand a chance to win a gift voucher worth INR 1,000 from the Papericious Store. 

We will also be picking three entries as our Top 3, who will be awarded a badge to 
flaunt on their blog.

ONTO MY CREATION

A greeting card? No! Try this colourful & Beautiful Tower Explosion Box.This gift will explode once opened, & reveal all the love you put into it. It's not only a box, but also a gift to your lover, parents or yourself. When closed it looks like a box & when opens, all the sides fall back to reveal a large multi-layered card & after that when you pull it up one by one, it'll open like a tower. I made the box with an amazing Papericious Papers - OFTEN. One of the most colourful & beautiful Paper pack hitherto. 

DETAILED PICTURES

SUPPLIES USED:


I hope you enjoyed my little piece of challenge inspiration. 
Hope you guys will join me this month. I would love to see your gorgeous creations using Papericious products. I look forward to your participation.
Well, that is from me today. Thanks for stopping by.
Happy Crafting!
 XOXO

Birthday Box by NIKKITA

Hello everyone!
This is NIKKITA, and today I am back with a new inspirational post using the amazing Papericious OFTEN Collection. This is one of the oldest release from Papericious but I still love it and it can be used for anyone and everyone. The prints are so bright and colorful I keep using it often.

For today's post, I have made a Birthday Box which has three layers and the center is a small box for gifting , when the receiver will open the box this will come as a surprise and it looks really amazing as well.


SUPPLIES USED :

PAPERICIOUS OFTEN COLLECTION 
BLACK CARDSTOCK
I Hope you like the birthday box. Do leave some love.
Happy Crafting!
LOVE,
NIKKITA 

Envelope Tutorial using Decoupage Papers by Nikkita


 Hello everyone, 
This is Nikkita and it's time to bid goodbye to 2018 and welcome 2019 with celebrations and fun. Today, I am back with a quick tutorial on  Envelope with a belly band. It's a picture-heavy post!
ENVELOPE with a Belly-Band

TUTORIAL
You will need Cardstock, Pattern Papers/Decoupage Papers and Embellishments.
STEP 1- Take a piece of cardstock measuring 8 x 7.75 inches, score on the 8 inch side at 1/2" and 7 1/2". 
Turn 90 degrees, i.e on 7.75 inch side, and score at 1" and 4 1/2".

STEP 2- For the belly-band, take a strip of 2 X 8 inches, and score on the longer side at 3 1/2 ", 3.75",  7.2", 7.5".

STEP 3 - Remove the top corners and last corner sides from the envelope as shown in the picture below, then add tacky tape or glue and stick them together to create the envelope base.
For the belly- band, apply tape or glue to the 1/2 inch area and create a band. 

STEP 4 - Finish the envelope by decorating it using Decoupage Papers or Pattern Papers as you like.
I loved working with Decoupage Papers as they are very easy to use and you can use it in many ways from making Decoupage projects to scrapbooking.
ENVELOPE BASE
BELLY- BAND
FRONT

BACK

CLEAN ENVELOPES WITH BELLY -BAND


SUPPLIES USED
:
OFTEN 12" X 12" Paper Pack


BLACK CARDSTOCK

 Hope this quick tutorial inspires you to make not one but many envelopes for yourself /gifting.
Do leave some love.
HAPPY CRAFTING
LOVE,
NIKKITA

MDF LOVE album using the OFTEN pack

Hello Everyone!

I'm Manu and this is my last post for 2015!!! 2015 has been an incredible year for me and I have learnt and absorbed a lot of things!! More so because I have fallen in love with what I do more and I hope this fascination and love towards my work continues in the new year too!!! 
Papericious has came out with 2 smashing collections in December and both are something to swoon on!! I loved working with the Infinity paper pack and you can view my desktop calendar here.
The other pack launched was OFTEN and my fellow DT members (a few of them) have already made amazing creations using it. 
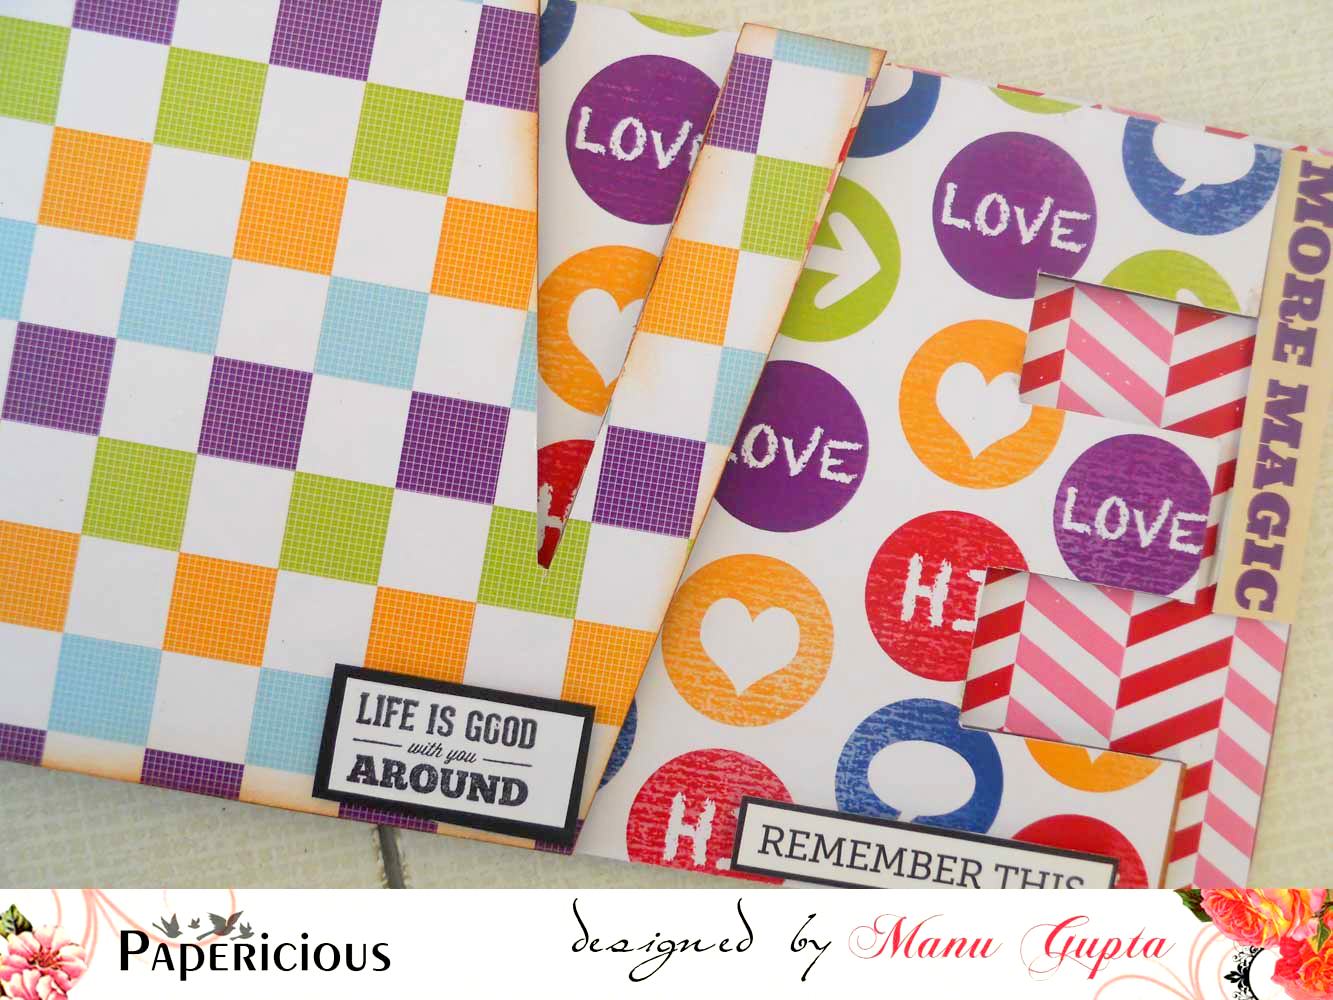
I have made an MDF LOVE album using the OFTEN pack. I love this pack for it's bold look and very vibrant and rich colors! Lets checkout my take !

Sit back, Coz I have lots of pics to showcase the collection!


I do admit, it was hard for me to cut through this pack!
*sigh*


Couple inside shots!


I kept the insides to bare minimal coz I wanted to showcase the patterns and that the papers are totaly yumm!


Above were a few closeups!!! 


I totally loved the rich and vibrant colors on this one and couldn't help resist myself from cliking soo many pics!

I however do hope that you all liked my creation and yes, this pack is a must have in your collection!

Here's wishing you  A Very Happy New Year and that all your wishes come true!!!

See you around in 2016!!!
Happy Crafting!
Manu

Altered Diaries using 'Often' Collection with a Tutorial

Hello everybody,
This is Hussena here and I have some really quick and easy gifting ideas for the New Year. I'm sure most moms would agree that they would like to give a lil' something to their childrens' teachers or their hubby's clients. These altered diaries would make a perfect gift. The papers in the 'Often' collection are really very bright, peppy and trendy and they mix and match really well. The die-cuts that have been introduced with the paper packs make the perfect accents to dress up these diaries. Here's a look at two of these altered diaries that I have made:
(Scroll down below to check out the step by step tutorial on how I went about creating it).

 Diary one

A look at the inside of the diary:

The last page of the diary. The tags are die-cuts from the Often Collection.

A look at the back of the diary.

Diary two

Here's how I have embellished the inside of the diary.

This is how the last page of the diary looks like.
 
This is an inside page with a photo mat to include those special memories.

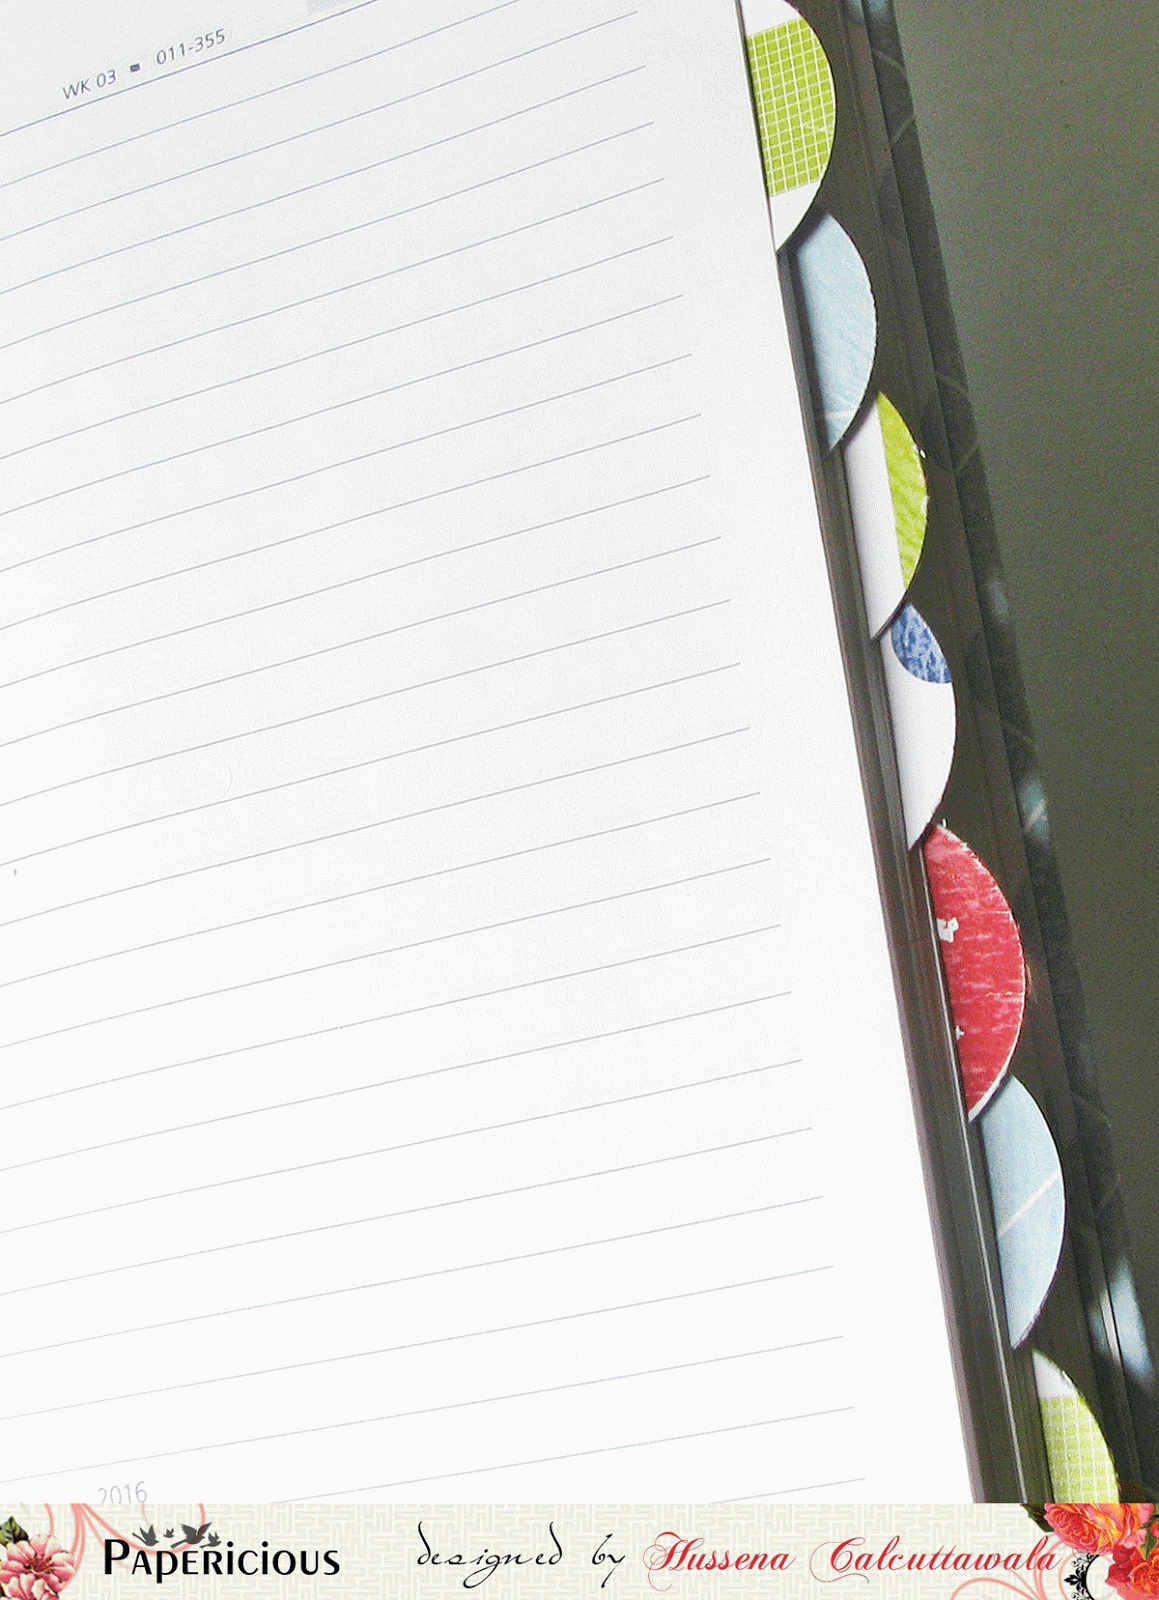
I have punched out circles and cut them in half to create these tabs on the side. These circles were punched out from all the left over scraps from the Often collection.
 
The back of the diary. 


 Now here's a simple  tutorial on how I went about creating this Altered diary :
Step 1 : Choose the pattern paper of your choice and measure and cut 2 pieces for the front and back of your diaries ...Just take an extra inch to your measurement as it will help to neatly fold over your paper.
      
 Step 2 : Cover the entire front cover of your diary with Mod Podge and also the back of your paper and glue it together.

Step 3 : Once you have glued the paper to the front of your diary, open it up  and cut a small slit on the corners of your paper as it helps to fold the paper easily and gives a finished look (As shown in the below picture).

 This is how it looks once you fold over your paper :

Step 4 : Now cover the back of your diary with Mod Podge and cover it similarly as shown in Step 2 and 3.

This is how your diary will look once it is covered :

Now to cover the spine of the diary cut an paper measuring 2 inch in width and the length will be the length of your diary cover. ..Mine was 8 inches so my dotted paper strip measures approximately 2 inches by 8 inches. Glue it over the front and back sides of your cover and now your diary is ready to be embellished.

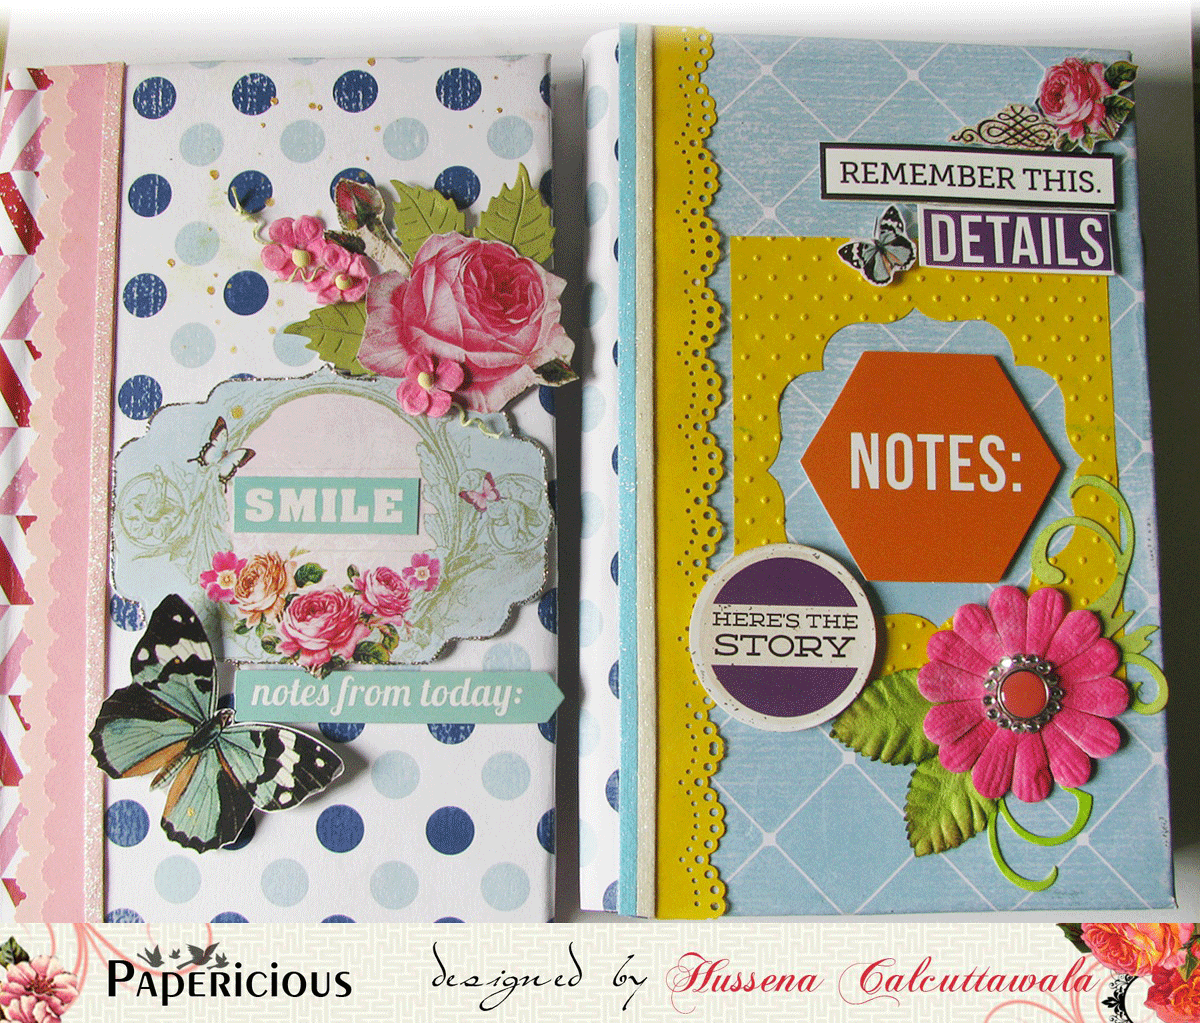
A look at both the diaries together!

And this is how both the diary cover's look once I finished embellishing them. In both my diaries, I have used papers from the Often collection and have used die cuts from both Often and Infinity collections to embellish it further.

Hope you like my work and find the tutorial helpful.
Please do leave me your feedback as I love hearing from you :)
Have a nice day everyone!