Hello Friends!
Nandini here back with a tutorial post of a beautiful Easel Card with a Drawer Box which is designed with an amazing Paper Pack '
WITH LOVE'. It's a lovely paper pack with lots of floral images.
Step 1
Take the Cardstock or any 220 GSM paper for making the base. Size 9" X 7" for drawer box. Score at 1" from all sides.
Step 2
Take the paper of size 13" X 7" for making lower side of the box. Score at 5", 6 1/8", 11 1/8", 12 2/8"
Step 3
Take the paper size 7" X 11" for easel. Score at 1", 4 4/8".
Step 4
For ground level platform: Take the paper size 9" X 7" and score at 1" from all side.
Step 5
Fold all the score lines and paste it like to make a box.
Step 6
Cut the beautiful sheets of '
With Love' Paper Pack 1/8" less than paper size and paste it accordingly.
Step 7
Attach a handle to pull out the drawer box.
Step 8
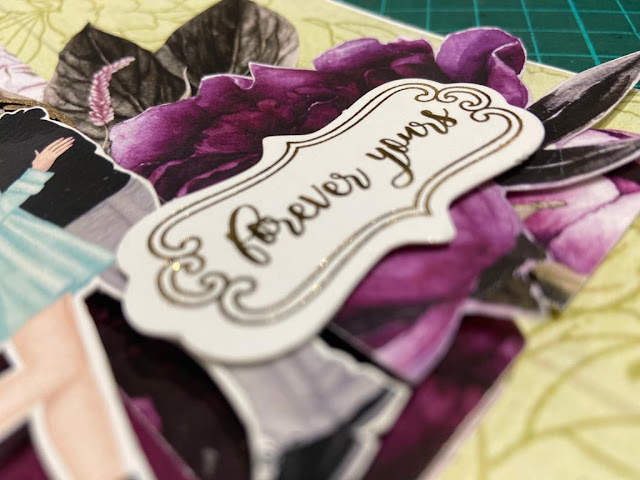
Make a delightful composition using images from "
With Love" and "Me Before You" coordinating CCE Embellishments. Use different wooden embellishments as well to add to its beauty.
Step 9
Stick sentiment from Gold Die Cut Embellishment Sheets.
Some more detailed pictures:
Supplies Used:
3. Gold Chipboard Embellishment Sheets
4. Me Before You - Cut and Create Embellishment Sheets
5. Chippies
Hope you all have enjoyed the tutorial.
Luv,
Nandini Ramchandani
Hi Crafty Friends!
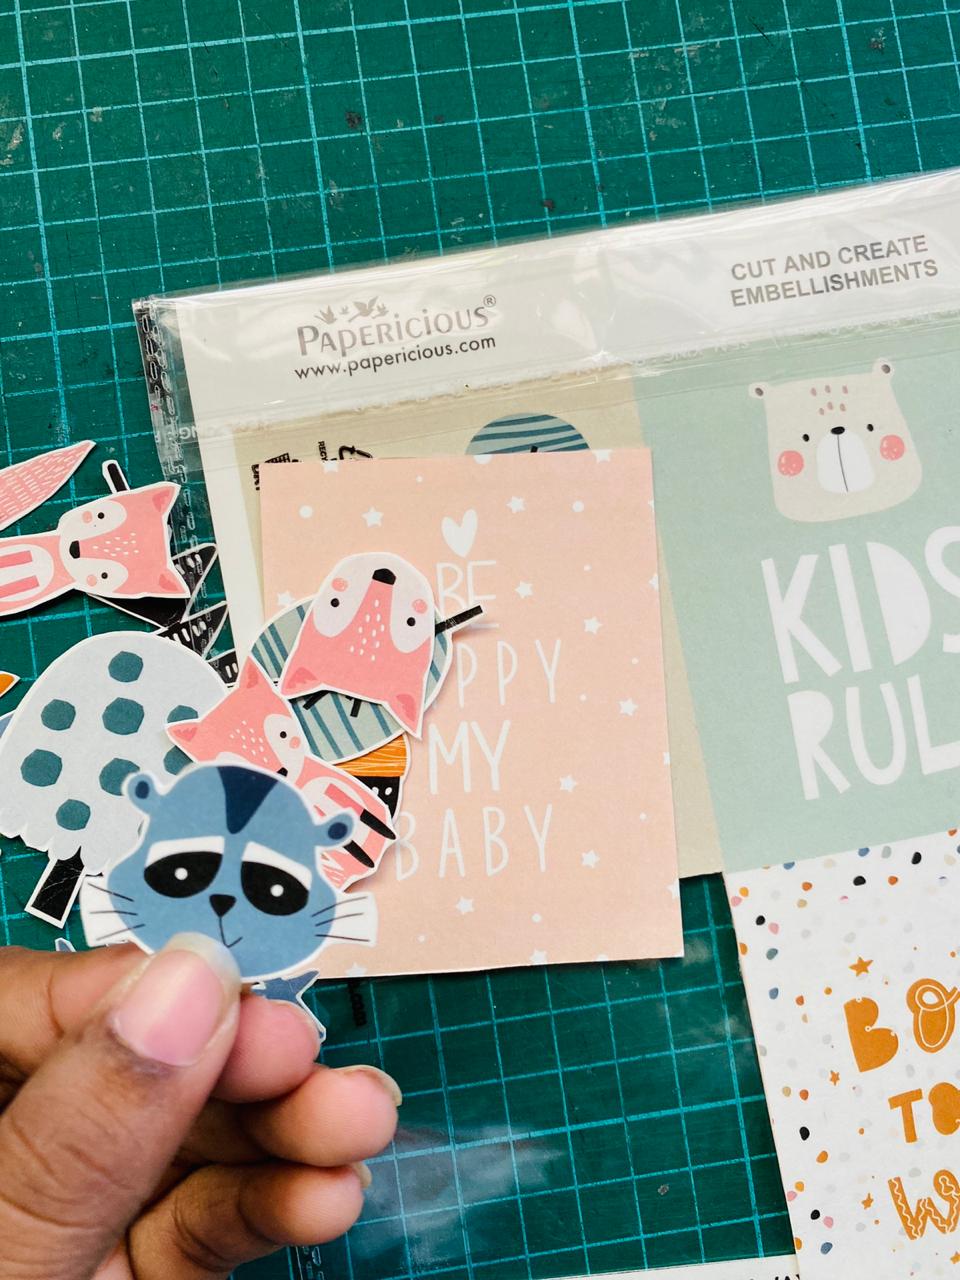
This is Sneha and Puja from Kalakriti to share my tutorial post with you all. Our project today is a Tag Flip Book featuring the 'Dream Big ' Paper Pack. I have also used the co-ordinating Cut and Create Embellishments and Chipboards. This paper pack has a lot of beautiful elements and is perfect for baby related projects.
Have a look.
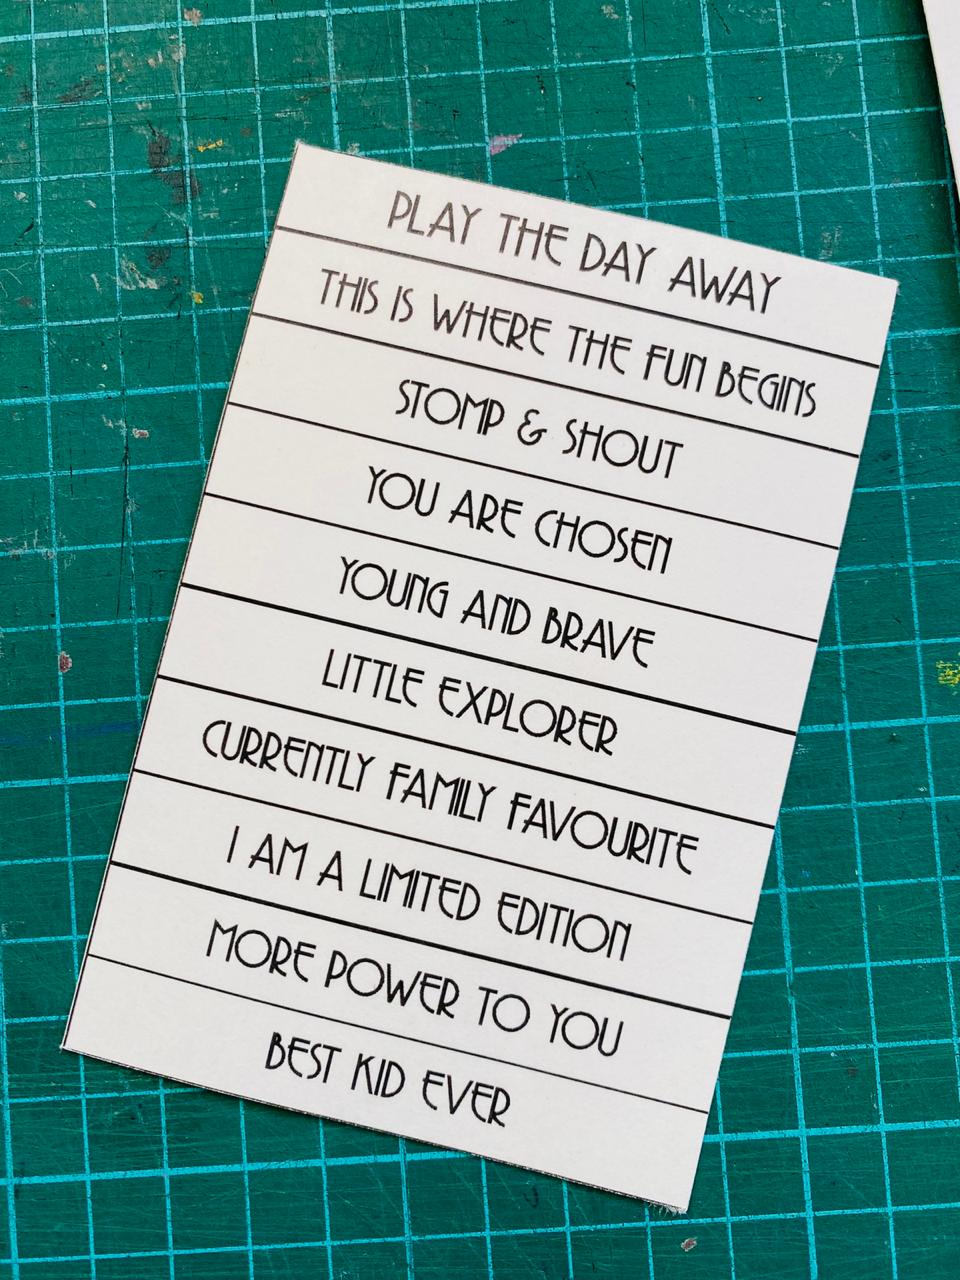
Take a Cardstock Sheet and cut according to the measurements given in the pictures:
Now paste the pattern papers on the Cardstock pieces.
After pasting the pattern papers, add fussy cut elements to decorate the Card and the Tag Flip Card is ready.
Supplies Used:
Hope you all have enjoyed the project!
Love
Sneha and Puja
Kalakriti
Hello friends,
This is
Nandini back with delightful cards ft.
Woodland Walk, newly launched Paper Pack from Papericious which has lovely images of animals and nature elements. This paper pack is perfect for all your kid related projects. I enjoyed making these cards.
For Cards, I have taken Cardstock of size 10" X 14", then I layered it with different design papers from
Woodland Walk. These cards are the perfect example of simple layouts with beautiful small compositions. I have used coordinating
Cut and Create Embellishment Sheets to create a pleasing composition in the lower area of the card.
Here are some simple steps to follow to make these cards:
Here are some detailed pictures of cards:
Supplies Used:
Hope you all liked the cards!
Thank you for stopping with us!
Luv,
Nandini Ramchandani