We are here today with a new project featuring the "
Woodland Walk". We used the
"Woodland Walk" Paper Pack to make a Mini Fli Book which can also hold photos and quotes. The paper pack also had fussy cut elements which is used to decorate the Card.
Let's have a look at few pictures of this Mini Flip Book.
Papericious Products Used:
Hope you got inspired to create your Flip Books.
Stay Safe! Take Care!
Thanks so much for stopping by today!
Love,
Puja and Sneha,
Kalakriti
Hello friends,
This is
Nandini back with delightful cards ft.
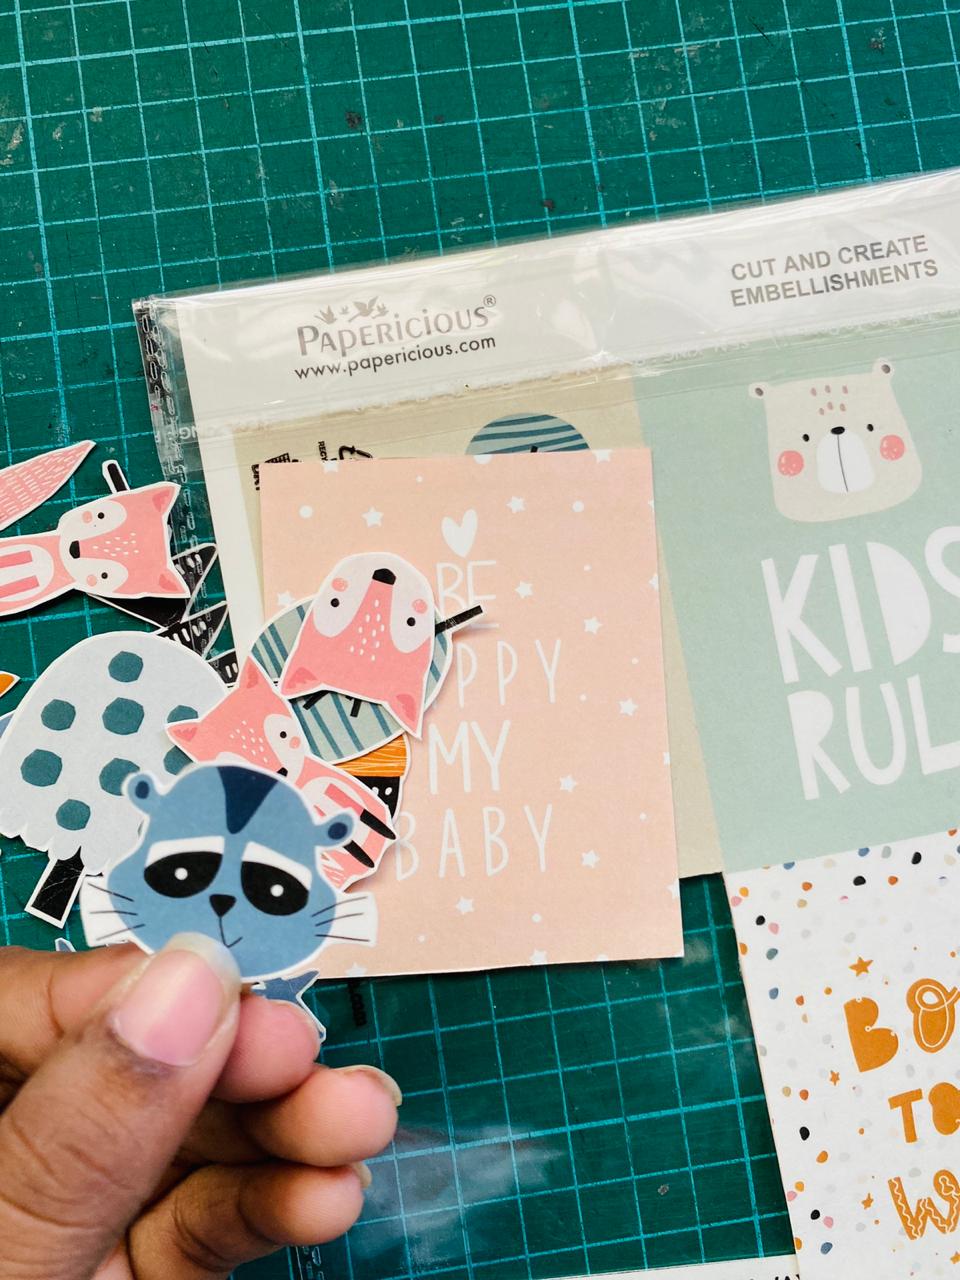
Woodland Walk, newly launched Paper Pack from Papericious which has lovely images of animals and nature elements. This paper pack is perfect for all your kid related projects. I enjoyed making these cards.
For Cards, I have taken Cardstock of size 10" X 14", then I layered it with different design papers from
Woodland Walk. These cards are the perfect example of simple layouts with beautiful small compositions. I have used coordinating
Cut and Create Embellishment Sheets to create a pleasing composition in the lower area of the card.
Here are some simple steps to follow to make these cards:
Here are some detailed pictures of cards:
Supplies Used:
Hope you all liked the cards!
Thank you for stopping with us!
Luv,
Nandini Ramchandani
This dreamy and fun paper pack made me nostalgic about my childhood camping trips, so I have made a Memory Box - Camp Memories to preserve those memories beautifully. If you have basic crafting tools and adhesive you will only need MDF box,
Woodland Walk Paper Pack and its matching
Cut & Create Embellishment Sheets. Instead of MDF Box you can use any good quality box you already have and reuse it.
So let's have a look at my project and its Step by Step Tutorial - Camp Memories
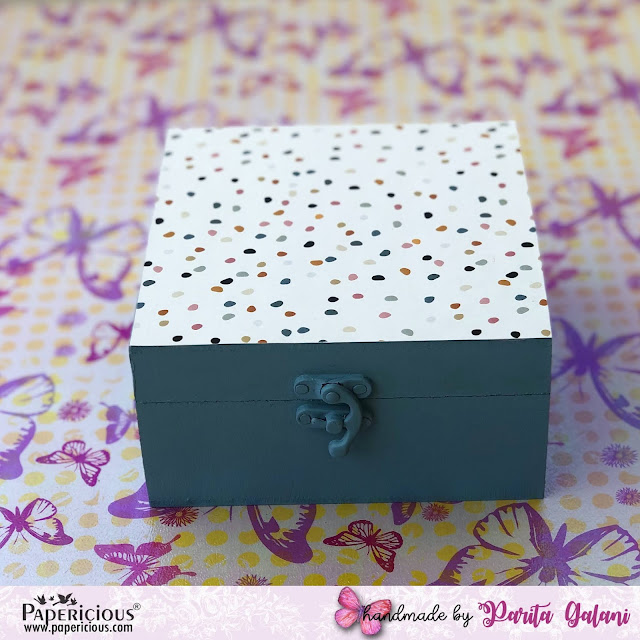
Step 1 - I have taken Papericious MDF Box for the base, painted it whole inside out in shade of greenish blue Chalk Paint.
Step 2 - I took 3 design papers from
Woodland Walk Collection, one for the top and other two for the base and top of inside the box. I have trimmed the paper according to the exact size of my box. I have placed the papers with the help of Decoupage Glue.
Step 3 - I took out various fussy cut elements from the Paper Pack and
Cut & Create Embellishment Sheets. I arranged and placed the fussy cut elements with the help of glue.
Step 4 - I also pasted some cute fussy cut elements on the top of inside of the box as shown below.
Step 5 - Lastly I varnished the complete box with Matte Finish Varnish. Tada! The box is ready to preserve memories more beautifully. You can put in photographs, any objects, souvenirs absolutely anything of your choice which takes you back to that memory lane.
Supplies Used:
I hope you guys liked my tutorial post and will surely craft one to preserve your special memories.
Keep Crafting!
Best Regards,
Parita K Galani
Hi everyone!
This is Design Team Member
Shweta here with a new inspiration project. Papericious recently launched two new paper packs with co-ordinating Cut and Create Embellishments and both the paper packs are mind-blowing. Check the new release
HERE if you haven't yet done so.
I have used a lot of fussy cut critters and other elements from the paper pack and created soft white flowers to go with my layout and assembled everything around my focal point picture. Here are some more pictures.
Papericious Supplies Used:
I hope I was able to inspire you. Until next time.