Showing posts with label Papericious Dusk and Dawn. Show all posts

Mini Album using Dusk and Dawn

Hello, lovely people,
This is Hussena here and I have a very fun and beautiful mini album to share with you all which I have made using the Papericious Dusk and Dawn collection. I also have a tutorial on how to make it, so sit back, relax as you scroll through this picture heavy post!

I'm starting with few pictures of the album cover and the insides on how I have embellished this album using the Dawn and Dusk collection as well as die-cuts from the previously released Golden Garden and Vintage Attire Embellishment Sheets. You will find a few paper pieced flowers from the Papericious Grey Bloom collection as well!
 
A look at how it looks all opened up :


TUTORIAL 

 Step 1- Take a piece of chipboard and cut it up into the following measurements :
11cms X 5 cm, 11cm X 6.5 cm, 11cm X 8 cm, 11 cm X 3.6 cm, and last 11 cm X 3 cm.

(These measurements are given in centimetre only, but if you want it in inches, then you can Google convert it.)

Step 2- Take a piece of pattern paper. I have used the Dawn and Dusk collection and cut it into 30 cm X 14 cm. This will form the cover of your album.
Now, please your chipboards on this pattern paper as shown below, keeping a 0.5 cm gap between each chipboard.

 Step 3- Now, take another piece of coordinating pattern paper measuring approximately 28cm X 12cm and stick it in the inside as shown below. Score in between the chipboard pieces to create creases on the pattern paper so that it folds easily.
After you have glued both the pattern papers to your chipboard pieces, fold it up. it should look like the picture below. 

Step 4- Add strips of Magnetic tape measuring approximately 3cm X 9 cm on the two flaps of the album so that it can be closed.

Step 5- Now to create the inside pages, take pattern papers measuring 16.5 cm X 10 cm. Score it n half and keep a 0.5 cm gap in the centre of your score. Your score lines should be 8cm/0.5cm/8 cm.
Stick these pages in the opposite direction creating a zig zag fold like you do in an accordian fold.  You will approximately need 6 of these papers.
Now, the base of your album is all ready. you can go ahead and embellish it in any style you want. i really had a lot of fun using only Papericious products to create the insides of this album. :)

I hope you liked my today's post and you find the tutorial useful. Please leave your comments/suggestions on how you liked my project. Would love to hear from you!
Have a nice day everyone!

Gift Box and Envelopes!

Hello, crafty friends!
 This is Hussena here to share with you some inspiration using the Papericious Vintage Rosewood Stack and the Papericious Dusk and Dawn Collection. These are our earlier releases and have some of the most beautiful papers in the collections. When I saw the Vintage Rosewood papers, it was love at first sight. It has the most gorgeous woodgrain background along with vintage flowers. I had so much fun creating with these papers.

Without further ado, here's a look at what I have created. First up, is a top note box perfect for gifting those small trinkets/chocolates to your family and friends, all elegantly packaged. 

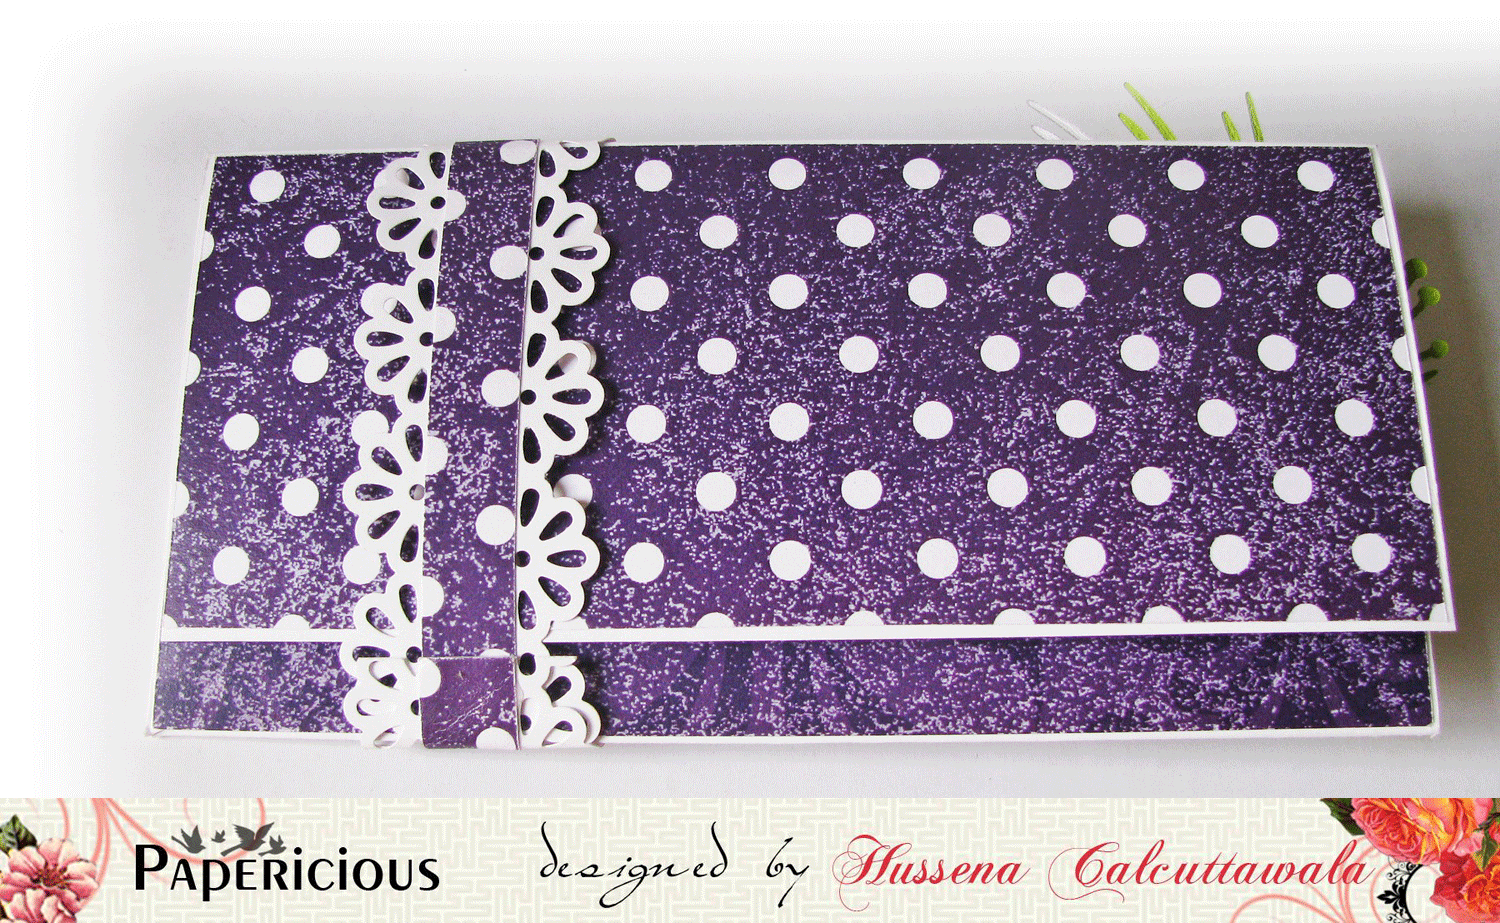
Next up are envelopes with a bordered band perfect for gifting on any occasion, the top envelope is made from the Vintage Rose Wood collection and I have used handmade flowers and die cuts on it to give it a rich elegant look and the bottom purple envelope is from the Dusk and Dawn collection ...I have done a bit of stenciling on it using Wendy Vecchi embossing paste mixed with Ripe Persimmon Distress ink to create a beautiful background.The envelopes are further embellished with handmade flowers and foliage.


And here's a look at the trio of the gift box and envelopes I have made using the two paper collection.Aren't they so pretty :) Do let me know how you liked my gifting ideas's by leaving me your comments/suggestions..Looking forward to your reviews on it !!
Have a nice day everyone. :)


Mixed Media Fridge Magnets using the 'Dusk and Dawn' Collection

Hello Everyone!!

I'm Manu here and i'm back with another gorgeous range from Papericious!!  It's the "Dusk and Dawn" collection and this is one collection loved by everyone who adores the purple hues!!  The purples in this stack are something to look forward to!! 
Here's what I made with them, Fridge Magnets!!!! I know, I'm kind of very biased for making a lot of these, but then the Fridge magnets is something which I truly love!!! The sight of an empty fridge makes me sad and I have lots and lots of them stuck up on my fridge (Much to the dismay of my husband and the delight of my little one, who loves standing on her toes to get hold of them) I even have wooden numerals meant for my little one, converted into magnets, by placing magnets behind and they happily now sits there and is something which I keep reciting to my young one whenever we pass from there!!! So much so for my love for magnets!!


I have a little tutorial on how to make these as well, so you can sit back, relax and checkout on how I made these mixed media fridge magnets!

I took a sturdy cardboard and wrapped one of the all purple pattern paper from the 'Dusk and Dawn' collection. 


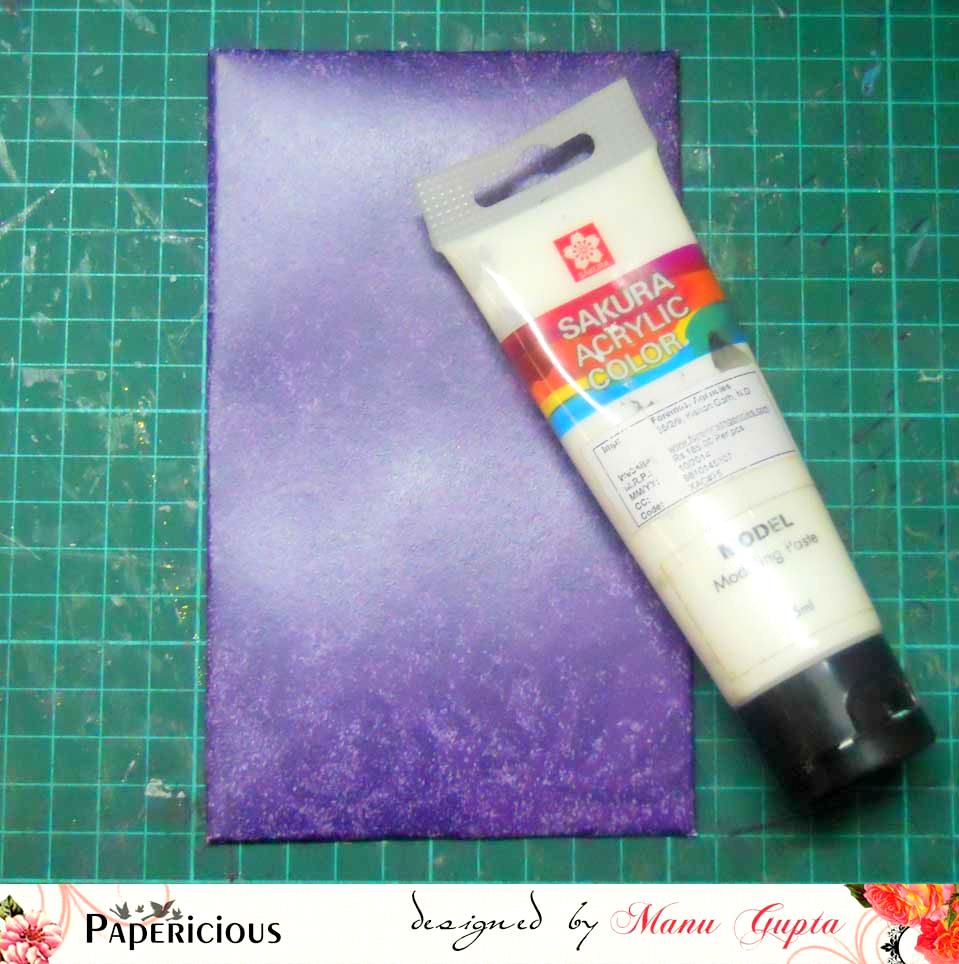
While making this one, I thought about if would be nice if I make one more (so much obsessed!) So I did the same with another sturdy cardboard and painted them complete with Gesso!! I mixed in a little water so that I have some color peeping from beneath! 


Once the Gesso was dry, I used the stencils to give them a little texture! Have used a brick stencil and a damask on the other one!

Once the base was dry, I used Lindy's starburst to give colors!!! I used lindy's on one of the magnet and acrylic color (yellow, orange) on the other one! 

Once I was happy with the way my magnets looked with the colouring, I went ahead and arranged my embellies on both and once I was satisfied, I stuck them on!!

Here's the final and closer looks!
Here are both the magnets again for you to check out!!! I like the bright yellow look the right side one has!!


Remember the circular Sheets?? I used the circular embellishment from it and used Modge Podge 3D To make it 3- Dimensional !


The blank white space is for pictures!!! Checkout the gorgeous beads there. These too are stuck with glossy accents and they look fab on the projects!


I hope you liked the magnets I made and do come back for some more DT Inspiration!!

Happy Crafting!
Manu