Showing posts with label Circular Collage Sheets. Show all posts

Mixed Media Fridge Magnets using the 'Dusk and Dawn' Collection

Hello Everyone!!

I'm Manu here and i'm back with another gorgeous range from Papericious!!  It's the "Dusk and Dawn" collection and this is one collection loved by everyone who adores the purple hues!!  The purples in this stack are something to look forward to!! 
Here's what I made with them, Fridge Magnets!!!! I know, I'm kind of very biased for making a lot of these, but then the Fridge magnets is something which I truly love!!! The sight of an empty fridge makes me sad and I have lots and lots of them stuck up on my fridge (Much to the dismay of my husband and the delight of my little one, who loves standing on her toes to get hold of them) I even have wooden numerals meant for my little one, converted into magnets, by placing magnets behind and they happily now sits there and is something which I keep reciting to my young one whenever we pass from there!!! So much so for my love for magnets!!


I have a little tutorial on how to make these as well, so you can sit back, relax and checkout on how I made these mixed media fridge magnets!

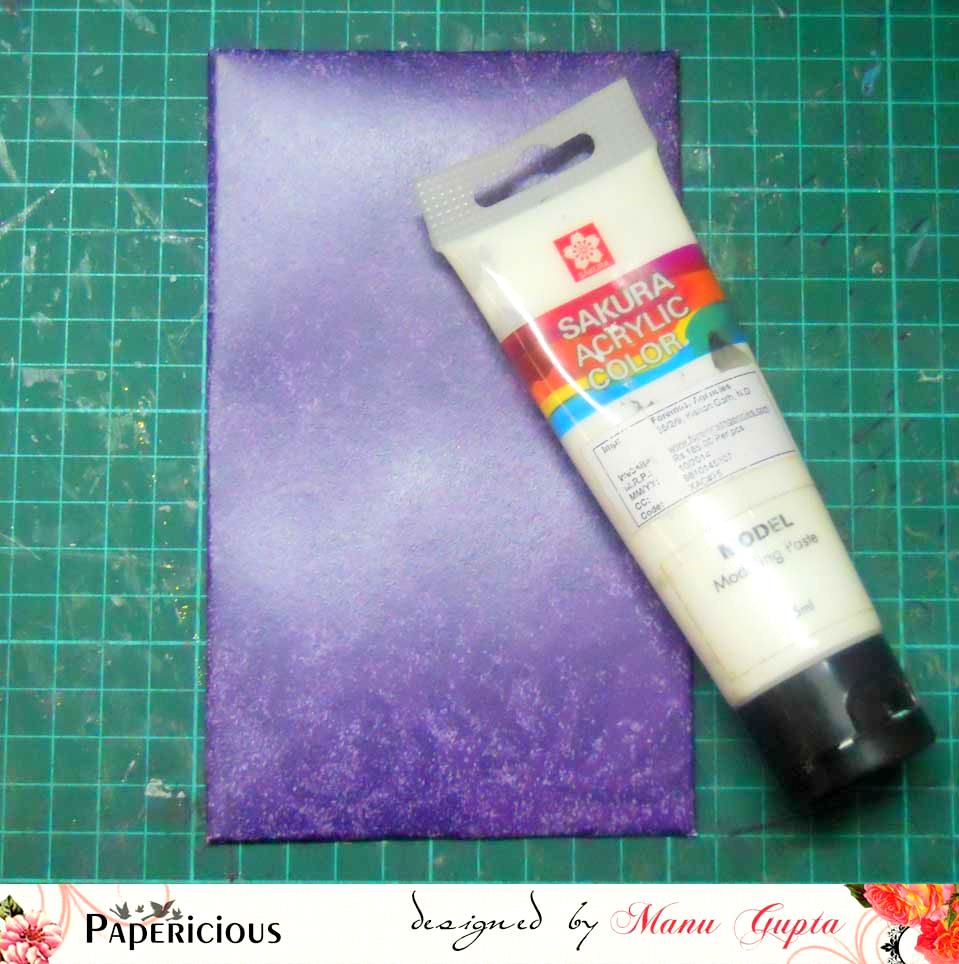
I took a sturdy cardboard and wrapped one of the all purple pattern paper from the 'Dusk and Dawn' collection. 


While making this one, I thought about if would be nice if I make one more (so much obsessed!) So I did the same with another sturdy cardboard and painted them complete with Gesso!! I mixed in a little water so that I have some color peeping from beneath! 


Once the Gesso was dry, I used the stencils to give them a little texture! Have used a brick stencil and a damask on the other one!

Once the base was dry, I used Lindy's starburst to give colors!!! I used lindy's on one of the magnet and acrylic color (yellow, orange) on the other one! 

Once I was happy with the way my magnets looked with the colouring, I went ahead and arranged my embellies on both and once I was satisfied, I stuck them on!!

Here's the final and closer looks!
Here are both the magnets again for you to check out!!! I like the bright yellow look the right side one has!!


Remember the circular Sheets?? I used the circular embellishment from it and used Modge Podge 3D To make it 3- Dimensional !


The blank white space is for pictures!!! Checkout the gorgeous beads there. These too are stuck with glossy accents and they look fab on the projects!


I hope you liked the magnets I made and do come back for some more DT Inspiration!!

Happy Crafting!
Manu


Circular Collage Sheets and Dome Stickers, some different possibilities!

Hello guys,

I am Halak and I gotta say, super excited to bring you this post on collage circles + 3D dome stickers!
Today I will be showing you some fun uses of these fantastic products that have been recently launched by Papericious.

So, let's get right to it!


Before we get to projects, I would like to tell you guys a few things... it's just so that the crafters new to the product can learn a bit about it and know it better...

Look and feel : The collage circles by Papericious, come in a set of two sheets containing two circles of different sizes.

Both sheets have same design, but the sizes of circles is different i.e. one sheet has 1" circles and the other sheet has 1.5" circles.

How to use : I don't have any circle paper punches or same size dies, so this is how I use my collage sheets...

1. Cut out roughly the design I want to use.

2. Decide whether to stick a dome sticker on it or not. (Really, they look GORGEOUS even without the dome stickers as you will see shortly, so to use stickers with collage sheets or not is entirely your choice!)

3. If I am using a dome sticker, I will stick it on top of my design.

4. Then, trim using scissors! :)


Vintage / steampunk fusion ATC.

Yes, I couldn't decide which style to go for so I fused them both into one deeply cool ATC!

Also included a close up pic!

Note : I have used 1" collage circle with 1" dome sticker and 1.5" collage circle with 1.5" dome sticker.
The name of the design is : VINTAGE TIME (#CCS103)

Here are the steps :

1. Readied my collage circles, layered them with dome stickers, trimmed them and kept them aside.
2. Created background using a stencil.
3. Colored a few gear-shaped die-cuts in brown and black ink and left them to dry.
4. Cut bits of Washi Tape.

5. Now this is cool... I began hunting for a paper that would go with my color theme but I realized I was out of browns and warm tones...

Then I noticed the awesome packing by Papericious...
They could have printed collage circles on plain white paper sheets but they did it on a very pretty pattern paper instead!!!

So... yup, you guessed it right... I trimmed that paper from the side of my collage sheet and used strips of it on the top and bottom of ATC! :D

6. Stamped sentiment on a piece of cardstock in waterproof ink, colored and distressed the cardstock + added tiny antique finish brads.

7. That's it, after this all that remained was assembling the project!


An I Miss You card! ^__^

Didn't I tell you that these collage circle sheets look GORGEOUS with / without the dome stickers?
Well here they are... with AND without dome stickers on my card.

Note : I have used two 1.5" collage circles (altered one circle and used the other as-is) WITHOUT the dome stickers.
These collage circles are from the sheet : PARIS (#CCS107)

I have used one 1" collage circle WITH 1" dome sticker.
This collage circle is from the sheet :  REMEMBER FOREVER (#CCS106)


Altered Collage Circle

Yup, I altered one 1.5" collage circle and made my very own customized mini postage stamp!

How did I do this?

Really Easy.
1. Cut one 1.5" collage circle into a rectangle and matted it onto white cardstock.
2. Cut in zig-zag pattern (with my standard pair of scissors, yes, I don't have one in a zig-zag pattern.)


Okay folks, so now with the altered collage circle detail out of the way, let me give you the list of steps to make this card :

1. Readied my collage circles, trimmed and kept aside.
2. Created the super cool postage stamp. (Yes, I do like it, A LOT!)

3. Created background with chalk pastels, distress inks and a stencil.
Also after it dried, stamped sentiment in waterproof ink.

4. Stamped and fussy cut heart and colored with gelatos and Staedtler color pencils.
5. Cut strips of washi tape.
6. Picked out some co-ordinating brads and flowers.
7. Assembled the card and added a couple of embellishments!

This sadly, brings me to the end of my post.
Honestly, I had a blast working with these products and I am sure you would too!
They were new to me also when I got them so don't be afraid to try and experiment!
Hope you enjoyed reading it as much as I enjoyed writing it!

*Big hugs*


Posted via Blogaway