Cloud Hanging - Jack & Jill


Hello people!

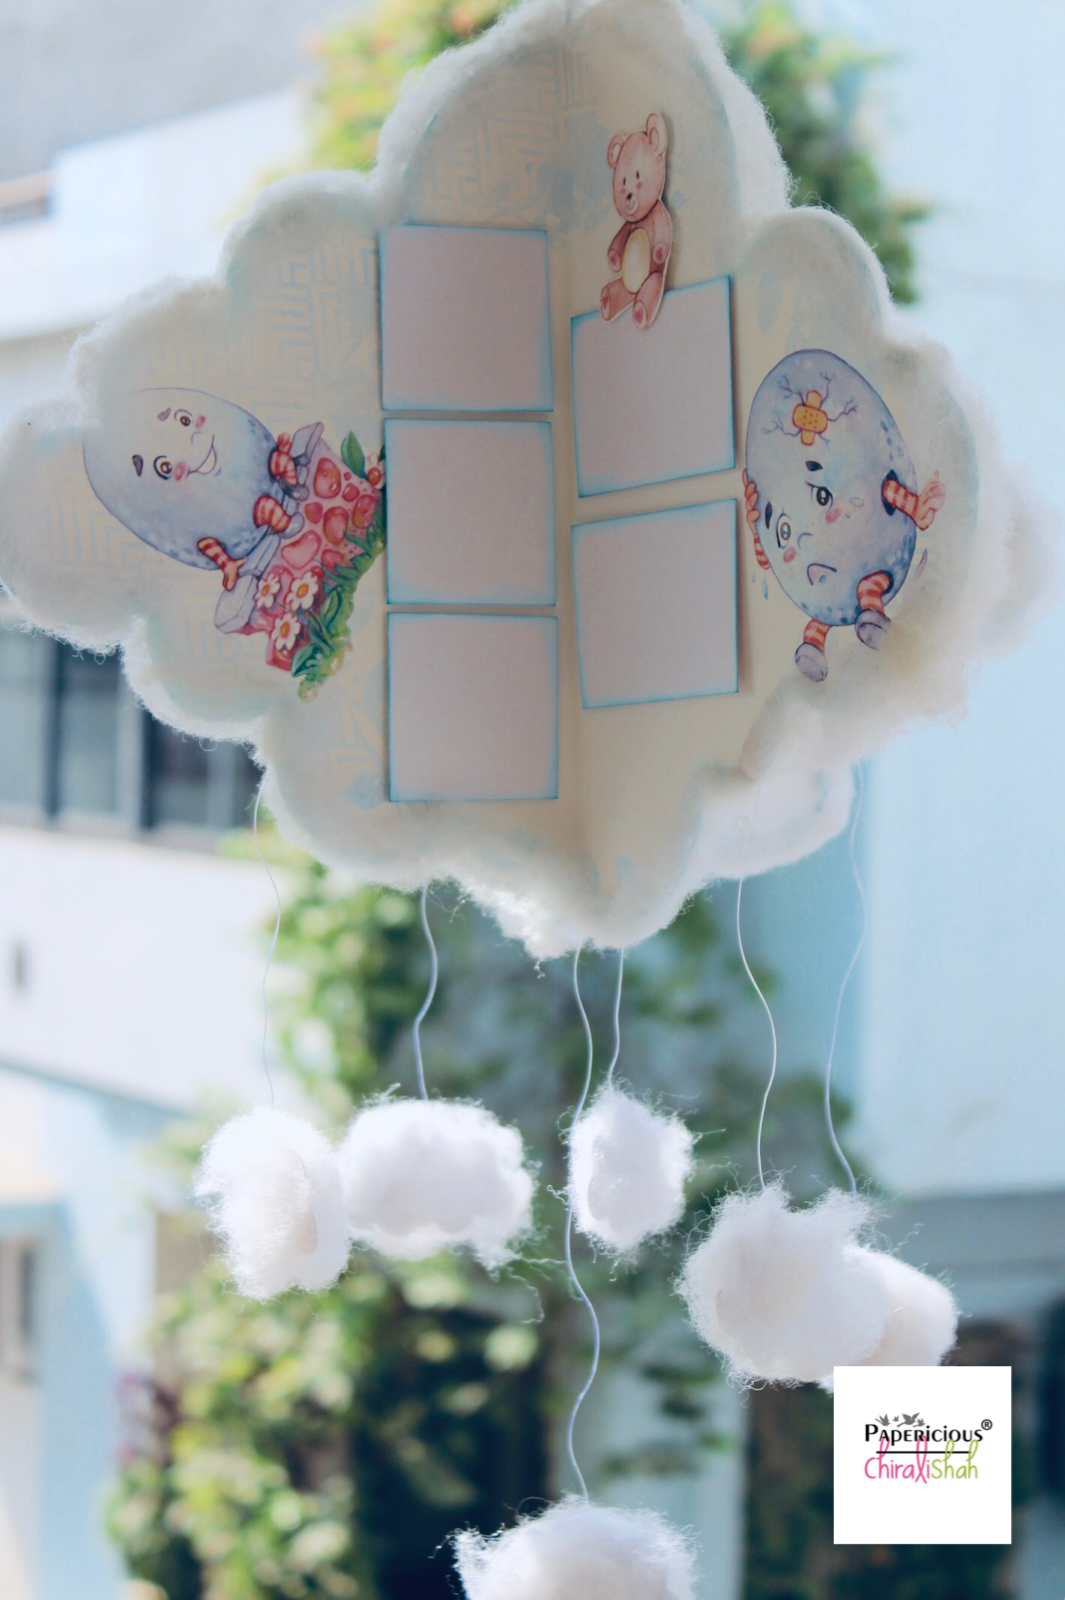
Chirali this side with a cute room decor project for kids' room using Jack & Jill Paper Pack. It's a cloud shaped hanging which would have photos too.

Here it is:
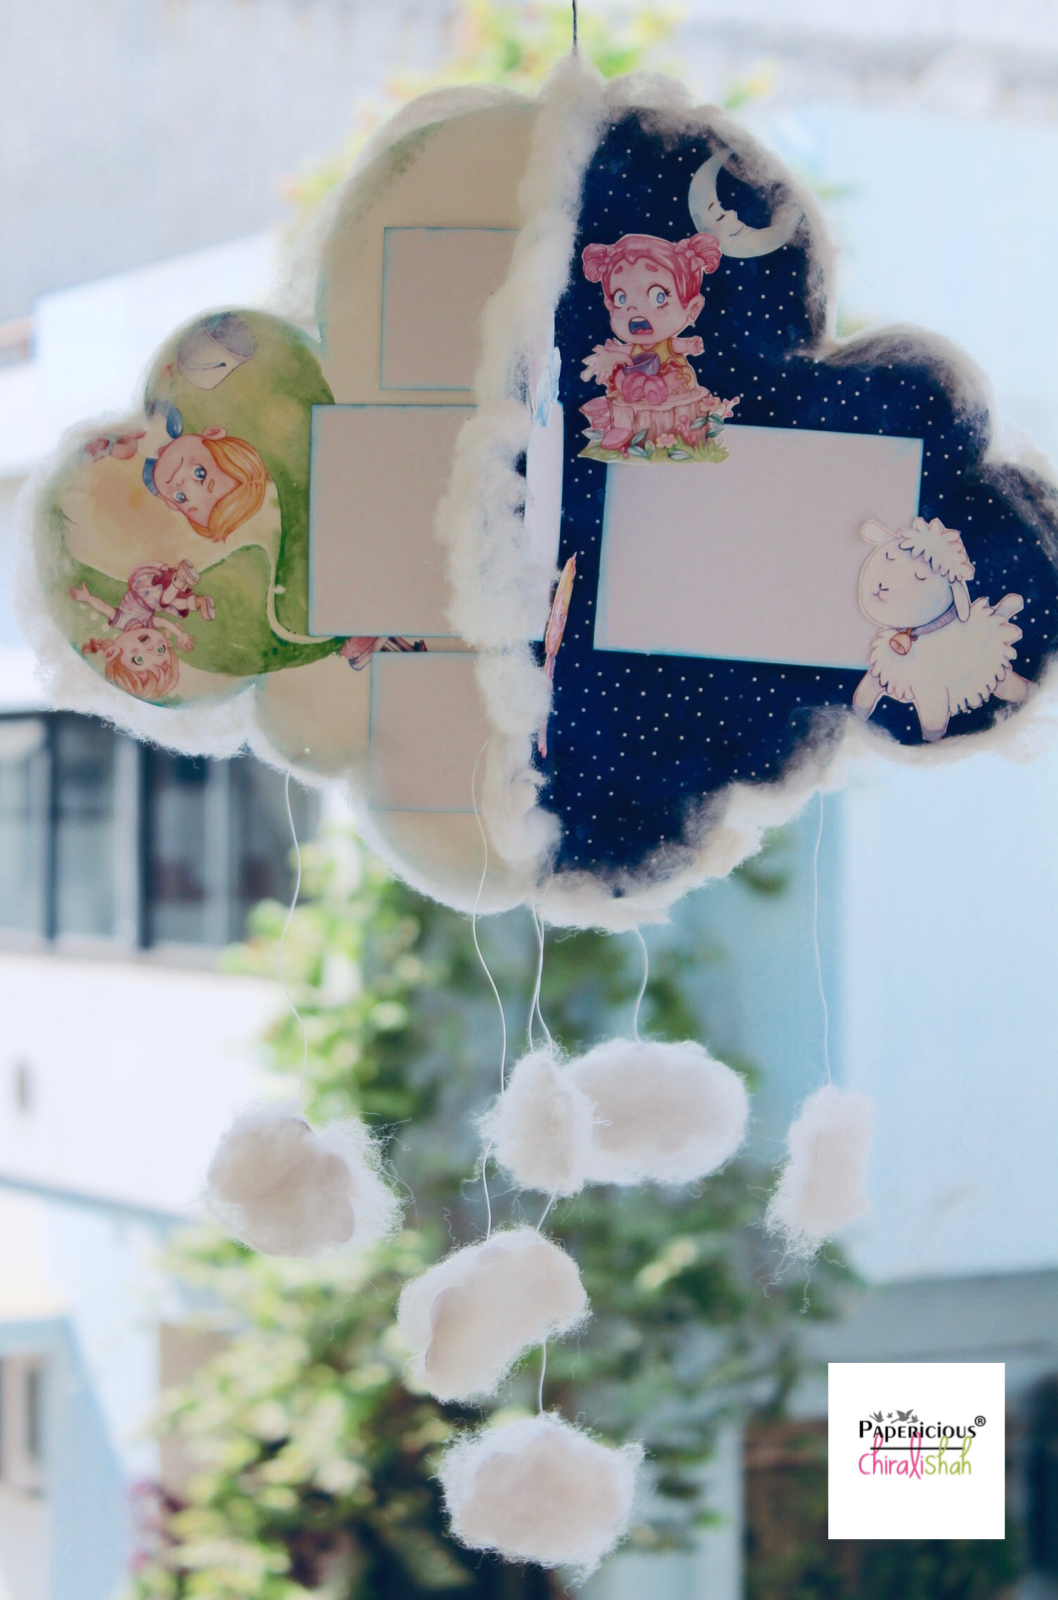
I cut four same shaped clouds from four sheets of Jack & Jill paper pack and stuck them, after folding in half, to each other from their back. 

First I cut a cloud on one sheet after drawing on the back. (12x12 pack it is which will make this hanging of almost 11x11 inches. Then I put it as it is on another sheet. For rest of the two sheets, I flipped the first cut cloud so that I can stick them as shown in the picture.

Afterwards, I put some photo mats and added fussy cut elements from the same pack. At last I added cotton on the edges and some small cotton clouds as hanging, and DONE.

Here are all the sides of the hanging along with some different angles:


Some closeups to make them look a proper cloud:


A mirror effect, which I clicked just like that but I loved it afterwards:


You do not need any other thing to decorate your project when you have such a beautiful paper pack.

I hope you liked it.
Thanks for stopping by.

Hugs,
Chirali :)

Supplies used:

Dream Little One - Layout using Jack and Jill


Hi there everyone! Erum here today and I have a cute layout to share with you!
This layout features the new Jack and Jill paper pack.

When I first saw these papers, I knew I had to make a layout using this photo of my nephew I took while he was sleeping and smiling!
So I started first with the blue starry paper, tore it to add interest. I adhered it with foam tape on a lighter blue dotty paper. 
Next, I printed the photo and fussy cut all the elements from another paper. I popped up the photo and arranged all the elements. Oh, these elements are SO stinkin' cute! 

I then watercoloured a panel in yellow and die cut the word "dream" and printed out "little one".

I tucked in the spare yellow watercoloured paper in some places. In the end, I used White Chalk Paint to color my Square Collage chipboard pieces. The White Chalk paint is a life saver. This is the first time ever that I achieved such a polished, clean coating on my chipboards!

I also added very diluted chipped sapphire to give it a more "me" feel.
I hope you liked it! I had fun making it and I wanted to do so much more but I have fallen sick.
See you soon everyone!


Mini Album Tutorial | Papericious Fleur Fun Collection


Hello Papericious fans!
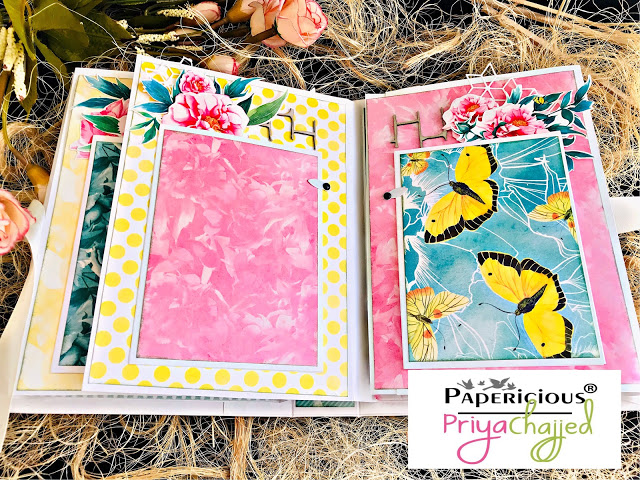
Priya again with the Video Tutorial that you can watch below, as I promised in my very first post for Papericious using amazing FLEUR FUN collection which is amazing to work with..

I loved the bright fun colours of this collection, I have used lots of fussy cutting in my project from same paper pack..This single pack has almost all the elements to make a beautiful Album.


So, without further ado, here is the complete Video Tutorial of my Mini Album.

 Enjoy!
https://youtu.be/P4x4TJ31gUg

List of supplies:

Thanks for stopping by!
I hope you enjoyed your visit!
Priya
Xoxo!

Waterfall Folio Mini Album~Tutorial by Neha

Hello Crafty People!

Neha here from NG Creatives. I am back on Papericious blog today with a detailed photo tutorial of a waterfall folio. It is a kind of mini album which can accommodate around 12-20 pictures of yours. I have made this folio using Fleur Fun paper pack. Colors of these papers are so bright and cheerful so that you can use them for any theme.

You will also see my use of embellishments which i made for the november challenge inspiration post. You can check out embellishments here.


STEP BY STEP TUTORIAL

1. Take three chipboards of size of 4.5" x 7(2)(Cover), 1"x7"(1)(Spine).

2. Take a 12"x12" white cardstock and score at 1" from two sides like it is shown in the picture.

3. Now stick the chipboards with red tacky tape to the white cardstock keeping margins of 1" from all four sides.

4. Base cover will look like this.

5. Cut 7 pieces of 4"x4" white cardstock and score it on 0.5" from one side. This will make the waterfall on right side of the folio.

6. After pasting a paper from Fleur Fun of size 10" x 7" to the inside part of the base cover folio, cover the right side of the folio with waterfall cut outs.

7. Now we will make the pocket on left side of the folio. Cut a white cardstock of size 4.5" x 4.5". Score on 0.5" from left and bottom and cut the pocket diagonally.

8. Now cover the folio album with amazing Fleur Fun papers and whatever you have in your stash.

9. My complete folio looks like this.


SUPPLIES USED :


That is all for today. I hope you are inspired. Do not forget to play along our November Challenge: "Make your own embellishments"

Thank you for joining me!
Neha

Papericious October Challenge Winners


Hello everyone!
Parul here again to announce the Winner and Top 3 of  Papericious October Challenge :)
First of all, I thank you all who participated in the challenge. We loved all the entries.  Everybody came up with beautiful projects for Festive theme and we had such a good time going through them all.

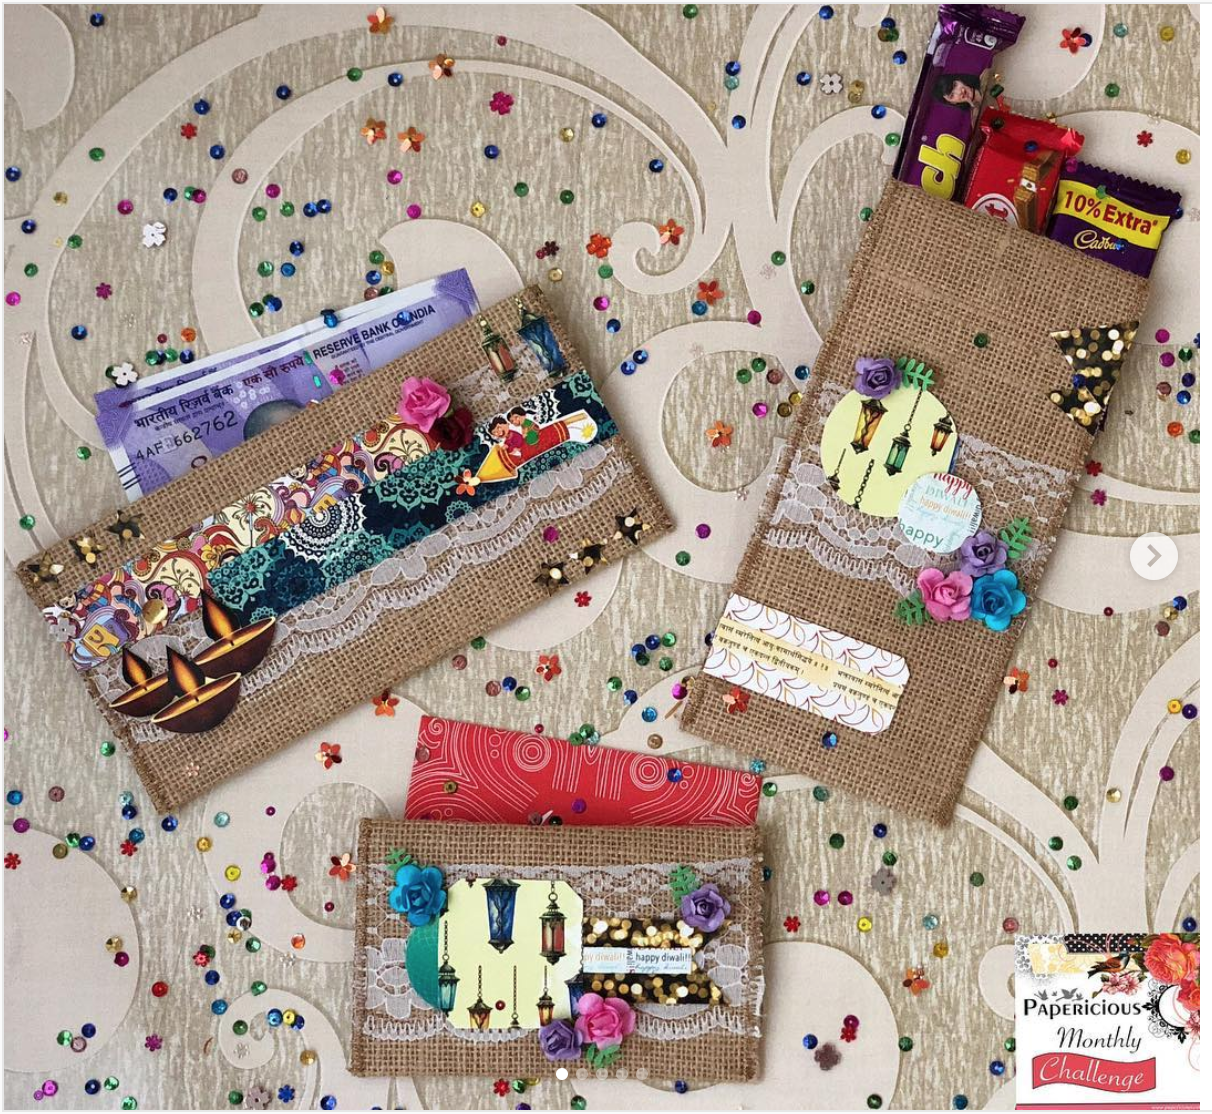
So here are the Top 3 entries:

I loved everything about this card. How festive it is!

Congratulation girls!


Now on to the Winner picked by design team!
.
.
.
Look at this wonder combination of burlap and pattern papers. Very well done! Congratulations!

Parita, please send us an email at - papericious@gmail.com with the subject line "October Challenge Winner " to claim your prize. You can grab your Winner's badge from HERE and flaunt it on your blog.

Top 3 Winners, please grab your Top 3 badge from HERE and flaunt it on your blog!

We have our November Challenge live! Do Check out and participate. Would love to see your entries there..

Thanks.
Parul

Treat Boxes with Minimal Embellishments


Hello everyone!
Parul here with some treat boxes! Tropical party theme is quite popular among kids. And it's one of my favourite too because of the colours it carries. Those pineapples,  flamingos and tropical leaves.. I love everything about it.
The paper pack Fleur Fun from the latest release has got those colours too. So I thought of making treat boxes :)
Aren't these pretty? They will be great for any summer party right?
These patterns are so colourful and bright that they don't need much embellishments. I adhered flowers made from this same paper pack for closure of these treat boxes with wooden clips. 
I am hoping that you will like my project. Do check out the projects of other DTs as well. They are doing wonders with Papericious products.
Also are you playing along with current challenge "Make your own Embellishments" ? It's so much fun! I hope to see your entries there :)

Thanks!
Love and Hugs,
Parul

Products used :

Quick Card with Fleur Fun


Hi everyone!
Erum here today with a quick and easy card to make. I am always looking for quick cards and this one took no time at all to make.

My card features the gorgeous paper from Fleur Fun Paper Pack and I LOVED this one paper from this pack which had elements for us to cut out and use. So I cut out the flowers and leaves and started to play around to get a sense of what arrangement will work. By the way, in all honesty, these images are NOT hard to fussy cut. I actually got this done quite fast.

When I figured out what I wanted, I worked on my card front. For that, I initially planned to use the yellow polka dotted pattern, maybe I will use it next time. But for now, I settled with warm yellow/orange watercolour. After the watercolour was dry, I added black paint splatters. Then I adhered the floral elements with foam tape.

Next, I stamped the sentiment which worked beautifully with the look. In the end, I popped up some sequins.

I hope you liked my card, I for one LOVE how it turned out and the plus point is it's such a time saver. The images are so gorgeous and just waiting for you to cut and arrange!
See you guys soon.