Showing posts with label Jack & Jill Pattern Papers. Show all posts

Gatefold Card Tutorial using Jack & Jill


Hello everyone, this is NIKKITA and today I am back with a quick tutorial of a gate-fold card using the amazing JACK & JILL paper pack.

Gate-fold cards are cards that have opening in the center, so there are two flaps to open, they are simple to make and with further embellishments one can jazz them up.
I have made gate-fold card with a belly-band.

GATE-FOLD CARD WITH BELLY BAND!

GATE-FOLD CARD WITH BELLY-BAND DIRECTIONS
1. To make the card base take 6 inch X 12 inch cardstock and score on the 12 inch side at 3 inch and 9 inch respectively.

2. For the belly band, take 2 strips of cardstock measuring 2 inch X 6.25 inch and 7.75 inch X 2 inch. Score 3/4" on both sides of the longer strip and add tape or glue to the same and attach the smaller strip this will create a band for the card.

3.Cut out pattern papers as per your choice and adhere to the card, use some fussy cut elements to jazz up the card. 

NOTE: See the tutorial images below for directions. 
STEP 1 


STEP 2 A


STEP 2B

CARD BASE READY

STEP 3


SUPPLIES USED:


Hope you like the tutorial.
Do leave some love.
Happy Crafting!
LOVE,
NIKKITA

POP UP CUBES EASEL CARD BOX


Hi there everyone! This is Tanvi with my first post here 😊
I have an interactive project today featuring the Jack N Jill pack. The adorable elements & patterns in this pack are so popular with kids. To make the project interesting I made a POP UP CUBES BOX with a little twist by adding an easel card.
Used the Collage Chippis for an added a dimensional look to the easel.


The cubes popping out as the drawer opens is the surprise here & am sure it's going to excite the recipient.

All the three cubes fold flat & can be piled inside the box drawer.


Supplies Used

That's it from me today & I hope you like this fun 3D project.
Until next time, happy crafting
Hugs!

Tutorial : A Gift Card Holder with Jack and Jill


Hello girls!
There are numerous occasions when we struggle to find a right gift for someone, right? How about gifting a gift card from that person's favourite store! I love gift cards because they give me the freedom to spend as I wish 😉 And this option becomes even more meaningful when you are looking a gift for babies. When babies are born, they are showered with so many gifts from everyone, and the new parents end up having multiples of everything 😃😃

So for today's post I have designed a gift card holder which will give a personal touch to your gift card. And here it is:
Isn't it cute?
The Jack and Jill Pattern Papers are so apt for this theme. They are gender neutral as well which makes it a win win situation :)

Tutorial
Step 1
You need to take a 4.25" x 8" blue card stock and score it at 2" and 5"

Step 2
You will need 2 pieces of 4"x1.75" pattern papers of your choice
and 
You need 3 pieces of 4"x 2.75" pattern papers of your choice

Step 3
Fold on score line and round the corners of the 2" flap. as shown in the picture.

Step 4
Now start pasting the pattern papers. How ever you can stick them however you want but I prefer to have a light pattern to write wishes in this holder as shown in the following picture.
Once all your sides are ready, we can proceed to make our belly band.
Step 5
Cut a 1"X 7" stripe from a contrast colour card stock. And incase you are using a 6" paper pack you can join two stripes and make a longer one as I did. Please ignore my dirty crafting mat 😬

Score this strip at 3" and 6" and join both end with help of adhesive.
Our belly band is ready now and we move towards embellishing it.

Take two circle dies 0.25" diameter difference and cut a circle from blue card stock (same as base) with bigger die.
The Jack and Jill paper pack comes with a very beautiful elements sheet. So I took my smaller die and cut that cute start from that sheet. stick smaller circle to bigger circle and adhere to belly band.
And thats it! Our cute little gift card holder is ready!

And this is how a gift card inside this holder looks like. You can use any double sided tape to stick it.
Do let me know if you like this. I had so much fun while making it!

Supplies Used:

Thank you for stopping by!
Love,
Parul

Cloud Hanging - Jack & Jill


Hello people!

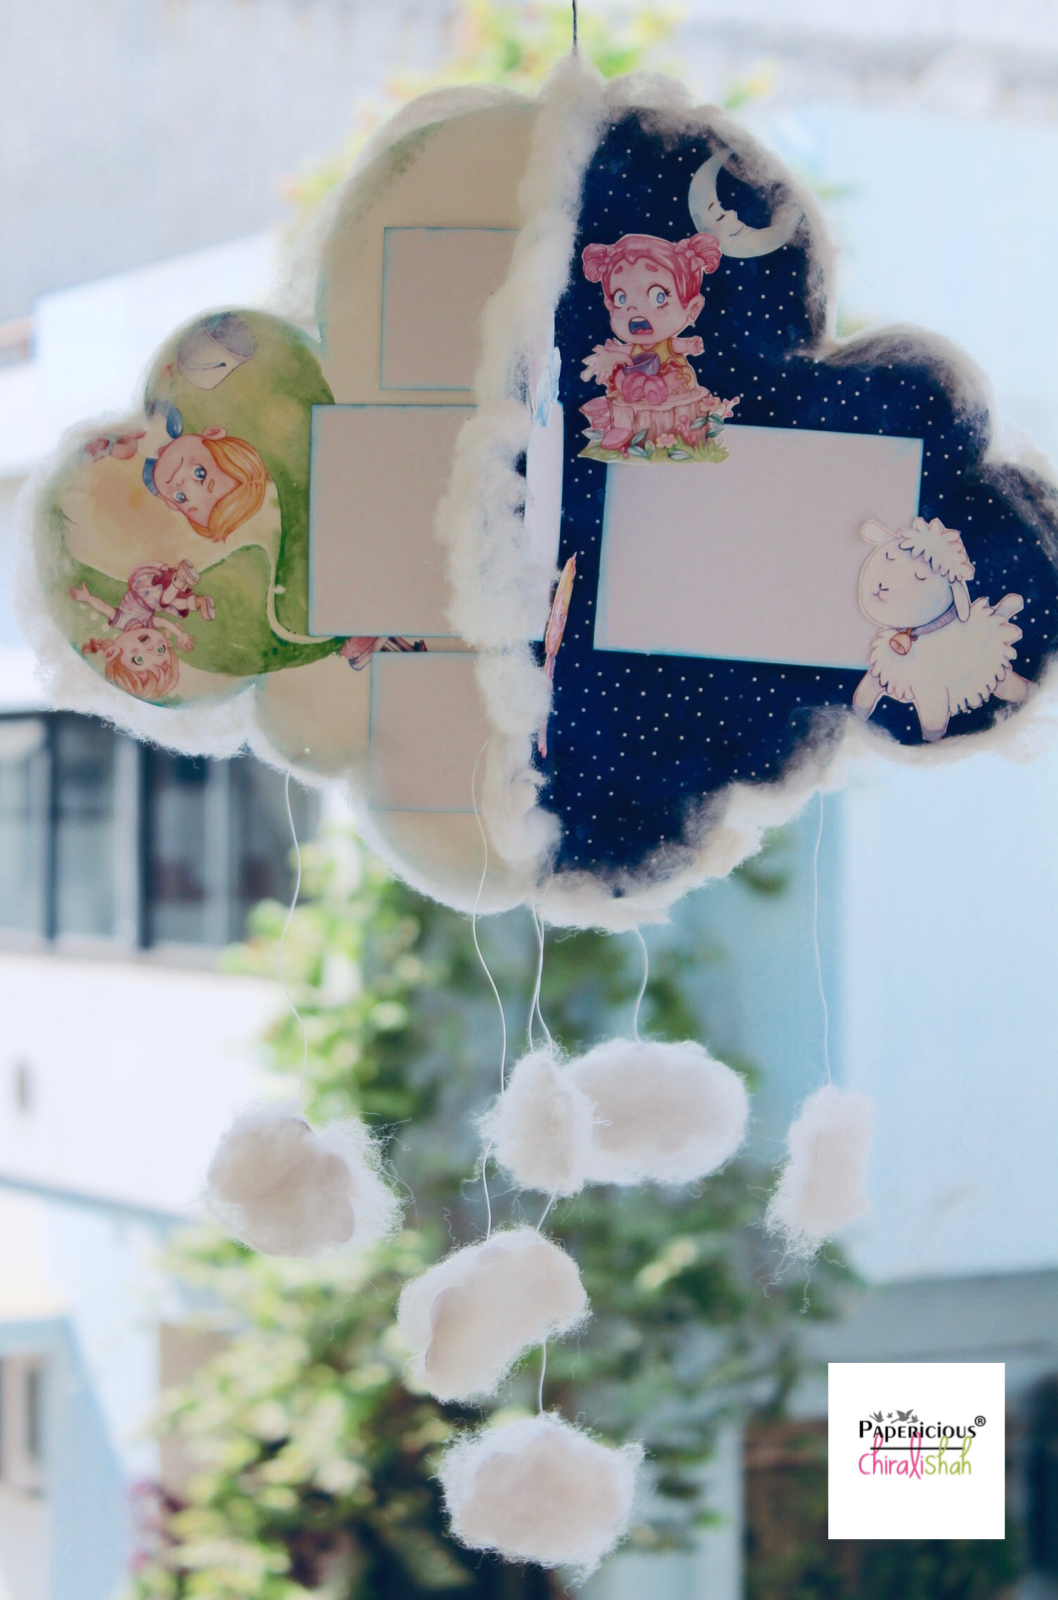
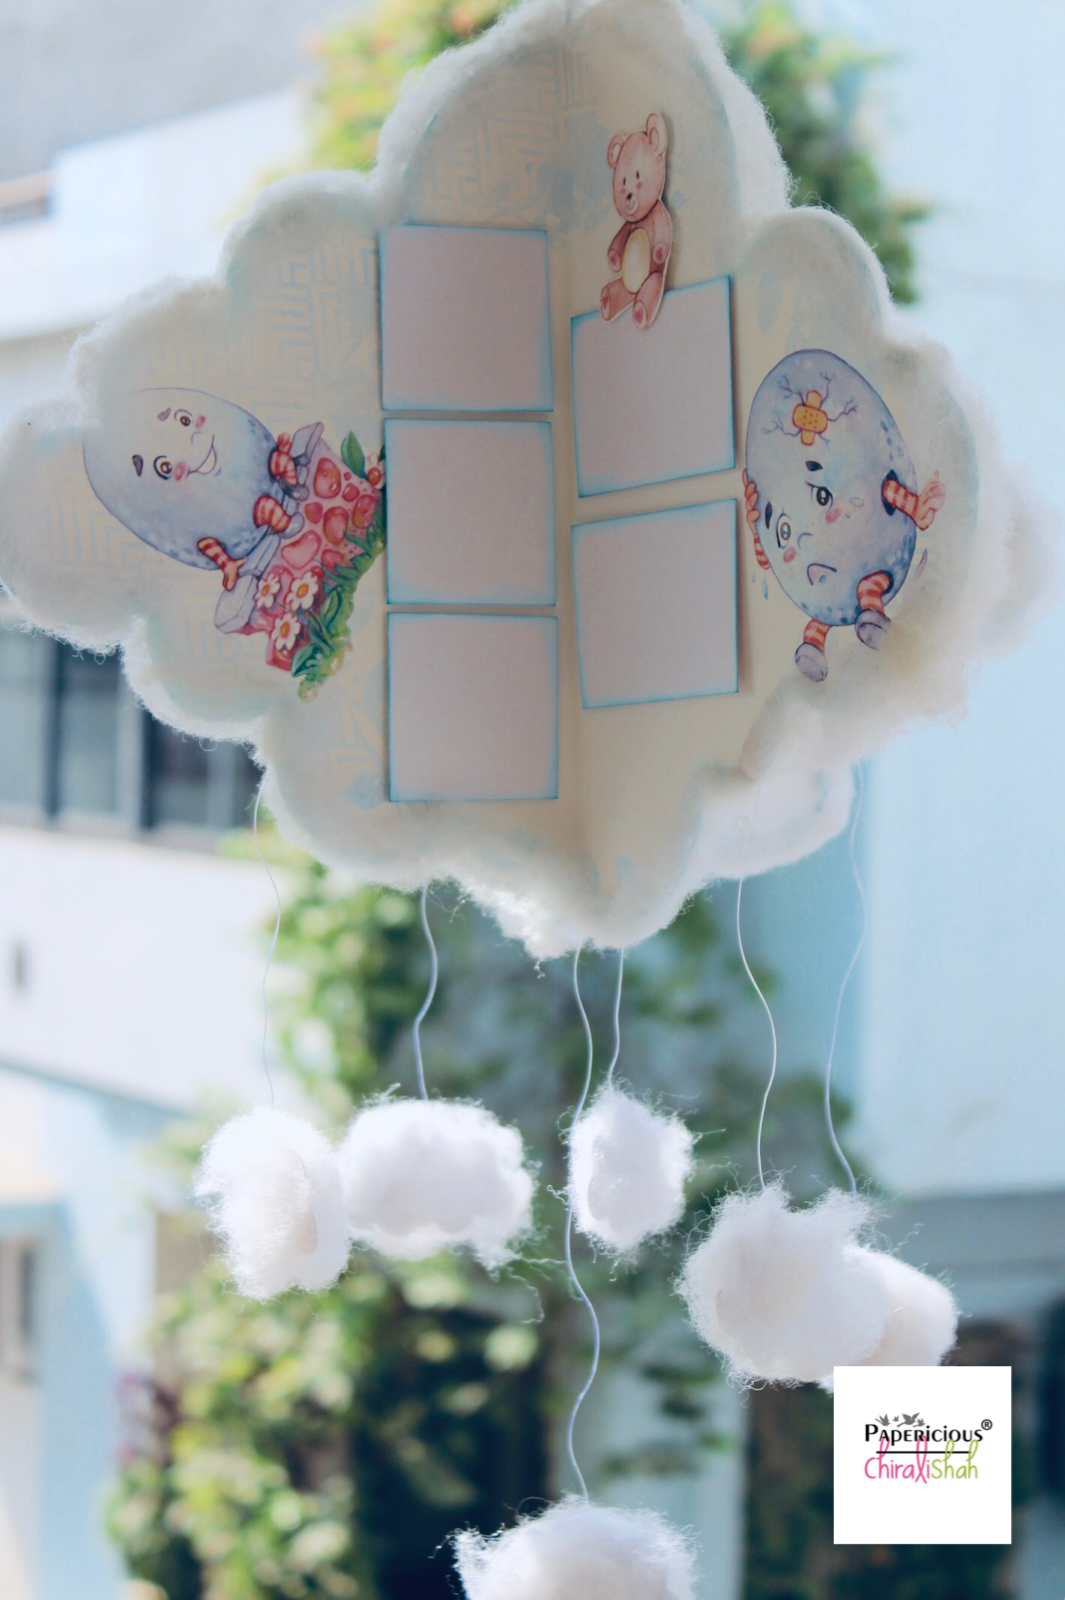
Chirali this side with a cute room decor project for kids' room using Jack & Jill Paper Pack. It's a cloud shaped hanging which would have photos too.

Here it is:
I cut four same shaped clouds from four sheets of Jack & Jill paper pack and stuck them, after folding in half, to each other from their back. 

First I cut a cloud on one sheet after drawing on the back. (12x12 pack it is which will make this hanging of almost 11x11 inches. Then I put it as it is on another sheet. For rest of the two sheets, I flipped the first cut cloud so that I can stick them as shown in the picture.

Afterwards, I put some photo mats and added fussy cut elements from the same pack. At last I added cotton on the edges and some small cotton clouds as hanging, and DONE.

Here are all the sides of the hanging along with some different angles:


Some closeups to make them look a proper cloud:


A mirror effect, which I clicked just like that but I loved it afterwards:


You do not need any other thing to decorate your project when you have such a beautiful paper pack.

I hope you liked it.
Thanks for stopping by.

Hugs,
Chirali :)

Supplies used:

Baby Record Book by Swati

Namaste!

Swati here from Swati's Crafting World, Guwahati, Assam. I'm back on the blog with an inspirational post. Today I'll be sharing a beautiful baby record album for a baby which I made using the Jack & Jill Paper Pack & making it was fun.

BABY RECORD BOOK :

A beautiful record book to document Baby's memories. A beautiful memory keeper with a pop-up effect to add to the fun & beauty of the project. It captures every moment since the baby was born till his second birthday. I made this memory keeper for my cute little cousin brother.

ABOUT THE ALBUM :

Cover size : 6" X 6", the album pages : 5.5" X 5.5" & contains 10 interactive pages with pockets. There are a lot of pockets, tags, waterfalls, easel effect thing, photo frames, et cetra. All the 10 pages are different from one another & has a unique pop-up feature. The album & pages are decorated with baby embellishments, 3D shaker chippis, charms & trinkets; & I've also fussy cut some characters from the Jack & Jill paper pack.

RECORD TAGS :

I've added some tags to the album to give it a different look. I made this small tags by the scanning one of the paper from the Jack & Jill paper pack & printed it for recording the baby's weight, height, first time when he said Mumma, Dadda, his first outing, first vaccination, first tooth, first bath,
et cetra. You'll find the pictures of the same below.

ONTO THE PICTURES OF THE ALBUM :


Supplies used to make this Record Book :


That's all from me today, hope y'll enjoyed my post & do show some love if you like it. 
Thanks for stopping by & Happy Crafting! 

Lots of love,