Hi friends,
Welcome to my blog post. Today I have used the gorgeous LoveActually paper pad to create this mini album. I really enjoy making mini albums which are not super complicated. This one is a ready made chipboard album and I had fun decorating it with the papers and chipboard embellishments.
This album took me less than an hour and becomes a perfect gift to anyone. I kept it simple from inside and just jazzed the cover. I used a sharp pair of scissors to cut a few motifs from the paper pad and added them on the cover as my main embellishments.
Here are the pictures of all the inside pages and I just created few pockets randomly to add interest.

With this we come to the end of the blog and also this is my last one at Papercious Blog. I had a great time working here with such amazing products and team mates. I am so thankful to all who took out time to go through my blogs and left their comments which are super precious to me.
Hope to see you all soon..
Have a blessed life!
Love and Hugs
SUPPLIES
Hi Friends,
Welcome to today blog post. When I think of my favourite Paper Pack by Papericious it has to be the gorgeous MONOCHROME pad which is extremely versatile and fun to work with. I have created 5 cards using the Monochrome papers for RAKHI and I will be sending away these to my brother and cousins.
CARD #1
Spotlight Colouring
I created a spotlight on the gorgeous floral pattern and used copic markers to colour the pretty flowers I used the stripe paper to create a layer and added the sentiment. I call my brother DADA and thats what I have written here using some alphabet dies.
CARD #2
InkBlending
There is a beautiful butterfly pattern in this paperpack and I just did some Distress ink blending on it to create this super vibrant background. Finished it with some die cuts and a sentiment of the Papericious vellum strip
CARD #3
Paper Layering
For this card I used two papers from the pack to create a layer.Then I added few heat embossed flowers & leaves and a sentiment to finish this glam card.
CARD #4
Heat Embossing
I added some Distress Ink (peacock feathers ) on this chevron pattened paper and then heat embossed a floral cluster with white embossing powder. To finish the card I added few white paint splatters ,a die cut sentiment and some sequins.
CARD #5
Die Cut Sentiment
This card is the simplest of all but my favourite as well. I kept the background simple and added colour on the die cut alphabets. To finish the card I added some clear sequins.
I hope you liked this post for today.
Hugs
SUPPLIES
Hi friends,
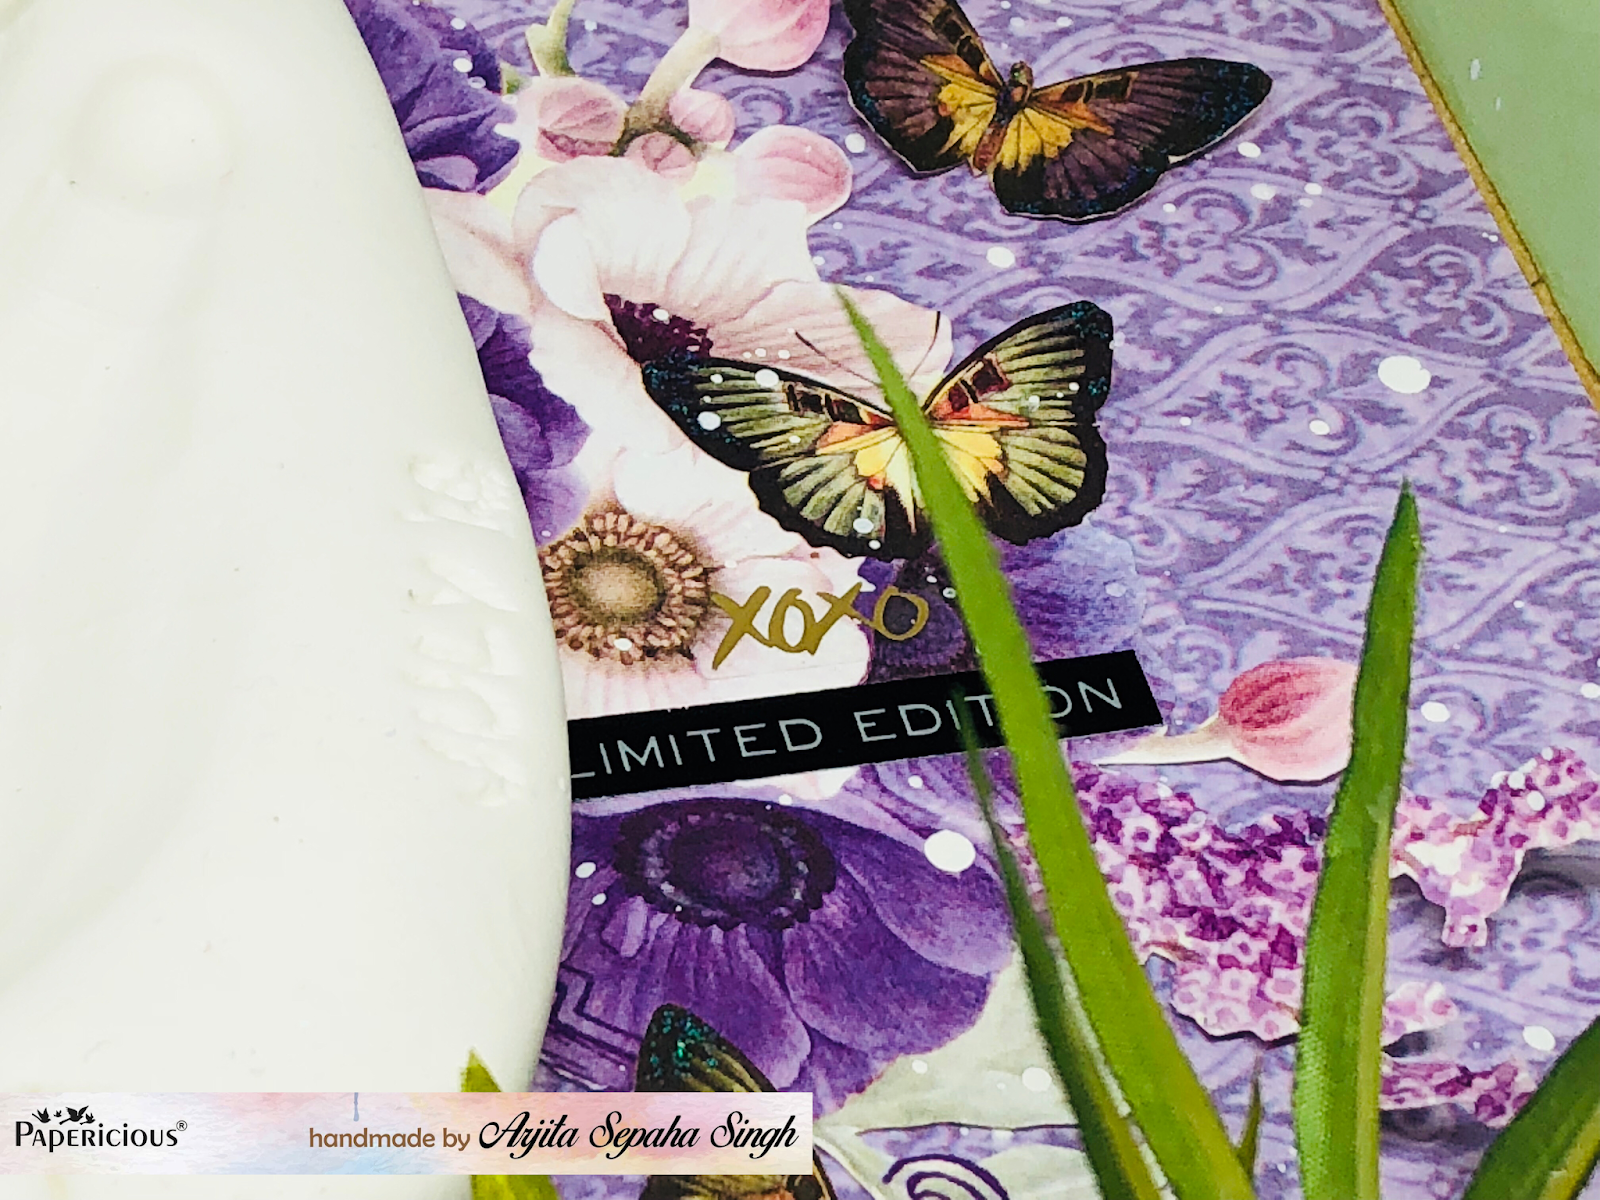
Welcome to the blog.Today I have used the Whimsical paper pad by Papericious to create this beautiful Shadow box.
Few days back I found a DIY kit to create a keepsake by taking the palm impressions of the baby. Its a non toxic, baby safe clay which needs to be baked in an oven.
I love the Papericious shadow boxes which can be altered in various styles. Today I kept it simple and easy. I used the Papericious decoupage glue to stick the papers on the shadow box and allowed it to dry. I fussy cut few flowers from one of the printed paper from the collection and arranged it at the base of the shadow box.
Next I glued the baked clay piece on top of the flower cluster.I also added some butterflies from the same paper pad and scattered them all around.To add some more interest on this very simple Shadow box I added some White paint splatters and some silver sequins around it.
So this is the adorable project I did today using the whimsical paper pad and I am quite happy with final result.I will gift in this to my friend whose daughter has just turned one and she is an adorable kid.I hope my friend likes it and if you want to create a similar project visit www.papericious.com and you can get all the supplies there.
Thank you so much for stopping by....
Supplies
Whimsical Paper pad
Shadow Box
Decoupage Glue