Hello friends
Nandini here, I am back with a beautiful inspiration using the newly released paperpack "AURORA" from Papericious. Each paper from this collection is unique in design with its pastel colour scheme and delightful florals.
Checkout the full process video
Some more pictures:
Material Used
Hope you like the project.
Love & Hugs
Nandini Ramchandani

Hello friends!
This is
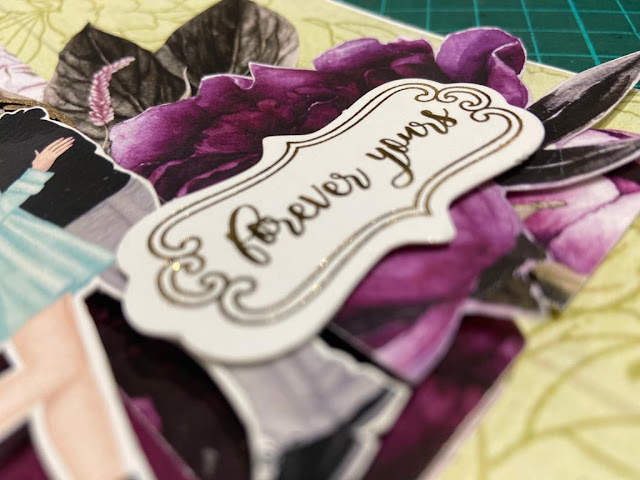
Parita Galani, here today with tutorial post featuring Papericious' recently released
Rosabelle Designer Paper Collection. This paper pack with its dark hues, bold motifs, and vintage embellishment is perfect for all for vintage and romantic paper projects.
I have created a layout which looks more beautiful because of lovely color palette of this paper pack.

Step by Step Tutorial:
Step 1 - Take a beautiful paper from Papericious Rosabelle as a base paper for the layout.
Step 2 - I used 3 randomly hand cut strips from the Rosabelle Paper Pack and dabbed some dry Black Chalk Paint for a vintage effect.
Step 3 - I have taken 2 beautiful frames from Papericious Chipboards Collection and painted them with Black and Wine Chalk Paint.
Step 4 - I used several beautiful embellishments from the Rosabelle Paper Pack and its coordinating DCE Sheets. And that's about it. I had a striking layout ready in a few minutes. I also added some flowers at the end.
Supplies Used:
Thank you!
Best regards,
Parita K Galani
Hello friends!
This is
Nandini here! Today I am up on the Papericious blog with a new project - A Pocket Album.
It's a cute mini album to preserve your memories. It can hold upto 20 small size pictures. I have used the "
Tranquil" Patterned Paper Pack from Papericious to create it. This paper pack has beautiful floral patterns, vintage elements, rustic doors and windows which are perfect for making any craft project.
For this pocket book, I have used several fussy cut elements from the
Paper Pack and
CCE Sheets. I have used Vellum sheets to make the pockets inside. Sentiments and floral bucket from the cordinating
CCE Sheets are perfect to add to its beauty.
Let's have some more detailed pictures:
Supplies Used:
3. Chippies
4. Vellum Cardstock
Hope you all like it!
Luv
Nandini Ramchandani
Hello Friends!
Nandini here back with a tutorial post of a beautiful Easel Card with a Drawer Box which is designed with an amazing Paper Pack '
WITH LOVE'. It's a lovely paper pack with lots of floral images.
Step 1
Take the Cardstock or any 220 GSM paper for making the base. Size 9" X 7" for drawer box. Score at 1" from all sides.
Step 2
Take the paper of size 13" X 7" for making lower side of the box. Score at 5", 6 1/8", 11 1/8", 12 2/8"
Step 3
Take the paper size 7" X 11" for easel. Score at 1", 4 4/8".
Step 4
For ground level platform: Take the paper size 9" X 7" and score at 1" from all side.
Step 5
Fold all the score lines and paste it like to make a box.
Step 6
Cut the beautiful sheets of '
With Love' Paper Pack 1/8" less than paper size and paste it accordingly.
Step 7
Attach a handle to pull out the drawer box.
Step 8
Make a delightful composition using images from "
With Love" and "Me Before You" coordinating CCE Embellishments. Use different wooden embellishments as well to add to its beauty.
Step 9
Stick sentiment from Gold Die Cut Embellishment Sheets.
Some more detailed pictures:
Supplies Used:
3. Gold Chipboard Embellishment Sheets
4. Me Before You - Cut and Create Embellishment Sheets
5. Chippies
Hope you all have enjoyed the tutorial.
Luv,
Nandini Ramchandani