Showing posts with label Papericious I Love You Paper Pack. Show all posts

Wallet Scrapbook Tutorial with I LOVE YOU by Nikkita


Hello everyone!
This is NIKKITA , and today I am back with a tutorial using I LOVE YOU Paper Pack by PAPERICIOUS.

Another way of sending Birthday/ Anniversary /Love Greetings!

Why follow the boring conventional way of wishing when you have a beautiful handcrafted mini scrapbook card waiting for you ! Its interactive with flaps and folds and beautiful prints and designs that any one would love , this Wallet Scrapbook Card is a sure hit!

WALLET SCRAPBOOK - CARD


 STEP BY STEP TUTORIAL : 

STEP 1: BASE : Cut 1 piece of cardstock measuring 6 inches X 11 inches and Score on the 11 inches side at 3 3/4 ", 4 ", 8 ", 8 1/4".

STEP 1 

STEP 2 : SIDE PANELS : Cut 2 pieces of cardstock measuring 4 inches X 9 1/2 inches and score on the 9 1/2 side at 3", 6", 9".

STEP 2


STEP 3: BELLY BAND : Take a strip of cardstock measuring 1 1/2 inches X 9 1/2 inches score on 9 1/2 side at 4 1/8 ", 4 3/8",  8 1/2", 8 5/8"

STEP 3

STEP 4: BASE READY : Stick both the side panels as shown in the picture on the middle part of the base . Add pattern papers as per your choice and for the closure I made a belly band you can opt for a ribbon or magnetic closure as well. 
STEP 4 

READY SCRAPBOOK CARD 

DETAILED PICTURES 


SUPPLIES USED : 
WHITE CARDSTOCK 

I LOVE YOU 12" X 12" PAPER PACK 

That's all for today! Hope you like the tutorial and do try it out it's super easy and fun to make. 
Do leave some love.

Happy Crafting!
LOVE,
NIKKITA 

JUNE CHALLENGE | Load It Up!


A big warm welcome Papericious Friends.  
For the month of June, myself Swati Nahata and Nikkita Sethi are hosting the Papericious Challenge. Both of us are very excited to host this challenge. Our aim is to inspire you to join the CHALLENGE and do something a little creative for yourselves. This month the challenge of  "Load It Up!" is a great idea, is what we think.

LET US RUN THROUGH THE RULES
JUNE CHALLENGE -  Load It Up
Create ANY project (flat project, 2D projects like Cards, Tags, Bookmarks, LO's etc) that showcases a lot of layering on the front of the project. Your project must have 2 or more layers on the front. The project base will not count as a layer.

1. You can create any project - Altered Items, 3D projects, Home Decor, Cards, Layouts, Mini          Albums, Scrapbooks, etc.
2. Remember that you need to use Papericious Products as your main focus to qualifying for the win.
3. The last date of submission of your projects is 10th July, 2019 at 11:55pm IST.
4. Please go through the general guidelines HERE before you link up your projects. Any project not following the rules will be disqualified and it will not be eligible for the prize.
5. If you are entering the challenge via social media platforms like Instagram or Facebook, please remember to write in your post that you are participating in the Papericious Monthly Challenge and give a direct link to the challenge blog post in your post description. Do mention the Papericious products used in your post as well. Then, come back and link your entry using the InLinkz tool provided at the end of the post. 

PRIZES:

The Design Team will be selecting a Merit based Winner at the end of the challenge who will stand a chance to win a gift voucher worth INR 1,000 from the Papericious Store. 
We will also be picking three entries as our Top 3, who will be awarded a badge to 
flaunt on their blog.

ONTO MY CREATION
Keeping the theme in mind, I have created a very cute and beautiful Accordion Tag Box.
A cross between a tag book and an Accordion Tag Box. They make a wonderful mini album to sit on your desk at home or work. They also make cute little gifts. The box is in the shape
 of an Accordion with charms and fussy cutting elements and contains large tags to 
pictures and/or tags. The size of the album is 4 by 4 inches. I made the box with an amazing Papericious Papers - INDIE CHIC. One of my favorite Paper pack hitherto. I've decorated the box in four layers and decorated it with some fussy cutting elements from the paper pack, charms and metal corners.

DETAILED PICTURES


MATERIALS USED


1.INDIE CHIC PAPERICIOUS PAPER PACK


I hope you enjoyed my little piece of challenge inspiration. 
Now Nikkita would like to share with you her beautiful piece of inspiration

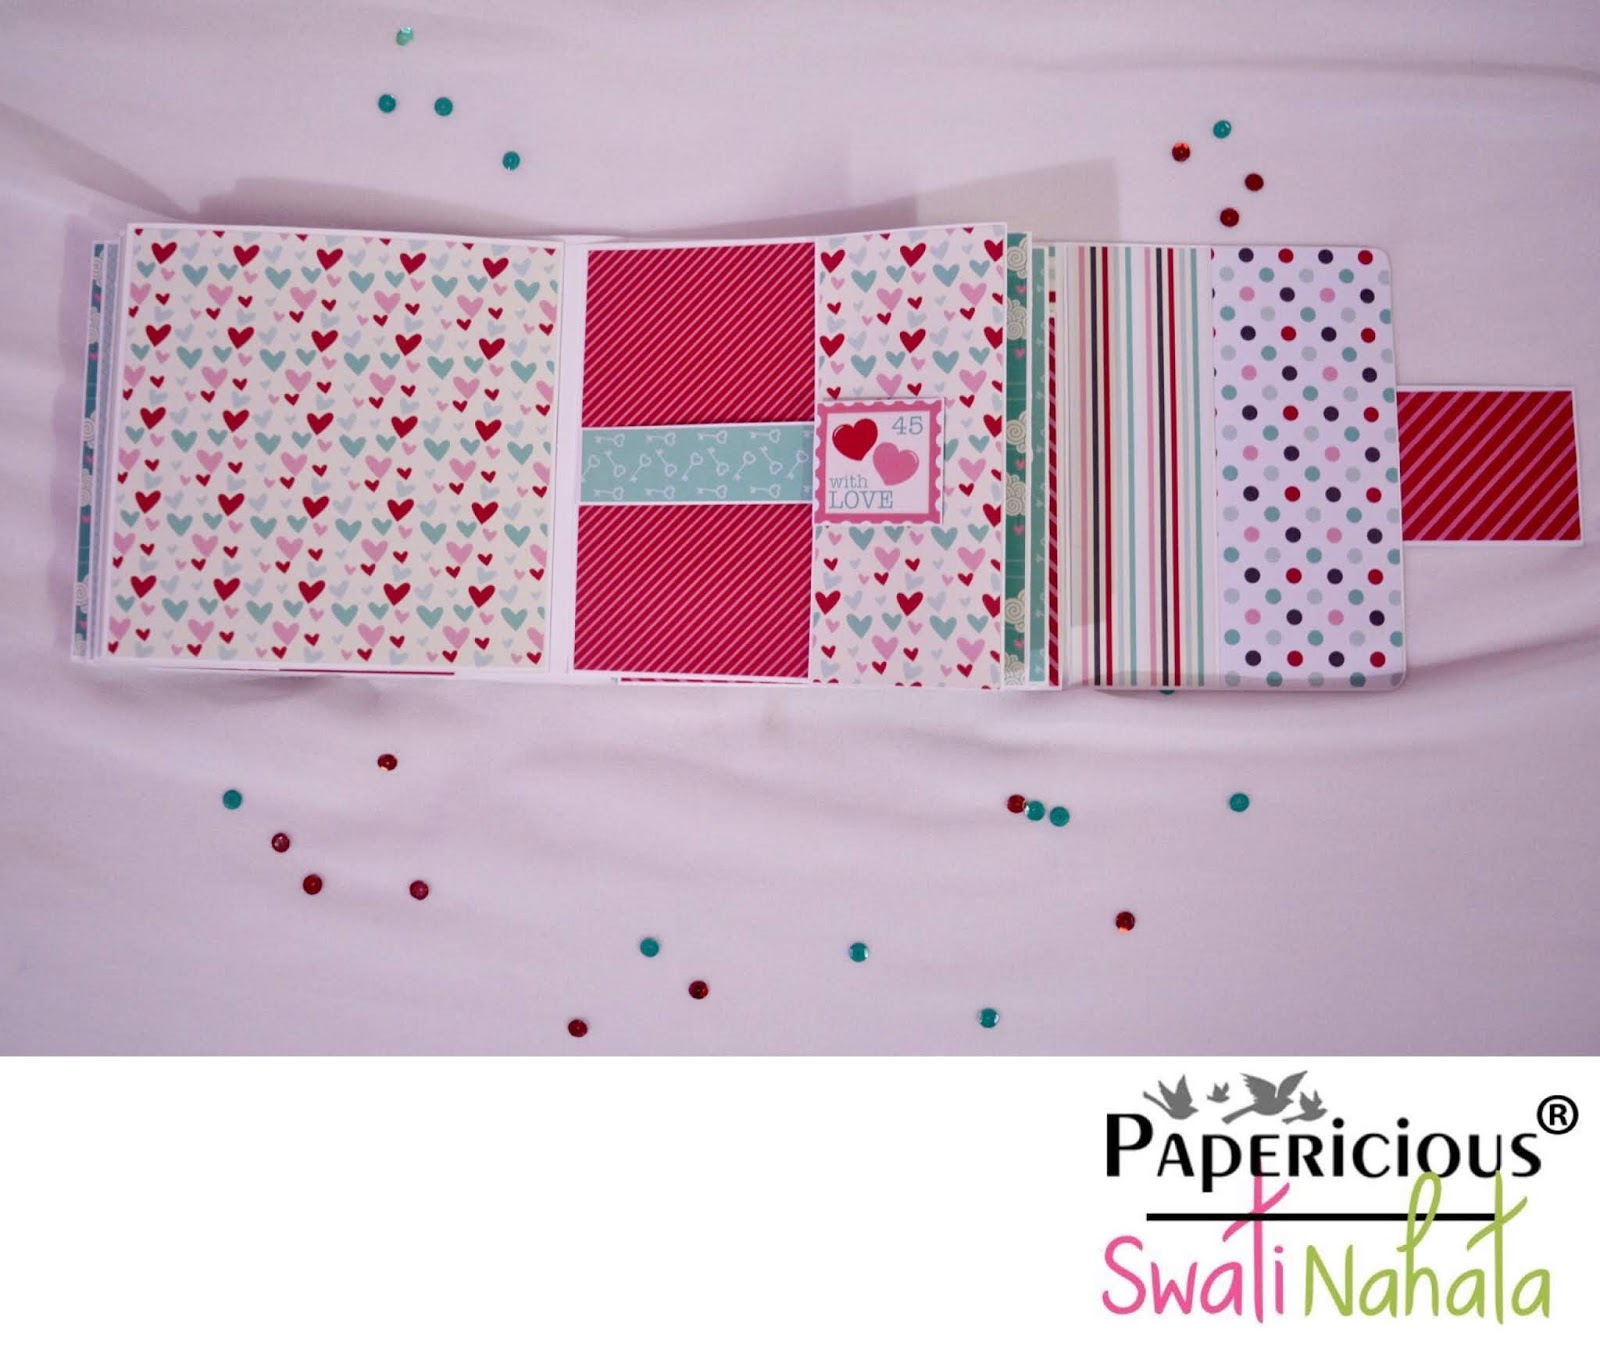
For my card, I have used Papericious - I LOVE YOU Paper pack. I wanted to give layers to my cards but did not wanted to make it bulky as well. I cut several panels and layered them using thin foam tape to give some dimension and then horizontally I added a strip to make it look like a belly band. Then I embellished my card with some die cuts, some  Papericious chip boards painted in teal blue chalk paint and mulberry roses and leaves from my stash. 

DETAILED PICTURES


Hope you guys will join us this month. We would love to see your gorgeous creations using Papericious products. We look forward to your participation.
Well, that is from me today. Thanks for stopping by.
Happy Crafting!
 XOXO

A Wall Decor using I Love You Paper Pack


Hello friends,
I think by now you must have understood my style in paper crafting. It's all CAS (clean and simple)!
No matter how hard I try to layer and embellish my projects my hands stop cooperating with me and the project ends up being a CAS again. Lol.

And today, I am here with yet another inspiration project.  I keep making some Wall Decor Frames now and then because they make such a nice gift for friends and family. 
I started with thick White Card Stock and made a Shadow Box Frame with it. You can find several videos on YouTube which explain how to make this frame. You need be little careful with corners and patience is the key :)
Then I took out three patterns from the I Love You Paper Pack from Papericious and cut out 3 hearts from each. With the help of ruler I folded them into half and adhered to the frame. And that gives you that 3D look to hearts which you can see clearly in following pictures.

You can make a number of patterns like this. Hope you liked the project :)
Supplies Used:

Double Pocket Mini Album by Tanvi Shah

Hello Crafty people! I am back with my newest project share with you - A Double Pocket Mini Album. This is a good example of using Valentine theme paper packs all the year round. A am loving the clean & simple look of this mini album measuring 4x5" with scope for adding many pictures in both the pockets. 
I have put together a pictorial for this, hope you will give it a try.
For the base use a piece of Black Card Stock measuring 11 1/2 x 8", score it as shown in the image.
Next cut as shown below:
Mat all the sections with pattern papers of choice. I am using the I Love You Paper Pack. For the pockets trim black card stock to 5x3 1/2" & score at 1/2 & 1" along the shorter side.
Glue the 1/2"edge to the base as shown here
Glue this to the triangular folded edges to create the pocket.
Use either Velcro or magnets for the closures.
The inserts measure 4 3/4x3 3/4", 
I have used eyelets to hold 5 together. Use the pockets to hold chocolates, cards, gift cards, etc.
 

Supplies Used
Thank you for visiting today,
Happy Crafting!

Mini Memory Book By Swati


Happy Tuesday, all!
Swati here from Swati's Crafting World. Hope you're doing great. I'm back with an another inspirational post. I've a new project to share with you today featuring the beautiful 
"I LOVE YOU" Paper collection by Papericious. Please visit www.papericious.com 
to get this lovely paper collection.


MINI MEMORY BOOK


This flawless memory book consists 7 interactive pages having different sheets on both its sides. Each of these sheets is unique with exclusive features. It's spacious which lets all the memories dig in & can house 24 pictures/tags. I've decorated the pages with some of the fussy cut elements from the 
"I LOVE YOU" Paper Pack.

ISN'T THIS WONDERFUL? 


ON TO THE DETAILED PICTURES OF THE BOOK :


SUPPLIES USED TO  CREATE THIS CUTE MEMORY BOOK :


That's all for today. Hope y'all enjoyed it. Don't forget to update your love in the below comments section. Thanks for dropping by.

Until next time take care & Happy crafting!
X0X0,