Showing posts with label mini tutorial. Show all posts

Limited Edition Card ft. Woodland Walk


Hello friends,
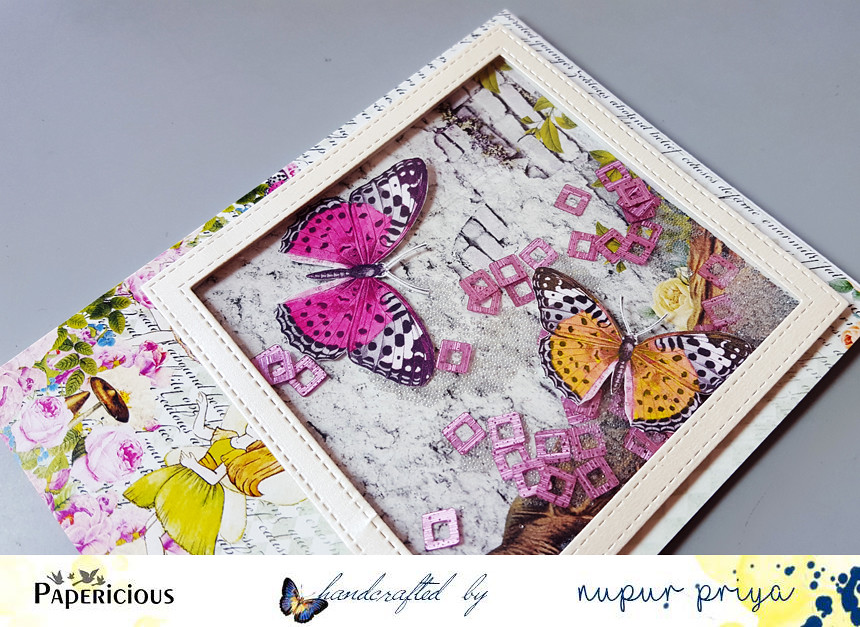
This is Nandini back with delightful cards ft. Woodland Walk, newly launched Paper Pack from Papericious which has lovely images of animals and nature elements. This paper pack is perfect for all your kid related projects. I enjoyed making these cards. 

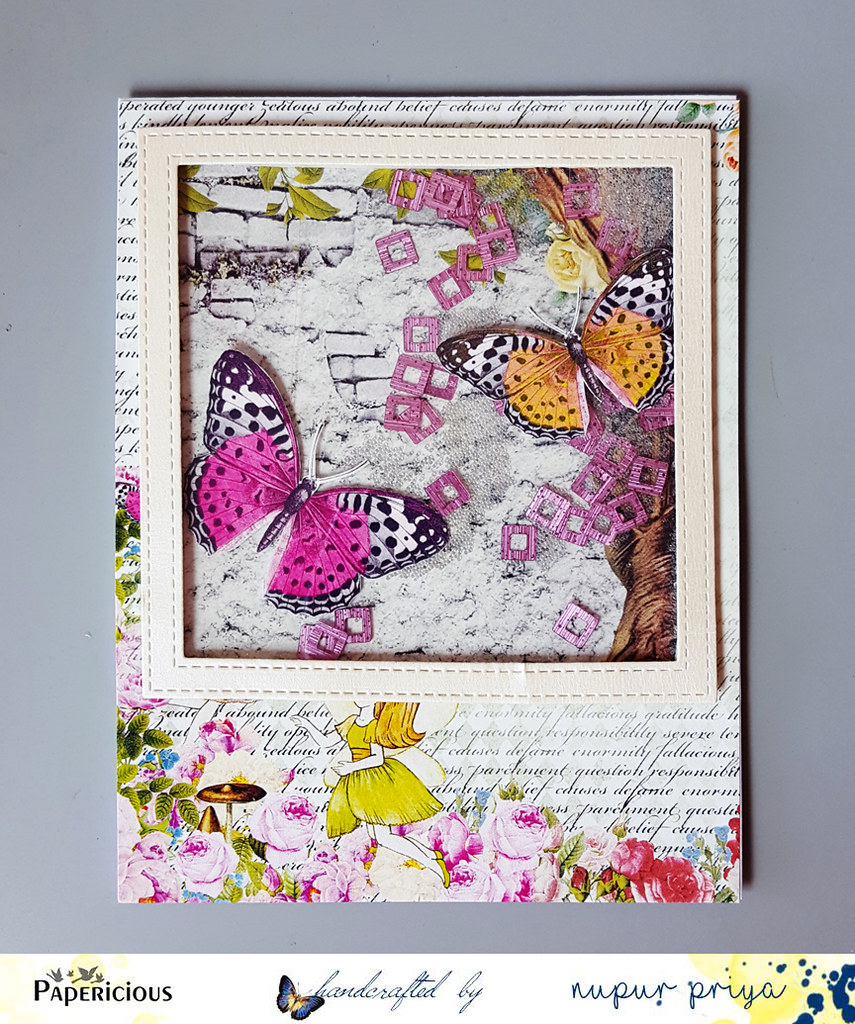
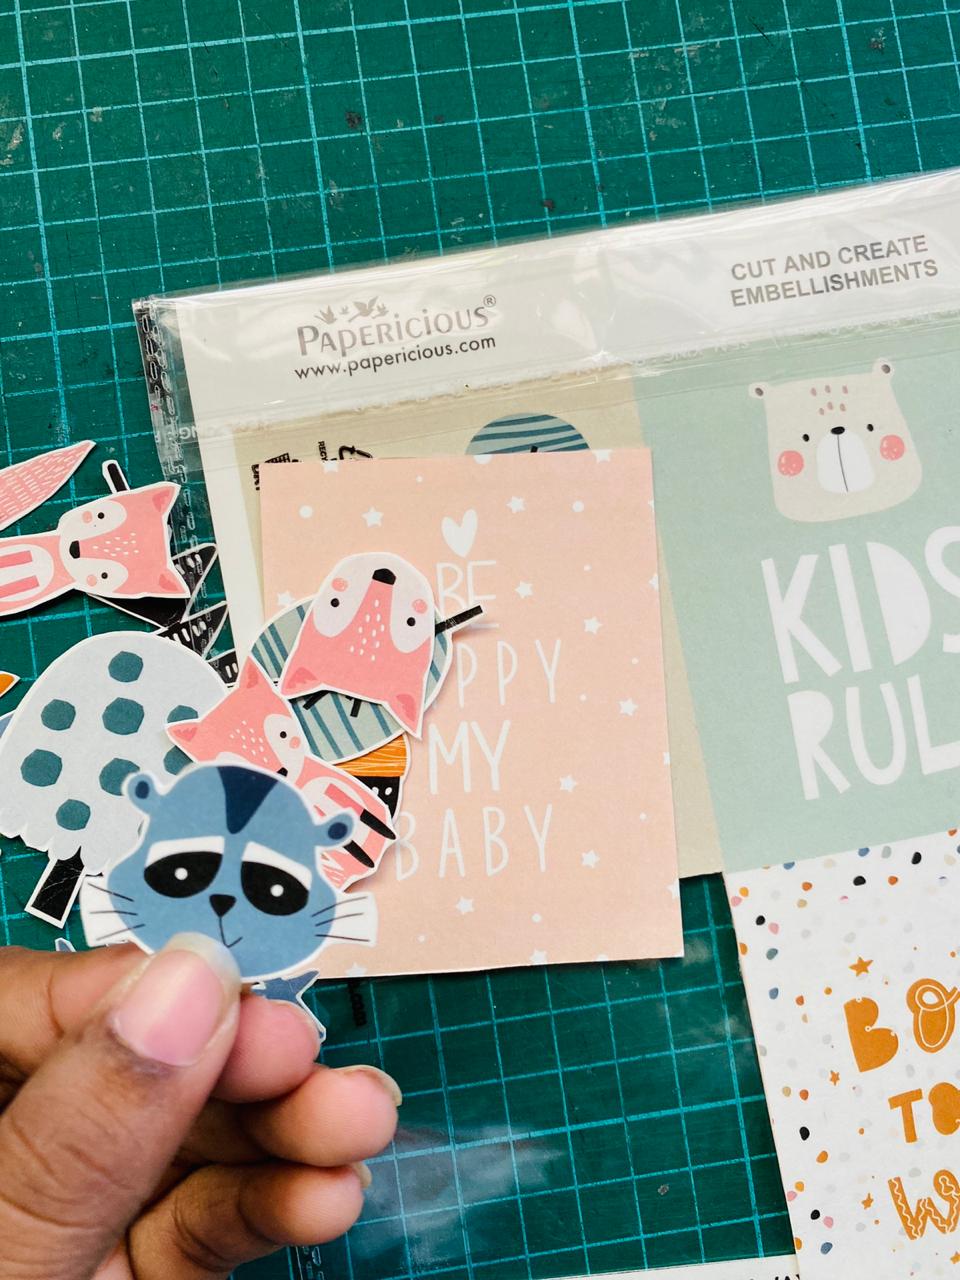
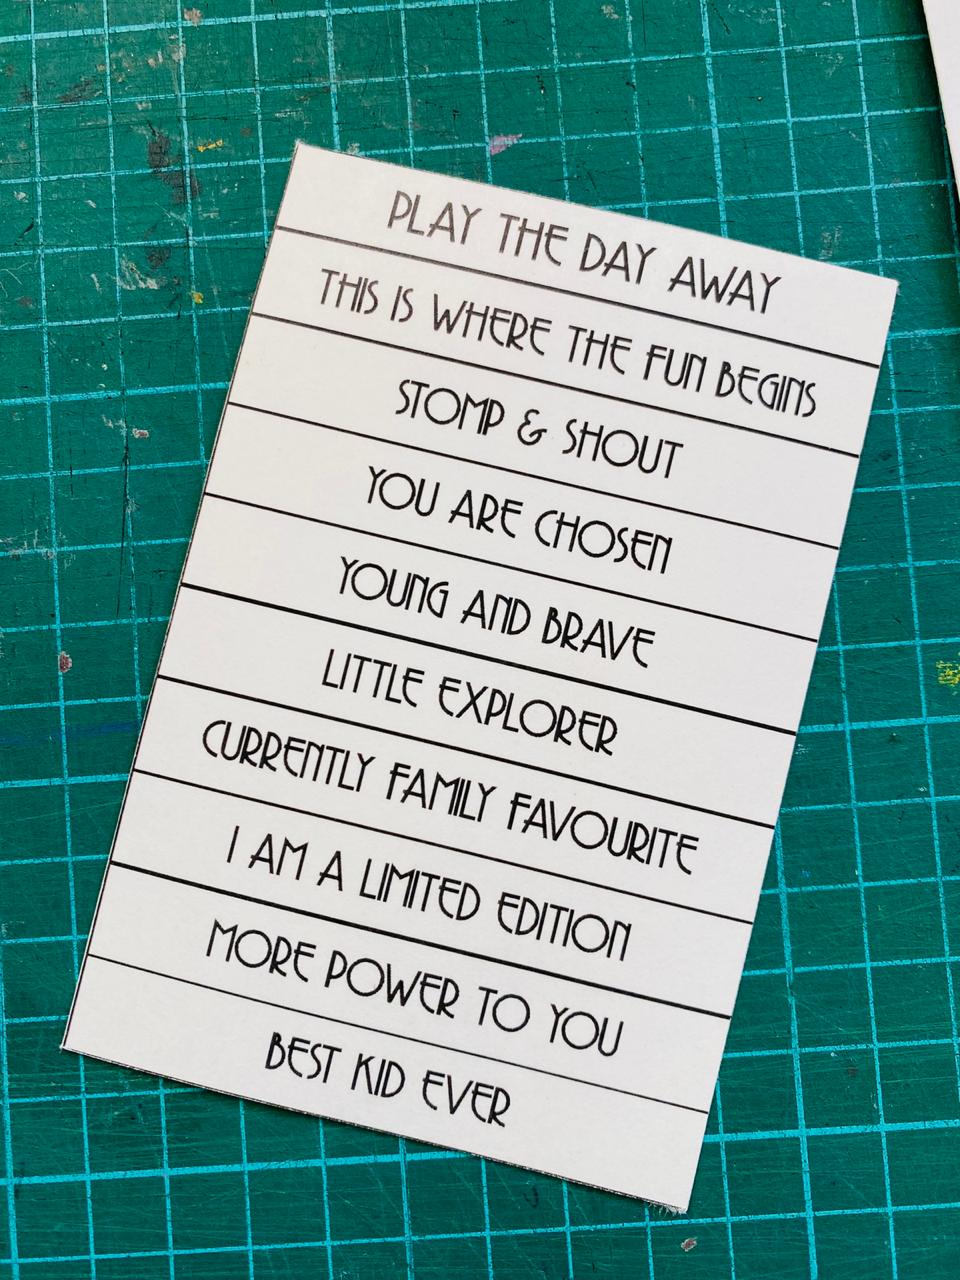
For Cards, I have taken Cardstock of size 10" X 14", then I layered it with different design papers from Woodland Walk. These cards are the perfect example of simple layouts with beautiful small compositions. I have used coordinating Cut and Create Embellishment Sheets to create a pleasing composition in the lower area of the card. 

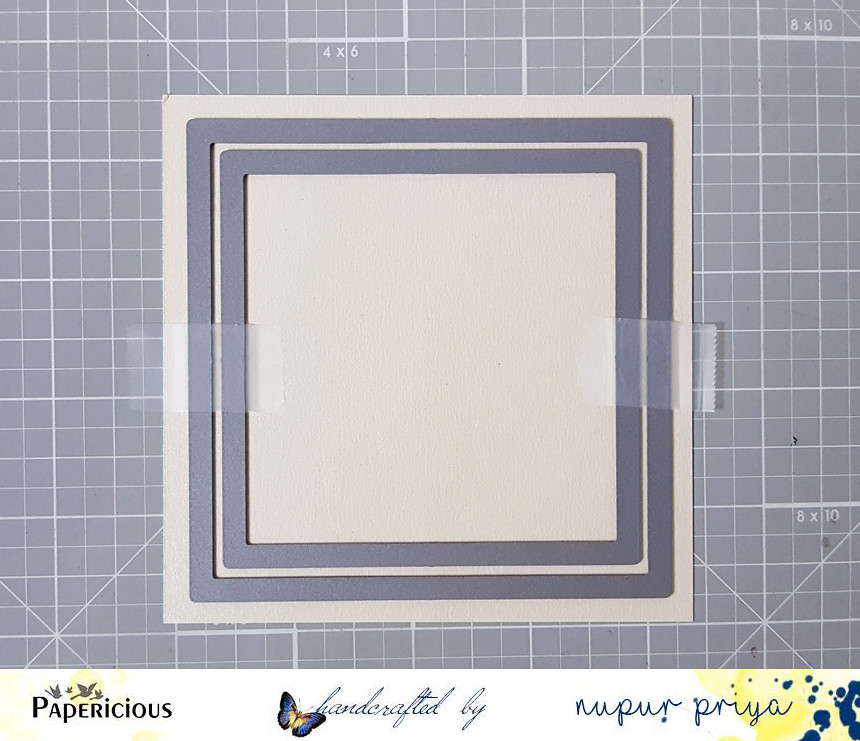
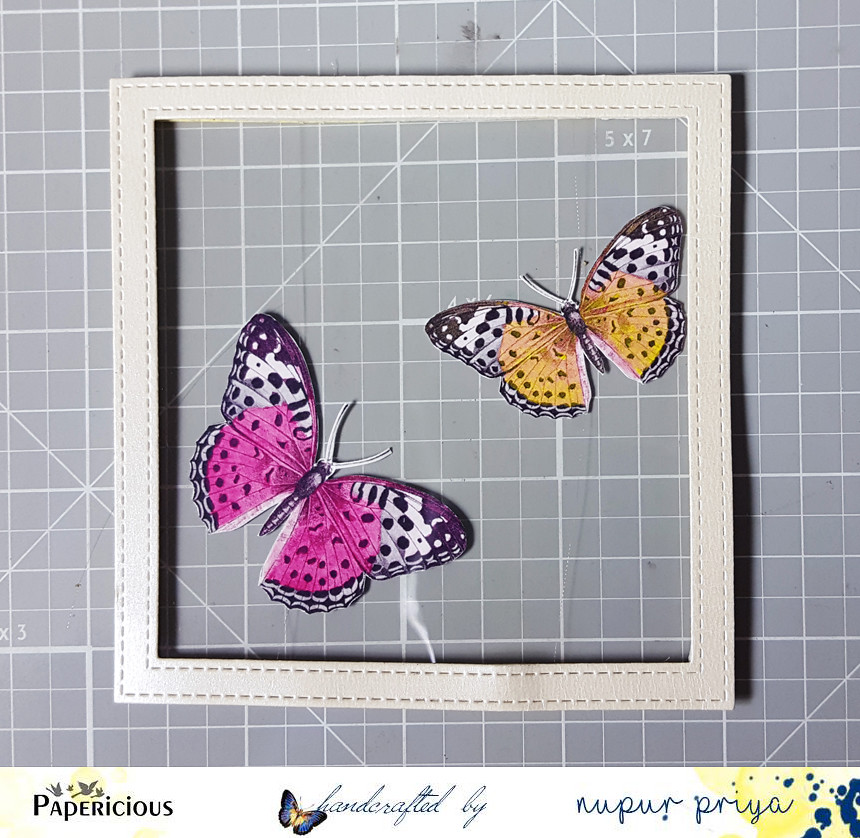
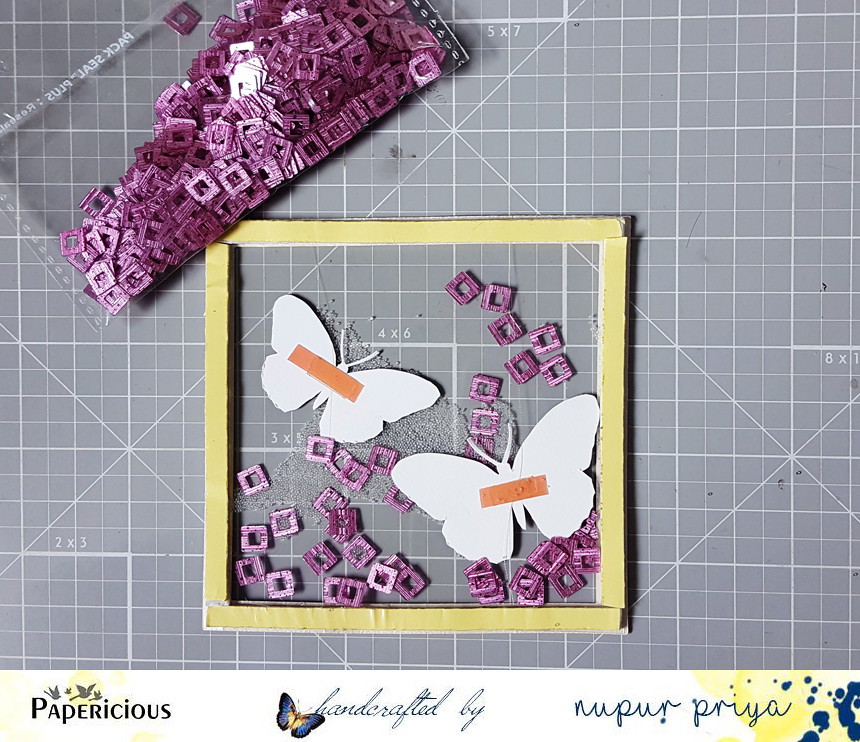
Here are some simple steps to follow to make these cards:

Here are some detailed pictures of cards:

Supplies Used:


Hope you all liked the cards!
Thank you for stopping with us!
Luv,
Nandini Ramchandani

Mini Mail Box - Tutorial


Hello people!
Chirali here with a cute Mini Mail Box tutorial using Pretty Pixie Paper Pack.
Here it is:

Let's start with the tutorial:
Take one sheet from Pretty Pixie Paper Pack of your choice and draw the lines as shown in picture.
Cut and fold the same as above.
Stick 0.5"x4" part to the opposite side to make such a dome.
Now, fold the dome on both the sides one by one and draw the circle with pencil.
Draw such triangles as shown in picture on any one side, cut both the sides and stick the side with triangles from inner side of the dome. Cut the drawn half circle on the other side.
It will look like this.
Take one stripe of 1.5"x10", score at 0.5" and cut such triangles in the same way as before and stick the same to the lose half circle to make door of the Mail box. If 10" is longer than needed, cut the same accordingly.
I gave it a magnetic closure.
Base is ready. :)
Now time to decorate and add some mails in it. I made 3 envelopes of 3"x3" to keep in it.
My final result of Mail Box:

I hope you liked it.
Thanks for stopping by!

Hugs,
Chirali :)

Supplies Used:

Double Pocket Mini Album by Tanvi Shah

Hello Crafty people! I am back with my newest project share with you - A Double Pocket Mini Album. This is a good example of using Valentine theme paper packs all the year round. A am loving the clean & simple look of this mini album measuring 4x5" with scope for adding many pictures in both the pockets. 
I have put together a pictorial for this, hope you will give it a try.
For the base use a piece of Black Card Stock measuring 11 1/2 x 8", score it as shown in the image.
Next cut as shown below:
Mat all the sections with pattern papers of choice. I am using the I Love You Paper Pack. For the pockets trim black card stock to 5x3 1/2" & score at 1/2 & 1" along the shorter side.
Glue the 1/2"edge to the base as shown here
Glue this to the triangular folded edges to create the pocket.
Use either Velcro or magnets for the closures.
The inserts measure 4 3/4x3 3/4", 
I have used eyelets to hold 5 together. Use the pockets to hold chocolates, cards, gift cards, etc.
 

Supplies Used
Thank you for visiting today,
Happy Crafting!

Butterfly Shaker Card

Hello friends,
 This is Nupur here from Nupur Creatives & today I am sharing a shaker card made with Fairy Land paper pack...
I love shaker cards ....  They are so much fun to make & play with...So I also have a tutorial so that you can make your own shaker card with this beautiful paper collection...
20161227_105707
I started with die cutting the frame using 2 sizes of stitched square dies from the same set & die cutting the cream cardstock included in the paper pack. This cardstock has a beautiful pearl finish & looks really pretty....
20161226_222214

Next I took a piece of slightly smaller clear cardstock and adhered it to the back of the frame.
I fussy cut 2 butterflies from the paper pack & attached a thin thread to their center so that they are slightly tilted & attached the top & bottom of the threads on the frame edge.
20161226_225258

20161226_225513Now comes the fun part.... I adhered foam adhesive on all four sides of the frame and added the Purple Textured Sequins & a little clear micro beads inside. I cut a piece of pattern paper from the paper pack & adhered it on the foam adhesive to seal the shaker elements inside.
I adhered this on my card front with the pattern paper and my card was ready to shake-shake-shake.....
20161227_105720

Hope you like it...
Thank you for visiting today :)
nupur