Wallet mini album using "OFTEN" collection

Hello everyone,
  Its Kavitha here  and i am super excited to share my very first post for Papericious .I am sharing a Wallet mini album using the new collection "OFTEN" released this month.This paper pack is full of bright colors with fun and trendy prints,very apt for masculine projects  or for teenage people.It also have some coordinating die cuts.

    So here is my project,its super cute and compact measuring 4 by 4 inches.I added magnetic closure to  make it more user friendly.


It totally have 12 panels each measuring 4 by 4 inches,the center panels have pocket with tiny tags to add personal messages.

I embellished the album using die cuts,and have to say it makes working a breeze


I hope you liked my project.This paper pack is a must buy if you like bright colors.Dont forget to leave your feedback:)


Happy crafting,


A Mixed media 2016 Desktop Calendar with the 'Infinity' Collection

Hello Everyone!

It's Manu here and I'm super excited with Papericious this months launches!! Both the collections launched, 'OFTEN' and 'INFINITY' are something worth a buy! While OFTEN has more bold patterns and cool colors, the Infinity pack is a paradise for Vintage lovers!! It houses some very awesome and pretty vintage style papers and is gorgeous to look at (and I must add that It was sad putting these pretties under the scissors!!! )  and what more, they also have co-ordinating Diecuts pack and the quality and finishing of each die cut is pretty neat and is of awesome quality!

Like I said that it was quite hard to put the Infinity pack under the scissors, yet at the same time it had to be done coz I had a very vintage idea in my mind. There is no doubt that this pack is solely for vintag(y) projects, I had a desktop calendar in my mind.

Here' what I made!

I totally loved the idea of making this one and was relieved that it came out to the same as perceived !

I have a little tutorial for it as well, so sit back and see how this pretty one was done!

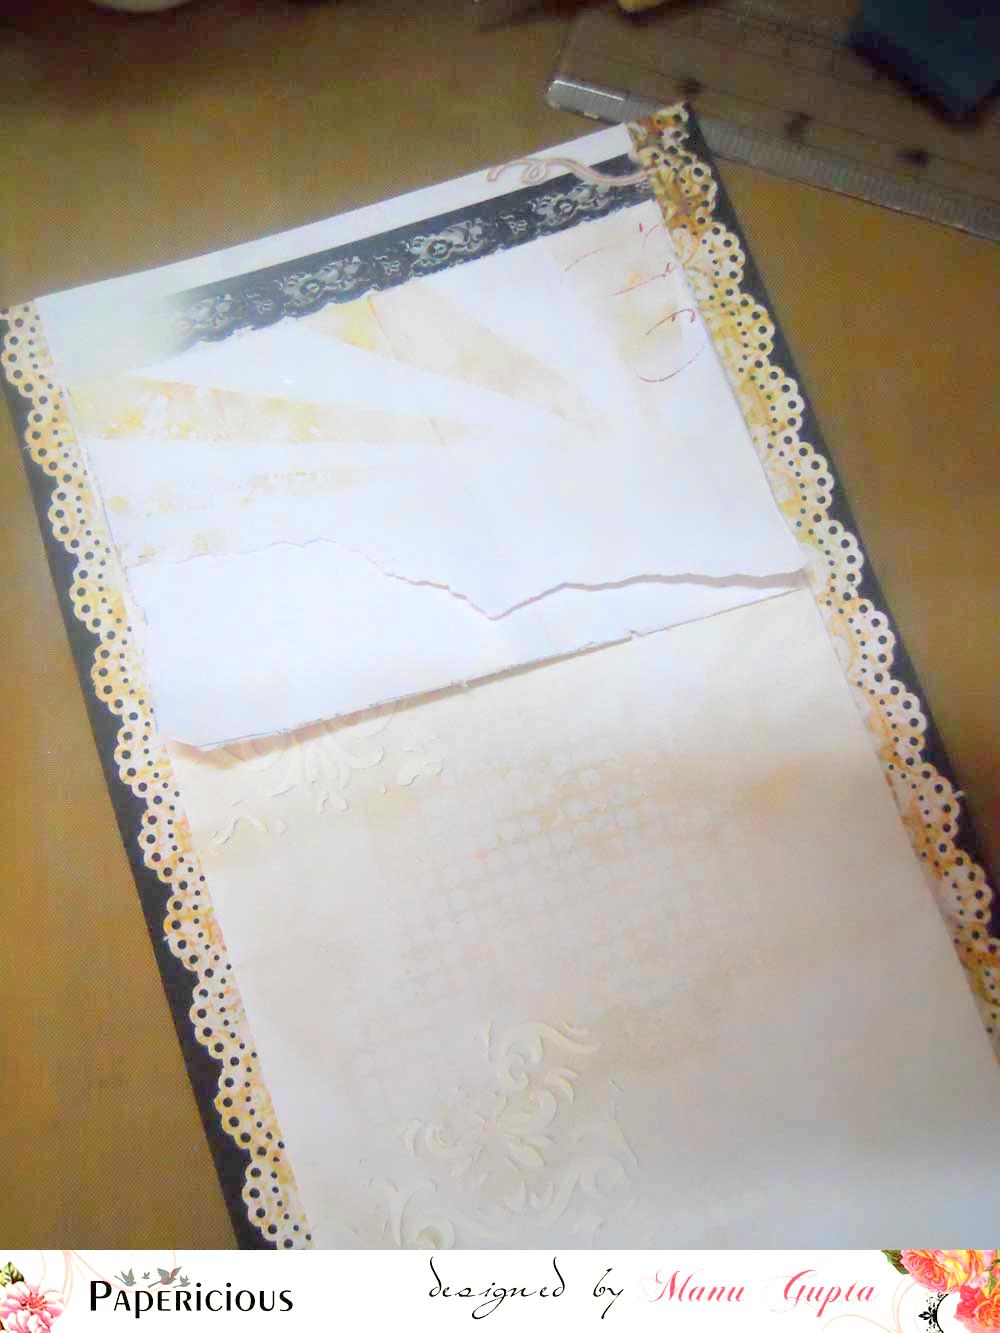
Cut out a panel from one of the papers from the Infinity pack. My panel measures about 5 inches*12 inches. I took another paper from the pack and cut out 2 thin strips with the MS Doily punch and then have these 2 strips on either side of the panel. Once this was done, I stuck out my panel to a black cardstock (I'll be putting this layout on the hard cardboard thing once I'm done making my desktop calendar)

Using the Modelling paste and one of the stencils, give a little texture to the panel. The textures brings out the dimensions in the end result and I love having a little texture on all my mixed media projects

I wanted to add on a little more dimension to my project, hence I took another pattern paper from the collection measuring about 5*4 inches and roughened the edges with the scissors. Once done, I tore the paper in half not bothering about where I was tearing the paper. Once this was done, I distressed the paper on the edges using the TH Distress inks and placed the paper on my layout! 
I wanted the papers to look torn and that I achieved while placing the flowers !


Once the placement of the torn out paper was done, to add more dimensions I placed the flowers and ferns in such a way that it appeared peeping out from beneath the layers. I had also placed some white lace beneath the layers to add more dimensions. Once I was happy with my flowers and ferns placement, it was time to make some pretty leaves!

The Leaves are stamped and fussy cut from the Heartfelt Creations stamp set and then distressed a little with the Mowed lawn distress ink. I also shaped these using the shaping tool to make then look real. Once happy, these leaves were added to the flower arrangement on the top 

I finished my layout using some of the die-cuts from the infinity collection and a cute button from the same collection!


A few closeup's of the calendar!

Closeup!

I simply loved the flower arrangement!


I hope you all liked the procedure and I'm sure that your next buy will include these gorgeous paper packs! The Design team have more inspiration for you using these two launches, so watch out more on this space!!

Do leave me a feedback!! Would love to hear from you!

Happy Crafting!
Manu


A Layout using Often

Hello and Good Morning! ^__^

I'm Halak and I am pretty excited to showcase the super awesome Often Paper Pack by Papericious along with the Co-ordinating Die-cuts!

(I secretly think that they have named this often because they knew, that is paper pack is going to be used pretty often by crafters! LOL)

What's special about this collection you ask?
Everything!
The colors are super bright, fresh and fun! Suitable for a variety of occasions, this collection is a MUST BUY of 2015!

I made a layout using this! My first ever layout too!

Check out some cool close-ups!

I have cut these medallions from one of the sheets of Often paper pack.
Ofcourse I had to jazz them up using some glitter and that's exactly what I did!

Look at the die-cuts! They are just as beautiful and vibrant as the paper pack and oh the quality!

I was amazed at the quality of these die-cuts, trust me, they are way better than many international counterparts and go beautifully with the Often paper pack.

All the die-cuts used on here (including that lovely bloom) are from Papericious.

If you notice the blue metallic foil finish stars on the layout, there is a funny story about it... I noticed that one of the designs from the Often collection features a beautiful navy blue background with white stars, and when I saw it, I began hunting for my blue metallic decorations to pair with it, only to realize after an hour that the embellishment jar was under my phone! LOL!

So that's about it dear friends, do let me know what you think! I love hearing from you.

(P.S. Incase you were wondering, who's in the picture, well they are two of my most favorite people in the world! Mum and sibling!)

Till next time! *Hugs*


Posted via Blogaway

A Mixed Media Layout with Infinity Premium Collection

Hello, everyone!
This is Hussena bringing you another post for this month, but this time I have the very gorgeous Infinity Collection to share. As soon as I received these papers in my DT kit, I knew it would be perfect for a mixed media layout. The gorgeous prints and the coordinating die cuts are perfect for creating a shabby chic project, so here's a look at what I have made using these beautiful papers.


To create my LO, I selected one of the 12 X 12 " sheet from the Infinity collection and stuck it on a sturdy 12 X 12" cardstock. I, gessoed over the entire paper, once that was dry, I went to work with texture paste and a stencil which I had created using a die cut. Then, I sprayed and colored over my stenciled area with Lindy's Stamp Gang and Heidi Swapp sprays. All the die cuts that I used on this layout, are from the Infinity Collection Die cuts pack itself. I, further embellished it using my handmade flowers and a little bit of stamping on the background to create more texture.

Here are some close-up pictures for you to see all  the details :


I have also used the Papericious Adhesive buttons which coordinates with the Infinity collection. A close-up to show you how it looks!


I hope you like my humble attempt at layout making.  I am still learning and hope to get better in future. This Papericious collection is so gorgeous. It was totally a delight to work with the prints, and all the coordinating die cuts and adhesive buttons are the icing on the cake.
Please don't forget to leave me your comments/ suggestions. I love receiving your feedback. :)
Have a nice day everyone.


THE ARTY DESK ORGANISER – LOVING LIFE


The Great Sai Baba, who I revere, once said –
“Life is a song - sing it. Life is a game - play it. Life is a challenge - meet it. Life is a dream - realize it. Life is love - enjoy it.”
And to love the small elements of life, I am presenting today an ARTY DESK ORANIZER…

Imagine your husband’s work desk… Messed up papers and files. Pens and things scattered around…taking him endless hours to rearrange… Don’t you wish to make it more organized. That too with something which reflects your character and represents your love. Something which makes him remember you all the time – even when he is deeply engrossed with work routine, meeting clients and attending to calls. Yes this Desk Organizer can do just that.

Made from MDF board, this arty desk organizer is ornate with one of my most liked collection of pattern papers – “Infinity” collection from Papericious. Papericious is changing the way I do my crafting. With designs and colors to titillate that crafty bones, this latest collection is just awesome. The vintage look of the patterns make the product stand out. Besides the pattern paper, use of Papericious theme buttons and die cuts embellishments add that modern flavor to the vintage look of the organizer.

Besides the latest collection of Papericious, the desk organizer is beautified with lovely quotes of ‘life’, floral die-cuts, trinkets, distressed and glass glitter effect and use of diamond dust.


I am sure your crafty bones will also get tinkled on seeing this presentation. So go ahead and create YOUR REFLECTION on your loved one’s work desk.

Do let me know how you liked it and do feel free to ask any query on this creation.

Have a wonderful weekend


Mini Album using Dusk and Dawn

Hello, lovely people,
This is Hussena here and I have a very fun and beautiful mini album to share with you all which I have made using the Papericious Dusk and Dawn collection. I also have a tutorial on how to make it, so sit back, relax as you scroll through this picture heavy post!

I'm starting with few pictures of the album cover and the insides on how I have embellished this album using the Dawn and Dusk collection as well as die-cuts from the previously released Golden Garden and Vintage Attire Embellishment Sheets. You will find a few paper pieced flowers from the Papericious Grey Bloom collection as well!
 
A look at how it looks all opened up :


TUTORIAL 

 Step 1- Take a piece of chipboard and cut it up into the following measurements :
11cms X 5 cm, 11cm X 6.5 cm, 11cm X 8 cm, 11 cm X 3.6 cm, and last 11 cm X 3 cm.

(These measurements are given in centimetre only, but if you want it in inches, then you can Google convert it.)

Step 2- Take a piece of pattern paper. I have used the Dawn and Dusk collection and cut it into 30 cm X 14 cm. This will form the cover of your album.
Now, please your chipboards on this pattern paper as shown below, keeping a 0.5 cm gap between each chipboard.

 Step 3- Now, take another piece of coordinating pattern paper measuring approximately 28cm X 12cm and stick it in the inside as shown below. Score in between the chipboard pieces to create creases on the pattern paper so that it folds easily.
After you have glued both the pattern papers to your chipboard pieces, fold it up. it should look like the picture below. 

Step 4- Add strips of Magnetic tape measuring approximately 3cm X 9 cm on the two flaps of the album so that it can be closed.

Step 5- Now to create the inside pages, take pattern papers measuring 16.5 cm X 10 cm. Score it n half and keep a 0.5 cm gap in the centre of your score. Your score lines should be 8cm/0.5cm/8 cm.
Stick these pages in the opposite direction creating a zig zag fold like you do in an accordian fold.  You will approximately need 6 of these papers.
Now, the base of your album is all ready. you can go ahead and embellish it in any style you want. i really had a lot of fun using only Papericious products to create the insides of this album. :)

I hope you liked my today's post and you find the tutorial useful. Please leave your comments/suggestions on how you liked my project. Would love to hear from you!
Have a nice day everyone!

Gift Box and Envelopes!

Hello, crafty friends!
 This is Hussena here to share with you some inspiration using the Papericious Vintage Rosewood Stack and the Papericious Dusk and Dawn Collection. These are our earlier releases and have some of the most beautiful papers in the collections. When I saw the Vintage Rosewood papers, it was love at first sight. It has the most gorgeous woodgrain background along with vintage flowers. I had so much fun creating with these papers.

Without further ado, here's a look at what I have created. First up, is a top note box perfect for gifting those small trinkets/chocolates to your family and friends, all elegantly packaged. 

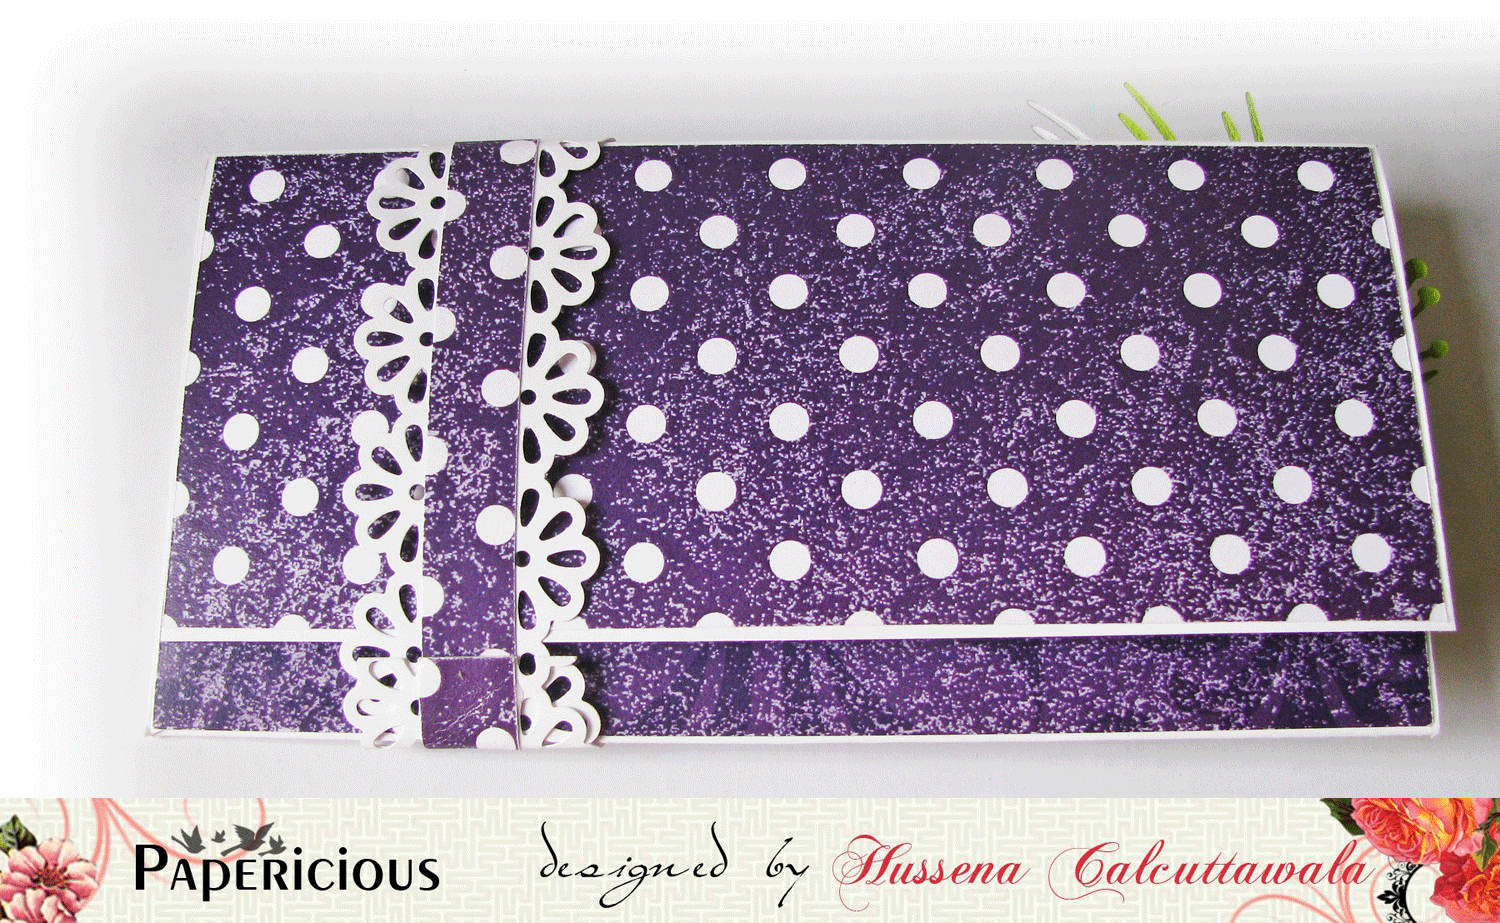
Next up are envelopes with a bordered band perfect for gifting on any occasion, the top envelope is made from the Vintage Rose Wood collection and I have used handmade flowers and die cuts on it to give it a rich elegant look and the bottom purple envelope is from the Dusk and Dawn collection ...I have done a bit of stenciling on it using Wendy Vecchi embossing paste mixed with Ripe Persimmon Distress ink to create a beautiful background.The envelopes are further embellished with handmade flowers and foliage.


And here's a look at the trio of the gift box and envelopes I have made using the two paper collection.Aren't they so pretty :) Do let me know how you liked my gifting ideas's by leaving me your comments/suggestions..Looking forward to your reviews on it !!
Have a nice day everyone. :)