Hello Everyone!
It's Manu here and I'm super excited with Papericious this months launches!! Both the collections launched, 'OFTEN' and 'INFINITY' are something worth a buy! While OFTEN has more bold patterns and cool colors, the Infinity pack is a paradise for Vintage lovers!! It houses some very awesome and pretty vintage style papers and is gorgeous to look at (and I must add that It was sad putting these pretties under the scissors!!! ) and what more, they also have co-ordinating Diecuts pack and the quality and finishing of each die cut is pretty neat and is of awesome quality!
Like I said that it was quite hard to put the Infinity pack under the scissors, yet at the same time it had to be done coz I had a very vintage idea in my mind. There is no doubt that this pack is solely for vintag(y) projects, I had a desktop calendar in my mind.
Here' what I made!
I totally loved the idea of making this one and was relieved that it came out to the same as perceived !
I have a little tutorial for it as well, so sit back and see how this pretty one was done!
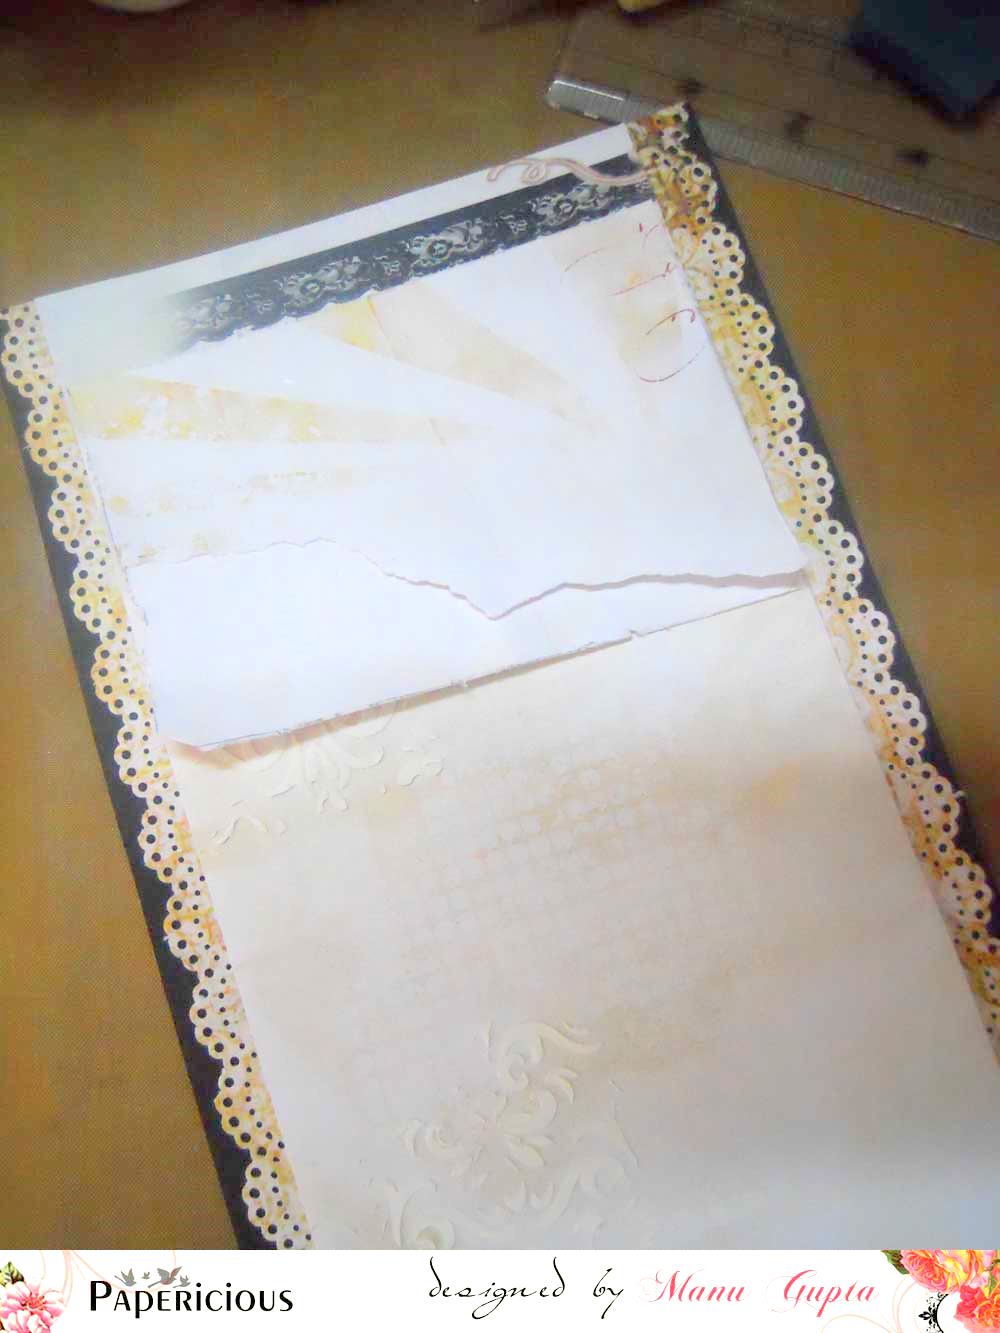
Cut out a panel from one of the papers from the Infinity pack. My panel measures about 5 inches*12 inches. I took another paper from the pack and cut out 2 thin strips with the MS Doily punch and then have these 2 strips on either side of the panel. Once this was done, I stuck out my panel to a black cardstock (I'll be putting this layout on the hard cardboard thing once I'm done making my desktop calendar)
Using the Modelling paste and one of the stencils, give a little texture to the panel. The textures brings out the dimensions in the end result and I love having a little texture on all my mixed media projects
I wanted to add on a little more dimension to my project, hence I took another pattern paper from the collection measuring about 5*4 inches and roughened the edges with the scissors. Once done, I tore the paper in half not bothering about where I was tearing the paper. Once this was done, I distressed the paper on the edges using the TH Distress inks and placed the paper on my layout!
I wanted the papers to look torn and that I achieved while placing the flowers !
Once the placement of the torn out paper was done, to add more dimensions I placed the flowers and ferns in such a way that it appeared peeping out from beneath the layers. I had also placed some white lace beneath the layers to add more dimensions. Once I was happy with my flowers and ferns placement, it was time to make some pretty leaves!

The Leaves are stamped and fussy cut from the Heartfelt Creations stamp set and then distressed a little with the Mowed lawn distress ink. I also shaped these using the shaping tool to make then look real. Once happy, these leaves were added to the flower arrangement on the top
I finished my layout using some of the die-cuts from the infinity collection and a cute button from the same collection!
A few closeup's of the calendar!
Closeup!
I simply loved the flower arrangement!
I hope you all liked the procedure and I'm sure that your next buy will include these gorgeous paper packs! The Design team have more inspiration for you using these two launches, so watch out more on this space!!
Do leave me a feedback!! Would love to hear from you!
Happy Crafting!
Manu