Gift Box & Tray using Fleur Fum by Nikkita Sethi


Hello everyone! Wish you all a very HAPPY DIWALI
This is NIKKITA from the city of joy, Kolkata and I am back on the PAPERICIOUS blog with a new inspirational post and I have prepared a gorgeous gift box with a coordinating tray a best gift for the festive season! 
Here are the pictures!

I have used FLEUR & FUN paper-pack along with it SCALABLE Chippi for the lid and MIDNIGHT BLACK cardstock for making the box.


I have decorated the lid of the box using SCALABLE CHIPPI and colored it using Pearl Pink Chalk Paint some metal embellishments and mulberry flowers and leaves from my stash.

And for the tray, I have decoupaged using DECOUPAGE GLUE and added from border cutouts using border punch from my stash and decorated the corners using flowers and leaves.


PRODUCTS USED :
FLEUR FUN 12*12 PAPERPACK

PINK PEARL CHALK PAINT


MIDNIGHT BLACK CARD-STOCK
SCALABLE CHIPPI
DECOUPAGE GLUE


Hope you like my box and tray set!
Do leave some love.
HAPPY CRAFTING
LOVE 
NIKKI

Exploding Box Mini Album by Swati


 Hello & Good Morning Crafty People!

Swati here from Swati's Crafting World, wishing you all a very Happy Diwali. May the year brings in a lot of happiness, peace, & prosperity in your lives.

Today I'm gonna share a cute & interactive project made using Fluer Fun Paper Pack,
 my current Favorite & Wanderlust Chippis

Explosion Box or Mini Album ?

I'm sharing this project which has a bit of Twist. Making large Explosion Box with the
 added surprise of actually being a Mini Album. It is like an Explosion Box but has 
pockets inside & looks like a Mini Album. 

I created the box out of cardstock & then attached a pocket style Mini album to the inside. 
By adding pockets insides this Mini Album in a box can house more than 
36 pictures and/or Tags. For decorating the cap I have fussy cut 
some flowers & leaves & adhered them on the top of the box 
& for giving the fussy cut elements a shiny look, I've 
added Crystal Clear Glitter to it.

CARD LAYOUT :


SUPPLIES USED :


Hope you'll like it & definitely try this. Once again, wishing you all a very Happy Diwali.
Thank You so much for stopping by, & Happy Crafting.

Hugs, 

Jack N Jill Instant Frames - Tutorial

Hello people!

Chirali here with a cute project using my current favorite Jack N Jill paper pack. I have a picture tutorial to share with.

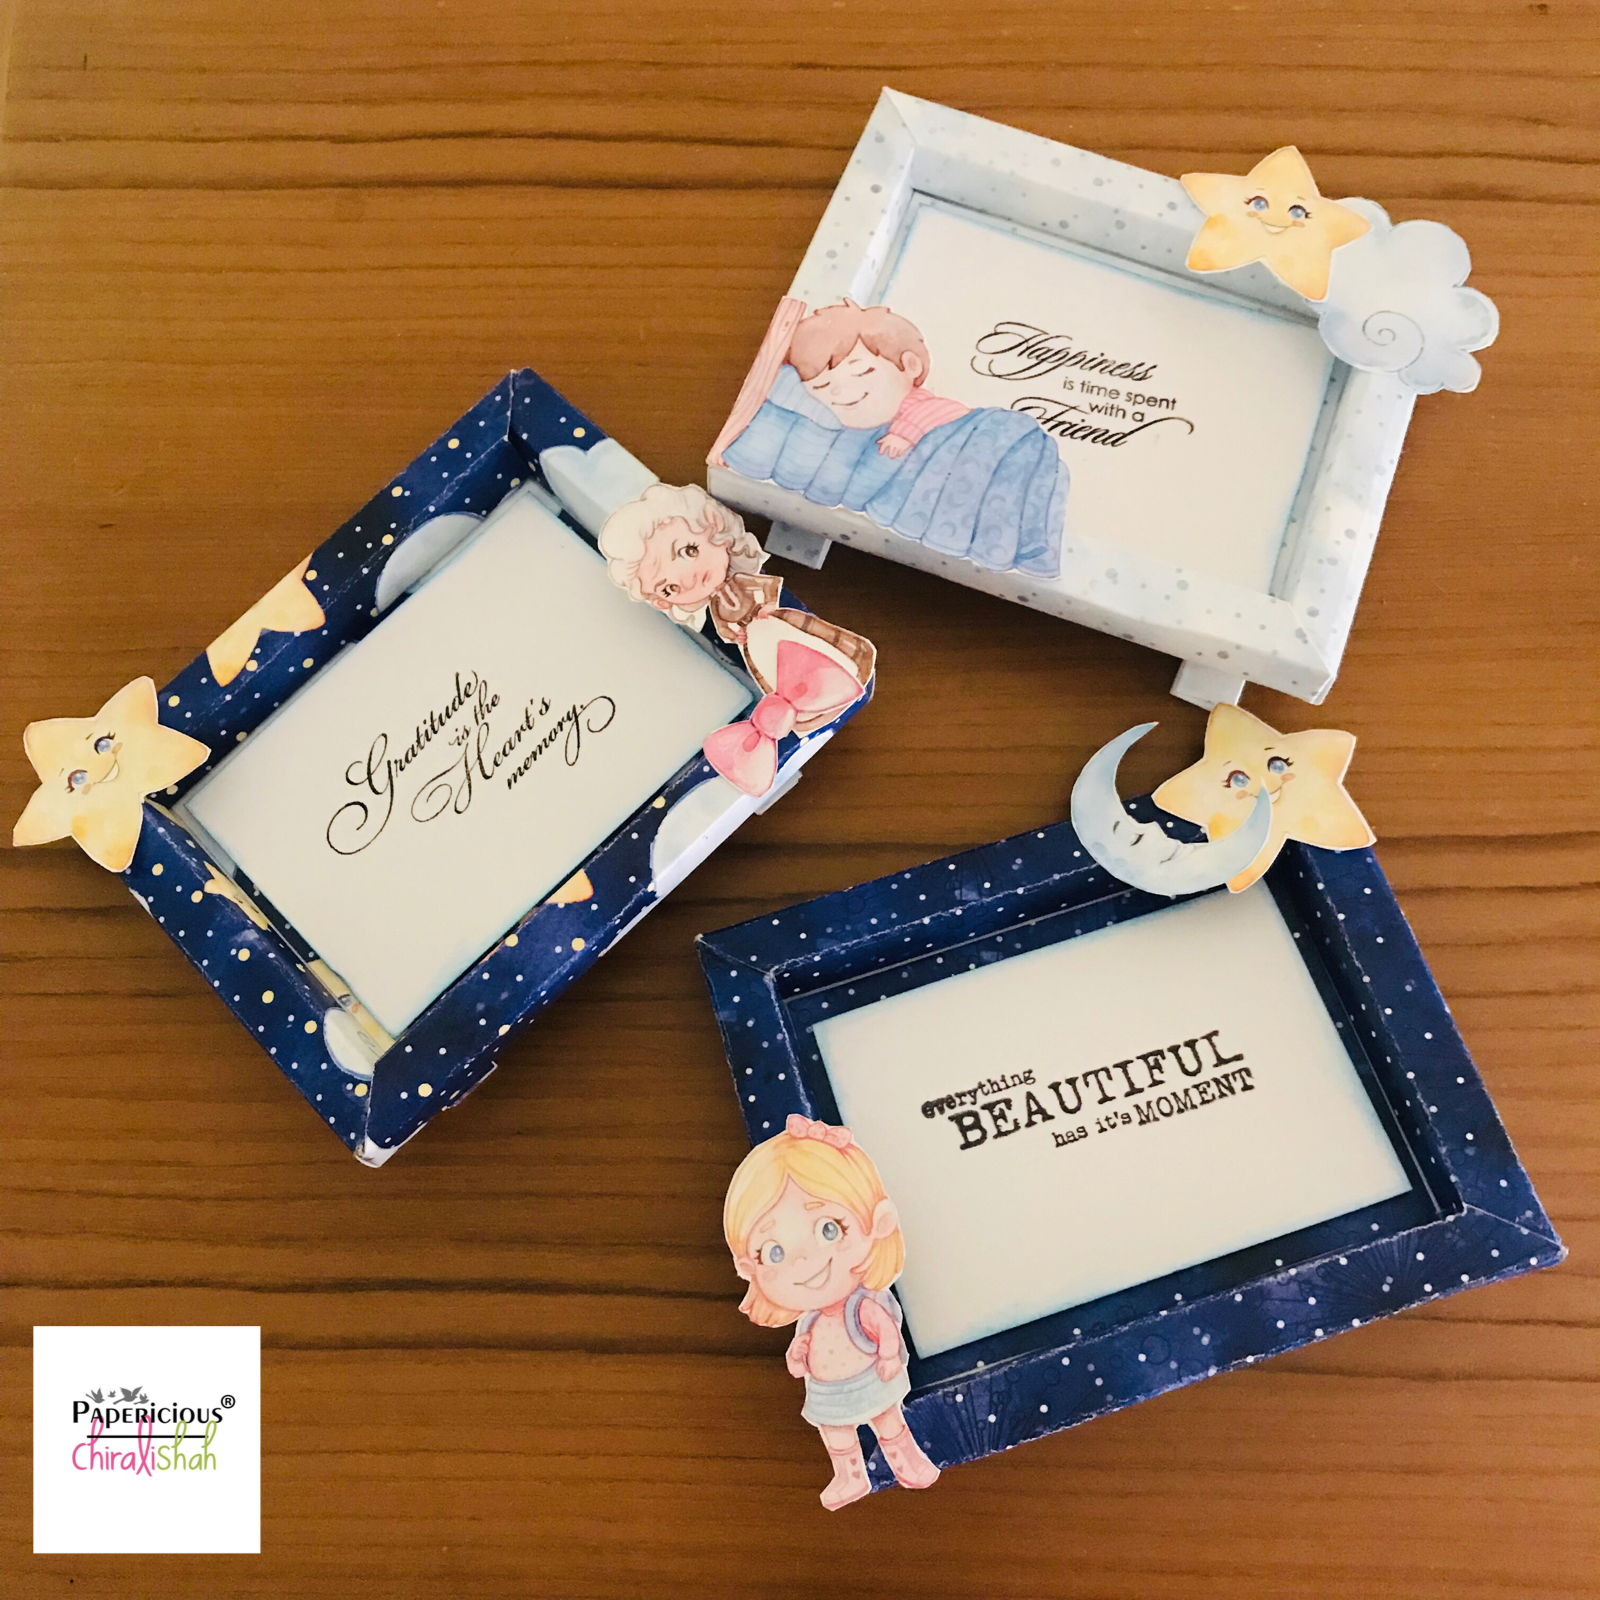
Here is the frames I have prepared:


Here is the tutorial:


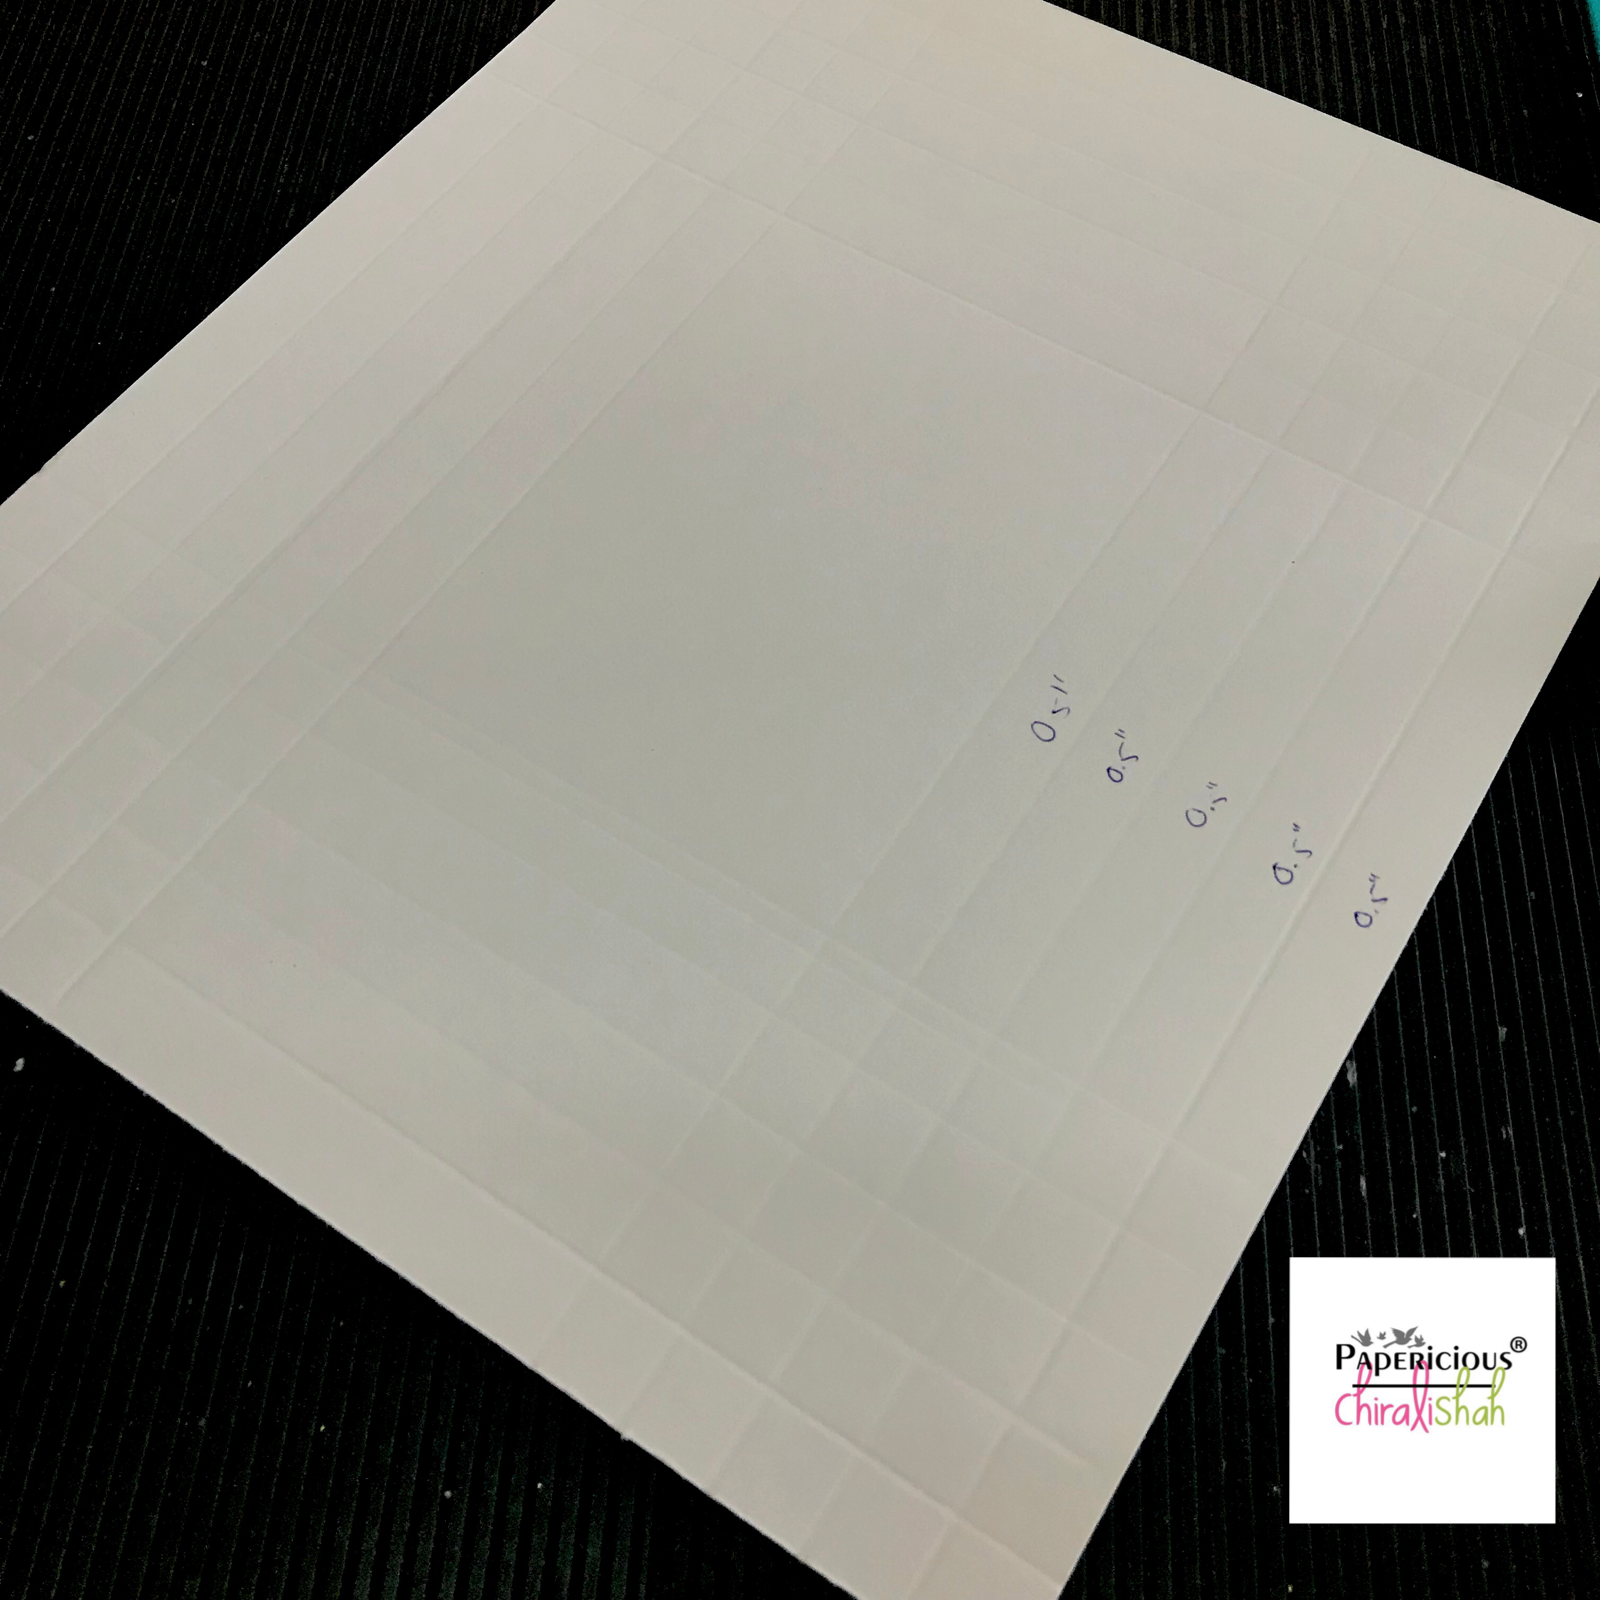
I took these three sheets to make frames. To make frame of 3.25x4.25 inches, I have cut these sheets of 8.25x9.25 inches. 


Score 4 sides of all the sheets at 0.5" for 5 times.


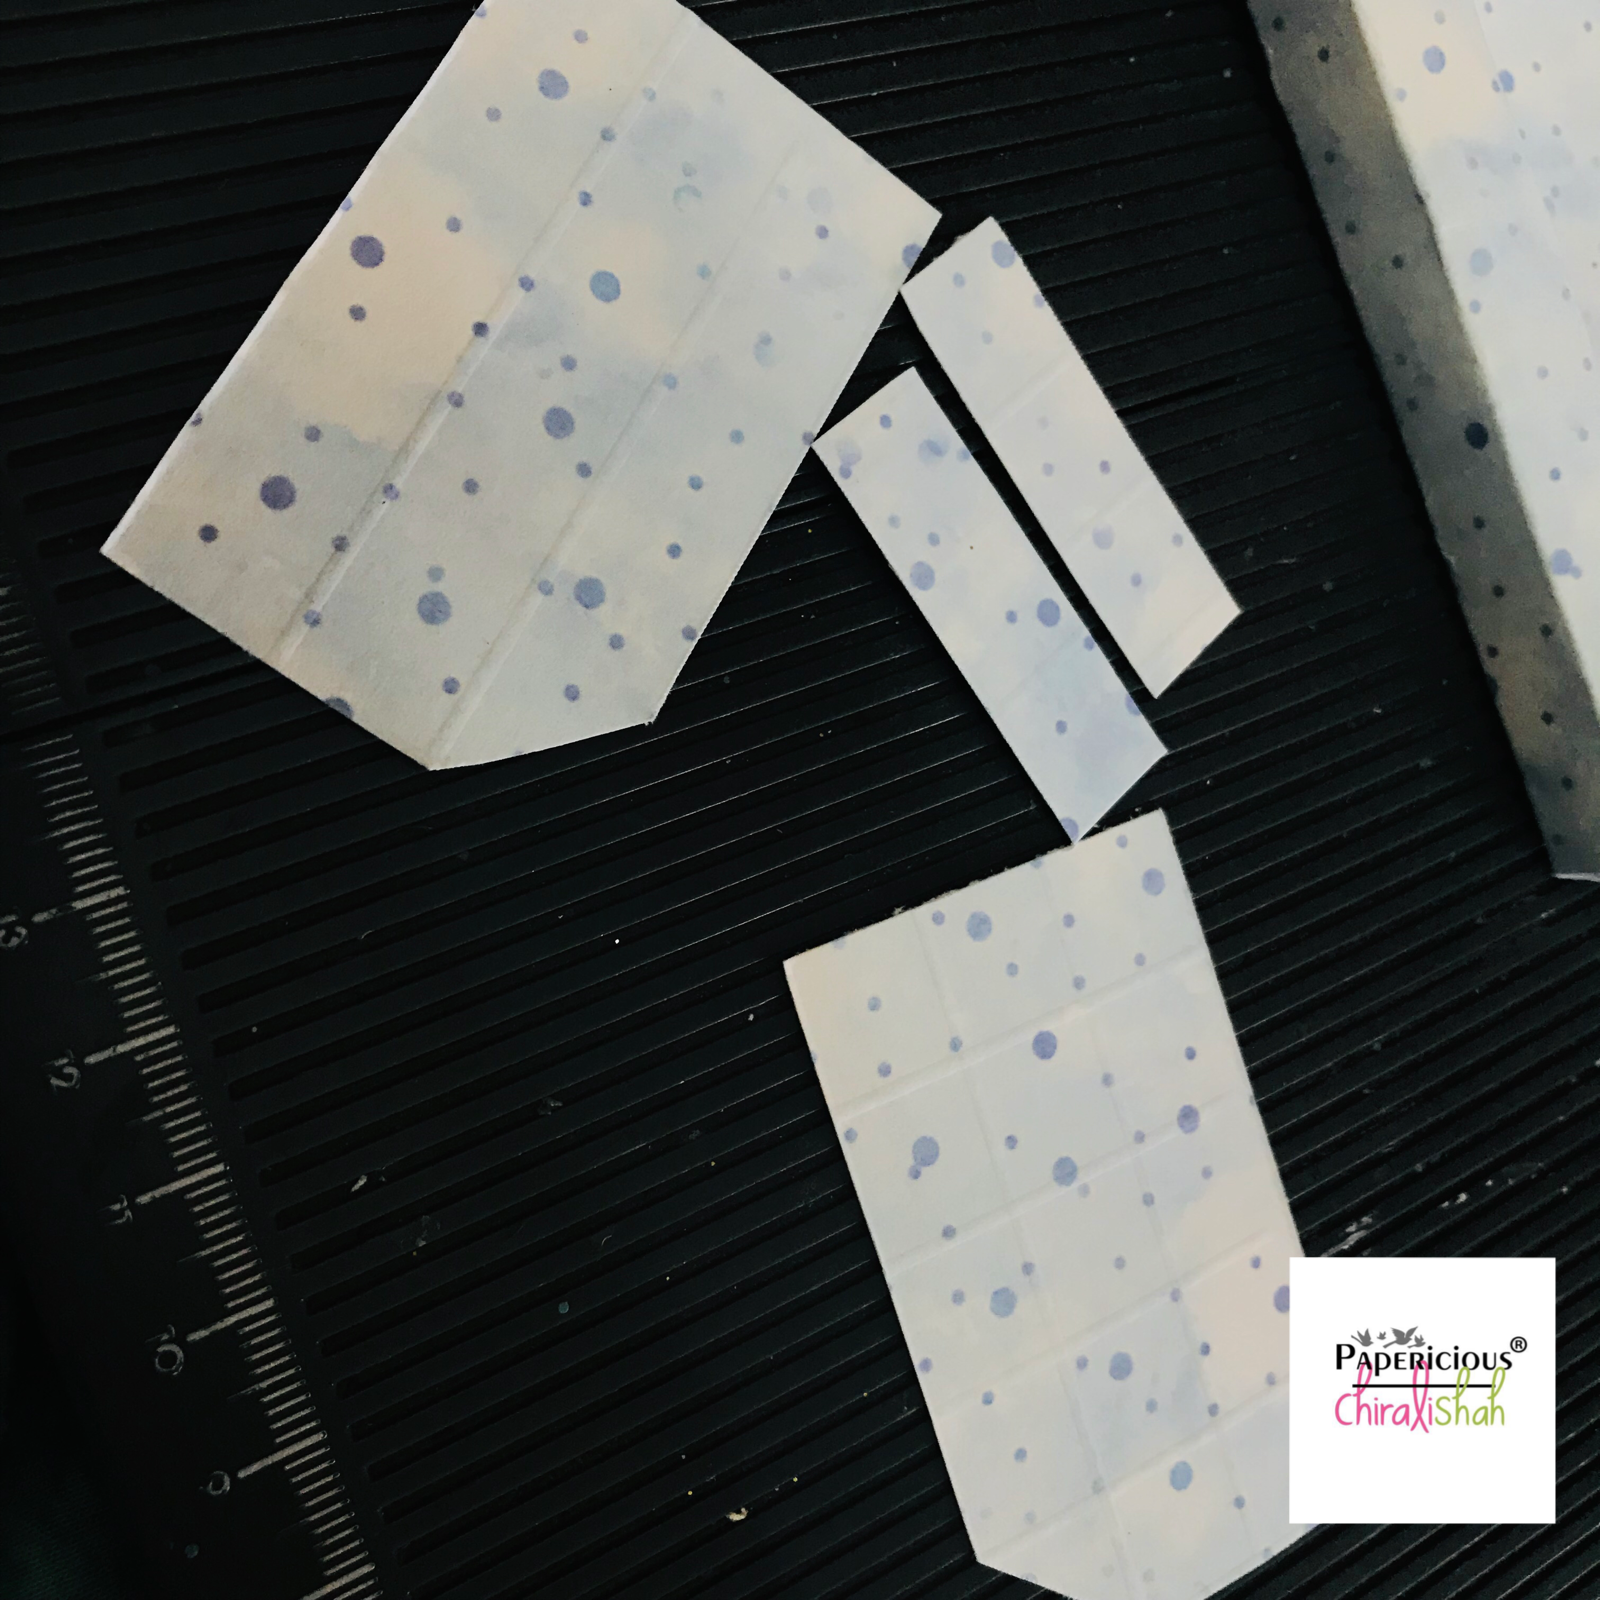
Cut the sheets as shown.


You can use glue instead of these tapes.


First stick the straight cut both parts then the triangle cut part.


The triangle cut part should be sticked like this. (Ignore my thumb ;))


Frame will look like this.


Cut the paper to cover insideof the frame.

Now here is how to make stands:


You would have parts after cutting the sheets as of  image 3 of start of pictorial. 


Fold and glue as shown in image.


Fold at 1 inch.


Take that single stripe. Fold at 0.5".


Glue both parts leaving a little unglued near the fold.


Stick like this.


Stand is ready.


Stick both stands equally.

We are ready with the frames.

I decorated with the paper pack's fussy cut elements and added sentiments instead of pictures. One can add pictures on these too.


Thanks for stopping by.

I hope you liked it.

Hugs,
Chirali :)


Supplies used:


Welcoming a New Designer!


Hello everyone, 
Hope you're having a great time during this festive season. Diwali is almost here, and what a better way to ring in the festivities than by sharing some happy news with you all!
We, at Papericious, are extremely delighted to welcome a new member in our family - Tanvi Shah! Tanvi is one of the most seasoned and creative crafters around India. Please read on more about our lovely new member!
Hello dear readers,
My name is Tanvi Shah. I’m a microbiologist by profession…. Yet I love everything paper. Crafting is a passion & along this creative journey I have dabbled into several crafts. Card making & decoupage are two of my favourites. My story is in short, the metamorphosis of a paper hoarder into a paper crafter! The colors, pattern & textures of paper always fascinates  me.
A couple of years ago when I quit work, I started exploring ways to use my hauls to keep myself occupied & came across crafting blogs. I was surprised at the opportunities & satisfaction this hobby & the industry offered! That paved the path to serious crafting and blogging for me.
You can follow my creative journey at http://tanvispaperfantasees.blogspot.in/
You can follow Tanvi on social media here:
Facebook  | Instagram | Pinterest

We are so excited to have Tanvi on board with us and hope you are too! Do stay tuned to watch some amazing inspiration coming your way this month.

And before I go, here's wishing all of you a very Happy Dhanteras! Hope the coming year brings in a lot of happiness, peace, and prosperity in your lives :)

Have a great day ahead!

Set of Note Cards in a Gift Box using Fleur Fun and Chippis


Hello one and all!
Parul here.. As we are approaching Diwali, I keep looking for gifting options for family and friends.
While some people enjoy sweets and chocolates as gifts, some people love stationery. And for those who love stationery, I thought of making a set of note cards in a gift box.


Note Cards are so versatile as gifts. They make great gift for almost everybody. Be it friends, family, peers or even teachers. This set consists of 12 note cards, one from each pattern in Papericious Fleur Fun Paper pack. Every notecard is 3x3 inches in size and you can make 4 notecards from a single 6x6 sheet. Isn't that cool?

To pack these notecards as a gift I made a belly band to tie them all and put them in a handmade box.


I made the box with White Card Stock (same as I used for my notecards) and to match it with note cards I used one pattern paper from same paper pack.
And to further decorate it, I cut the bigger rose from Papericious Collage Chippis and coloured it yellow to go with all over theme.


This is how this gift box looked after tying a bow with coordinating satin ribbon. I enjoyed so much making these that I made 4 sets in one go. Hope you like this gifting idea.


Supplies Used :
Would you like to try these ? Do let me know in comments :)

Thanks!
Love and Hugs, 
Parul