Showing posts with label it's a boy sequins. Show all posts

Little Dreamer - Shadow Box ft. Dream Big


Hi everyone!
Design team member, Shweta here today to share my new project with you all. 
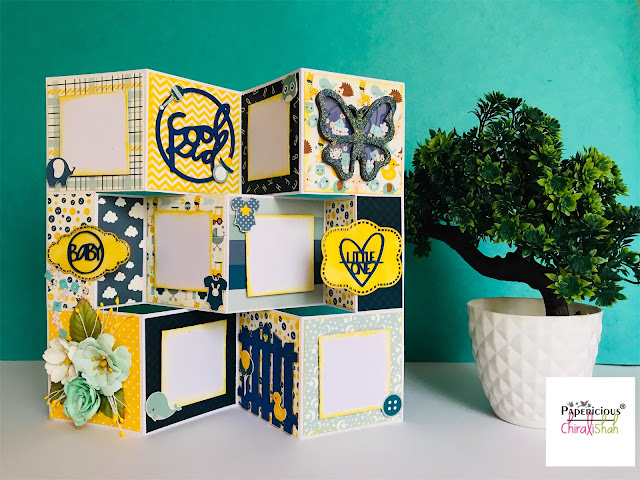
My project today is a layout featuring the 'Dream Big ' Paper Pack. I have also used the co-ordinating Cut and Create Embellishments and Chipboards. This paper pack has a lot of beautiful and bright elements and is perfect for all your baby and kid related projects.
Have a look.

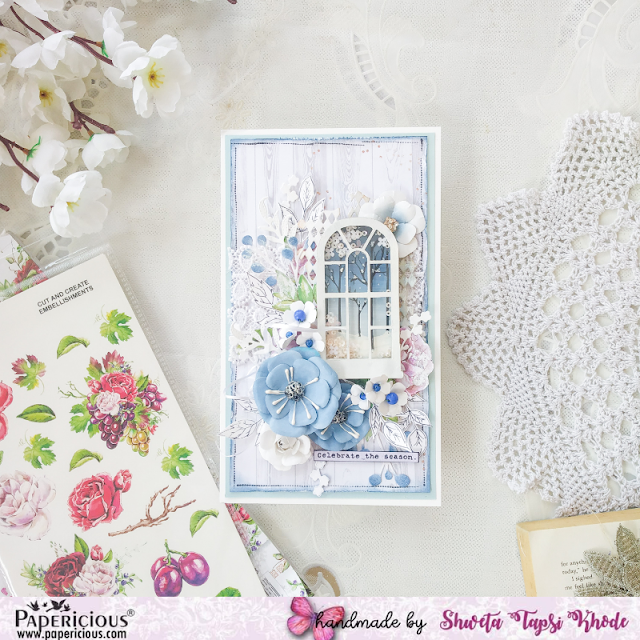
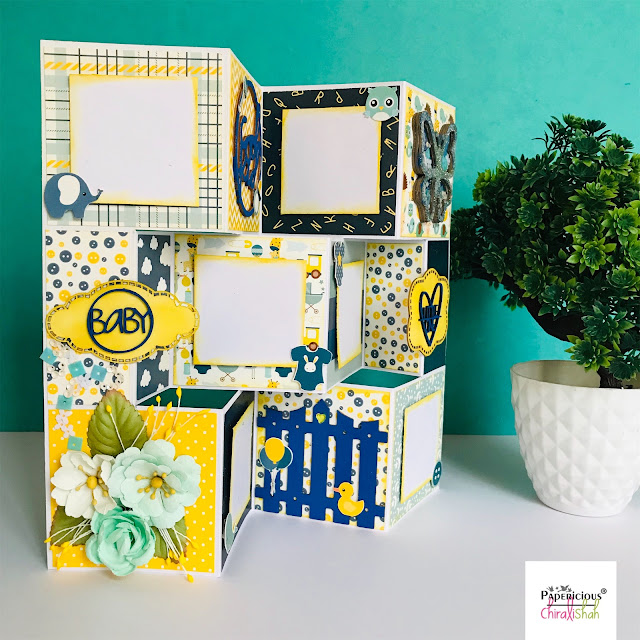
For this, I made an 8 X 8 inches shadow box from White Cardstock, lots of tutorials are available on YouTube for the same. I chose a dark shade pattern paper for the inside of my shadow box and used a lighter shade on the borders. Then, using some pattern papers, Vellum Cardstock, fussy cut outs from the papers and the co-ordinating CCE, and the chipboards I formed a pleasing composition around a fussy cut notecard from the paper pack. You could also use a picture here. As usual, I created a very layered composition for that extra depth and interest. Here are some close-ups.


Papericious Supplies Used:


I would love to know how you liked the shadow box. Until next time!

Winter Shaker Card w/ Video Tutorial


Hi everyone!
This is DT Member, Shweta here on the Papericious blog today to share a new project along with a Video Tutorial. I have made a shabby chic card celebrating the winter season. Have a look.
Winter season is already here. I was inspired by the snow and the whites and the blues that this season reminds me of, to create a subtle card. I've used the Blooms N Berries Paper Pack from Papericious for this card. 

The 3D Victorian Gate Shaker Chippie from the store was a nice addition to my project. I quickly painted a snowy winter night on paper and used it in the chippie which resembled a nice winter view through the window. The subtle It's a Boy Sequins mix went very well with my color theme.


As usual, all the flowers are handmade from the Papericious Sigma Cardtsock, customised to go with the theme. I also used some fussy cut elements from the paper pack and the co-ordinating Blooms N Berries Cut and Create Embellishments.

Want to watch the whole process video? It's right here.

The Papericious Supplies Used:

Picture of Blooms & Berries - Papericious Designer Edition
Picture of Blooms & Berries - Papericious CCE
Picture of Victorian Gate - Papericious 3D Shaker Chippis
Picture of Papericious Sigma Flowerite
Picture of Its a Boy Sequins - Papericious Sequins Mix

I hope you liked my card and enjoyed the tutorial.
Love,
Shweta

Shutter Card - Tutorial with Giggles Galore Paper Pack


Hello people!
Chirali this side with a cute Shutter Card made from Papericious Products - mainly, the newly released Giggles Galore Patterned Paper Pack which is super cute.
I have a picture tutorial too on the making of the base.

Here is the card:
Let's start with the tutorial:
Take a paper of 9 3/8"x 12 1/2" and score it vertically and horizontally at 3 1/8" so you'll have 12 squares of 3 1/8"x 3 1/8".
Score first and last square of 2nd row in the center as i have marked and scored.
Then cut the marked lines horizontally as shown in the picture.
Fold first row in mountain-valley-mountain style and vice versa for the middle row so you'll get the base of shutter card.
The closed card will look like this.

Now cut 10 sheets of 3" x 3", 2 sheets of 1 3/8" x 3" and 2 sheets of 1 3/8" x 3 1/8" of of Giggles Galore paper pack, glue them to the base as you like and start decorating the same.


I made a box to store this card too.
I have used so many fussy cuts from the same pack along with Papericious' Chippies and Sequins.

Here is my final card with box:


Some close-ups and side pictures of the card:


I hope you liked it.
Thanks for stopping by.

Hugs,
Chirali :)
Supplies Used: