Hello everyone,
This is
Hussena and welcome back to the Papericious blog. I am here to share the second guest post by our amazing guest designer,
Kavitha, using the Papericious
'Tranquil' Paper Collection. If you missed seeing her first post using the
'Woodland Walk and
'Dream Big' Patterned Paper Packs, you can click
HERE to see her projects.
Hello everyone,
I am back with two more projects with gorgeous
Tranquil Patterned Paper Pack & coordinating
Cut and Create Embellishment Sheets. I absolutely love the greens in this collection and the flowers are so gorgeous. One is regular Slimline Card and other one in Envelope Shape. I added lots of fussy cut elements from the Cut & Create Embellishment Sheets as well as 12" X 12" papers. I just added few flowers and lace to complete the card, you really don't need anything else to create beautiful projects with this collection.
Supplies Used:
I hope you liked these projects. :)
Happy Crafting,
Kavi
-------------
If you liked Kavi's projects, please do not hesitate to leave a comment! She would love to hear what you think of her projects.
You can find Kavi on social media here:
Thank you so much for stopping by!
Have a great day everyone.
Hello Everyone!
It's
Shilpa here. Today I am here with Mixed Media Journal Cover Tutorial.
I have a Step by Step Tutorial to share with you.
Let's begin:
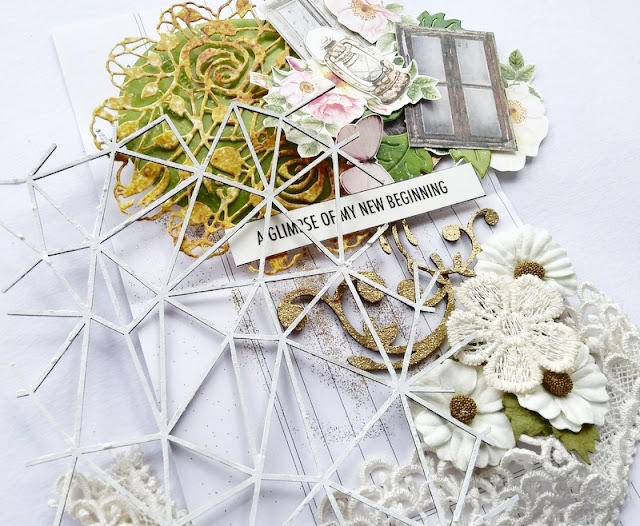
I have created this top page of my new journal with lots of Papericious products including newest collection - Tranquil.
I started with embossed White Cardstock. I stamped text and texture using rubber stamps and Black Archival Ink. And on whole surface, I applied clear Gesso.
For more texture, I applied Texture Paste through leaves design stencil. I used spray inks and watercolors to bring colors on the background.
I decided to use these beautiful embellishments: Tranquil Cut and Create Embellishment Sheets, Die Cut Doilies and Leaves from Tranquil Papers, Chipboard designs which I heat embossed with Gold Embossing Powder, Gauze, Lace, Paper Flowers.

When I arranged them all and glued... I loved how it turned out. Later, I adhered this whole panel onto the my new Journal.
Hope you enjoyed the tutorial. This same procedure can be turned out into making Card, Tag or Scrapbook Layout.
Thanks so much for stopping by.
Papericious Products Used:
Tranquil 12" X 12" Patterned Paper Pack
Tranquil - Cut and Create Embellishment Sheets
Flourish Grey Chippies
Hello friends,
Hope you are doing great and ready for the Diwali festivities. This is
Priti here and I am back with a new inspiration project which is probably my last one for
Papericious this year. I have had a such a wonderful time creating for them and working with their beautiful paper packs.
Tranquil is no exception. It has such gorgeous colours and floral elements. I chose to create a beautiful interactive card for a friend which has some space for photos and photo mats reminding her of some good times that we spent together.
This is an interactive card with a simple and easy design and guess what, I have a tutorial for you so that you can easily make one for yourself and also add around 7-8 pics in it. So let's get started with the step by step photo tutorial for this card.
Step 1:
Cut 1 piece at 12"x10.5".
Score on 12" side at 3.5" and 8.5".
Score on the 10.5" at 1.5" and 9".
Step 2:
Cut out the boxes formed in the corners by score lines as shown by the Xs.
It will look like this when done.
Step 3:
On the bottom flap, measure 0.25" from each side and make a small mark. se a ruler and drwaw a line from the mark to the corner and then cut on this line. Do this on both the sides so that the left and right edges are tapered. Repeat this on the flap on the opposite side also. It will look like this.
Step 4:
Fold the tapered flaps inward and burnish. Fold the wider flaps inward and burnish. And this is what it should look like now.
You can add few photo mats/tags/journal cards and also some photos on the flaps as per your requirement.
Choose a cut-out or a shape of your choice for the closure and attach it with a brad on the right flap.
And our interactive card with photo inserts is ready.
Here are some more close ups of the card.
Supplies Used:
I really enjoyed making this project and always love to create such little project for special occasions. Thank you so much for all the love and always liking my work. See you soon.
Love,
Priti
Hello Friends!
Greetings for the day!
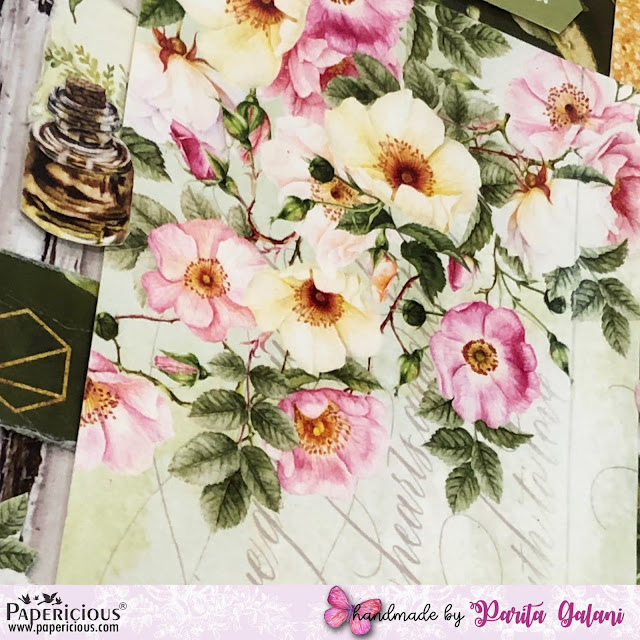
This is Parita Galani here today with inspiration post featuring Papericious NEW Release - Tranquil. The shades of green, breezy flowers and rustic elements surely give us calm amidst all chaos. I have created a 3D Photo Frame just using the Tranquil Paper Pack and its matching Element sheets. So let's have a look at my project.

To begin, I picked a patterned paper design for my 6" by 8" base paper, than I put together two different designer papers and cut it into stripes and distressed its edges to give it a rustic look. Than I placed design paper for photo space and lastly added embellishment from Tranquil Cut and Create Embellishment Sheets. As I was going to get it framed I haven't used any other base, I have worked directly on design paper itself.
Supplies Used:
Hope you guys liked my project and will create something of your own from this beautiful paper pack.
Keep crafting!
Best regards,
Parita K Galani
Hello friends,
This is
Puja and Sneha from Kalakriti. We are here today with a new project featuring the New Release from Papericious. They have released two new paper packs last week, one with gorgeous florals called "Tranquil" and the other one with super cute critters called "Woodland Walk". Check out the full release on the blog.
We used the
Tranquil Patterned Paper Pack to make a Square Circular Pop Up Card which can also hold photos and quotes. The paper pack also has Element Sheets which we have fussy cut to decorate the Card.
Let's have a look at few pictures of this Pop Up Card:
I hope you liked our project and are inspired to make something with this amazing collection. Have a great day!
With Love
Puja and Sneha
Kalakriti
Hi everyone!
This is Design Team Member
Shweta here with a new inspiration project. Papericious recently launched two new paper packs with co-ordinating Cut and Create Embellishments and both the paper packs are mind-blowing. Check the new release
HERE if you haven't yet done so.
My project today is a set of two handmade cards featuring the
Tranquil Patterned Paper Pack and the
Tranquil - Cut and Create Embellishments. This paper pack has some beautiful floral patterns, some vintage elements, rustic doors and windows among other things and is simply amazing
.
I have used several fussy cut elements from the paper pack and from the CCE on my cards. The focal point on both is a set of rustic looking doors fussy cut from the CCE.
Check out some more pictures of my project.
Supplies Used:
I hope you liked my cards. Until next time!
Shweta