Hello Everyone!
For making this tag, I have also used other mediums.
Here is the Step by Step Procedure for that:
I cut out Large Tag shape design papers from
With Love Paper Collection. Along with that I got ready various ephemera and embellishments which includes flowers images from collection, die cuts, lace etc.
To create texture on tag, I used Embossing Paste and stencil. I let it dry completely before I moved on to next step.
I chose colors of inks to use on tag which were similar to
With Love Collection. I spread them randomly on the surface.
When ink was dry, I started layering ephemera and embellishments.
With layers of lace, doilies, flowers, embellishments and Thank You sentiment I finished this tag.
Thanks so much for stopping by.
Products Used:
Hello Everyone!
It's
Shilpa here. Today I am here with Mixed Media Journal Cover Tutorial.
I have a Step by Step Tutorial to share with you.
Let's begin:
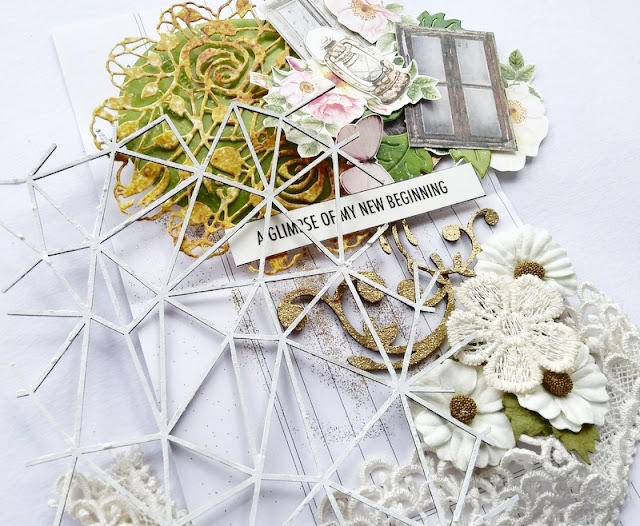
I have created this top page of my new journal with lots of Papericious products including newest collection - Tranquil.
I started with embossed White Cardstock. I stamped text and texture using rubber stamps and Black Archival Ink. And on whole surface, I applied clear Gesso.
For more texture, I applied Texture Paste through leaves design stencil. I used spray inks and watercolors to bring colors on the background.
I decided to use these beautiful embellishments: Tranquil Cut and Create Embellishment Sheets, Die Cut Doilies and Leaves from Tranquil Papers, Chipboard designs which I heat embossed with Gold Embossing Powder, Gauze, Lace, Paper Flowers.

When I arranged them all and glued... I loved how it turned out. Later, I adhered this whole panel onto the my new Journal.
Hope you enjoyed the tutorial. This same procedure can be turned out into making Card, Tag or Scrapbook Layout.
Thanks so much for stopping by.
Papericious Products Used:
Tranquil 12" X 12" Patterned Paper Pack
Tranquil - Cut and Create Embellishment Sheets
Flourish Grey Chippies