Showing posts with label 3D Gift Envelopes. Show all posts

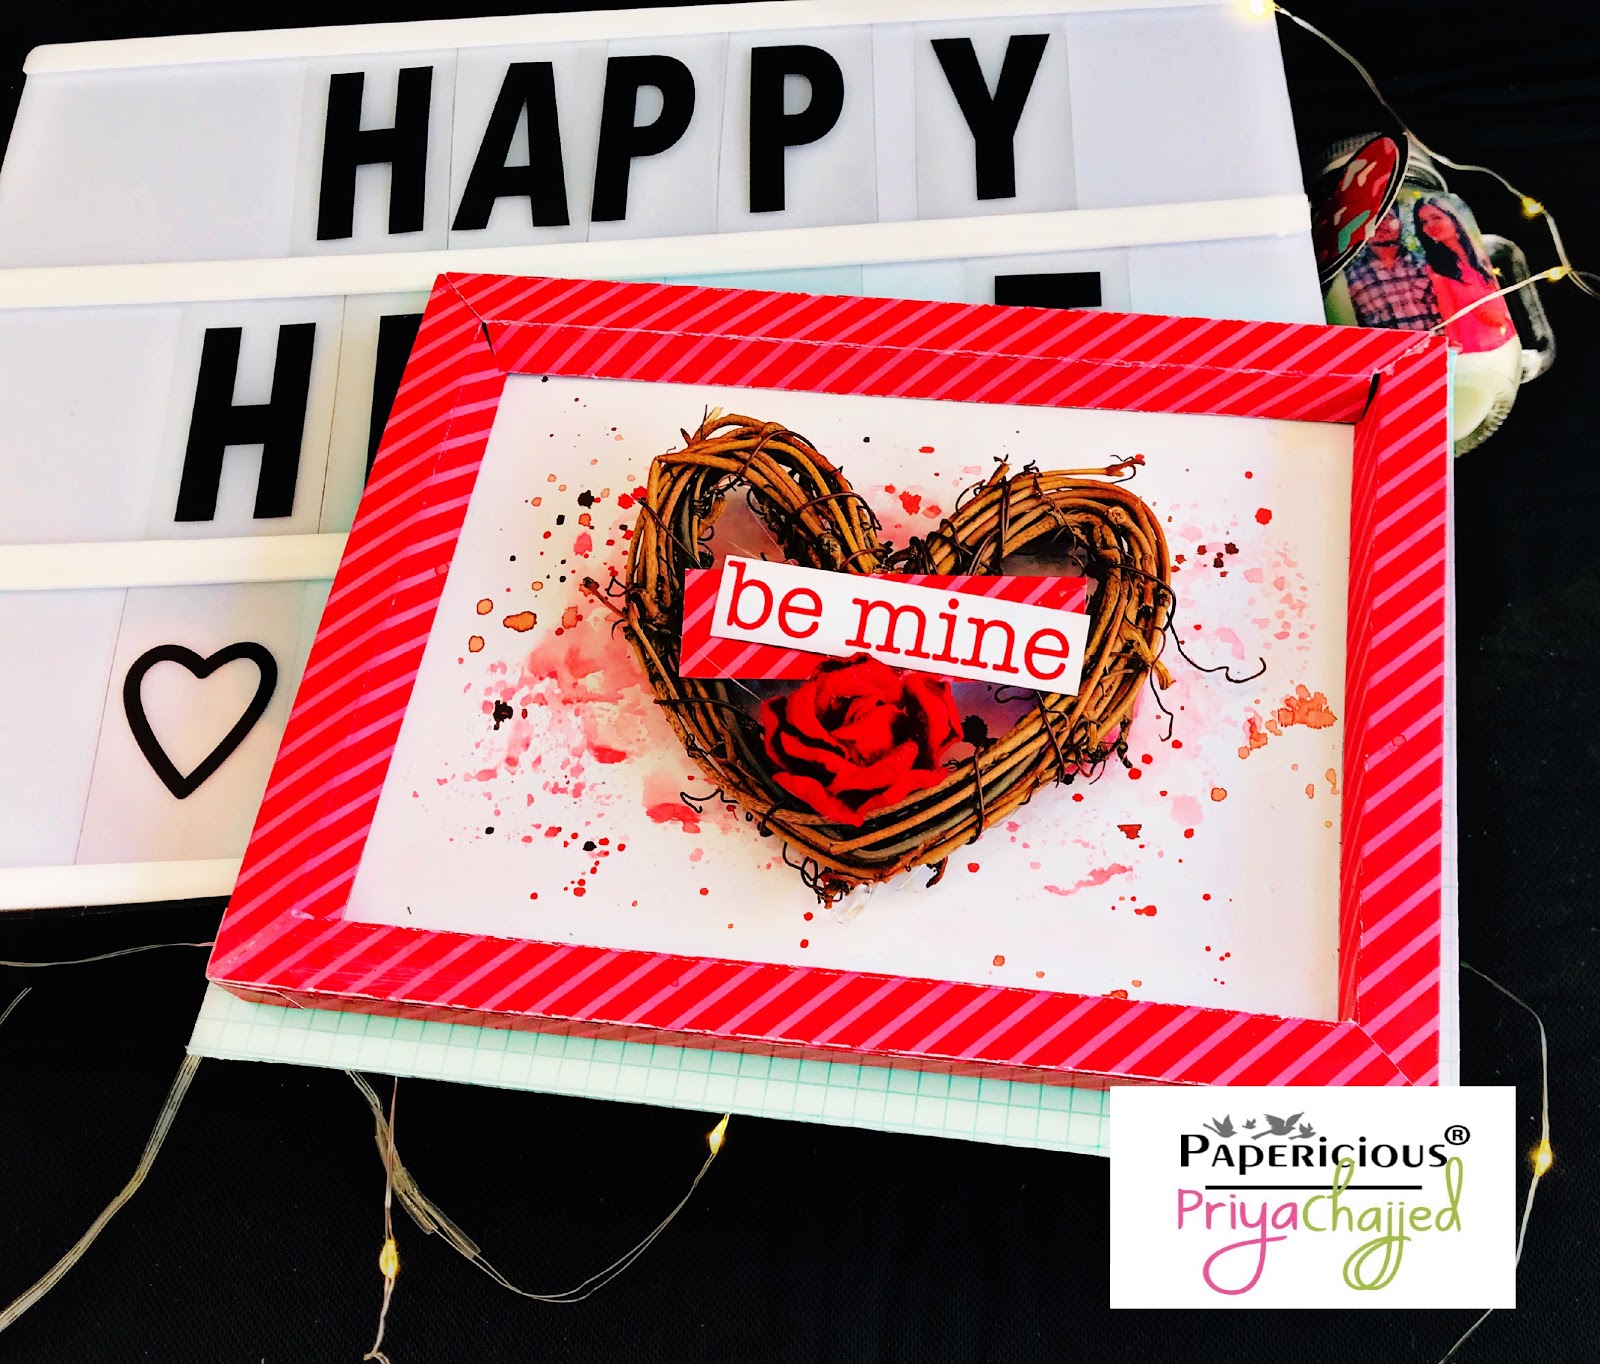
Endless Love Envelope ft. Me Before You


Hello Friends,
Greetings for the day!
This is Parita Galani from Mystic Hue. I am here today with the tutorial post with Papericious new release Me Before You - Designer Edition Paper Pack.
Who says cash envelopes can only be used to give cash, lets get creative by creating this simply beautiful, easy and compact gift for your loved ones this Valentine!
I have created an envelope which can hold a letter and and Mini Accordion Card which can hold 6 photos and you can also put in their favorite chocolate bar. For the top of  the envelope I have used 3D Shaker Chippies, fussy cut elements and have also given a photo space.

So here, it is:
Endless Love Envelope


So now lets go through step by step tutorial for Endless Love Envelope:
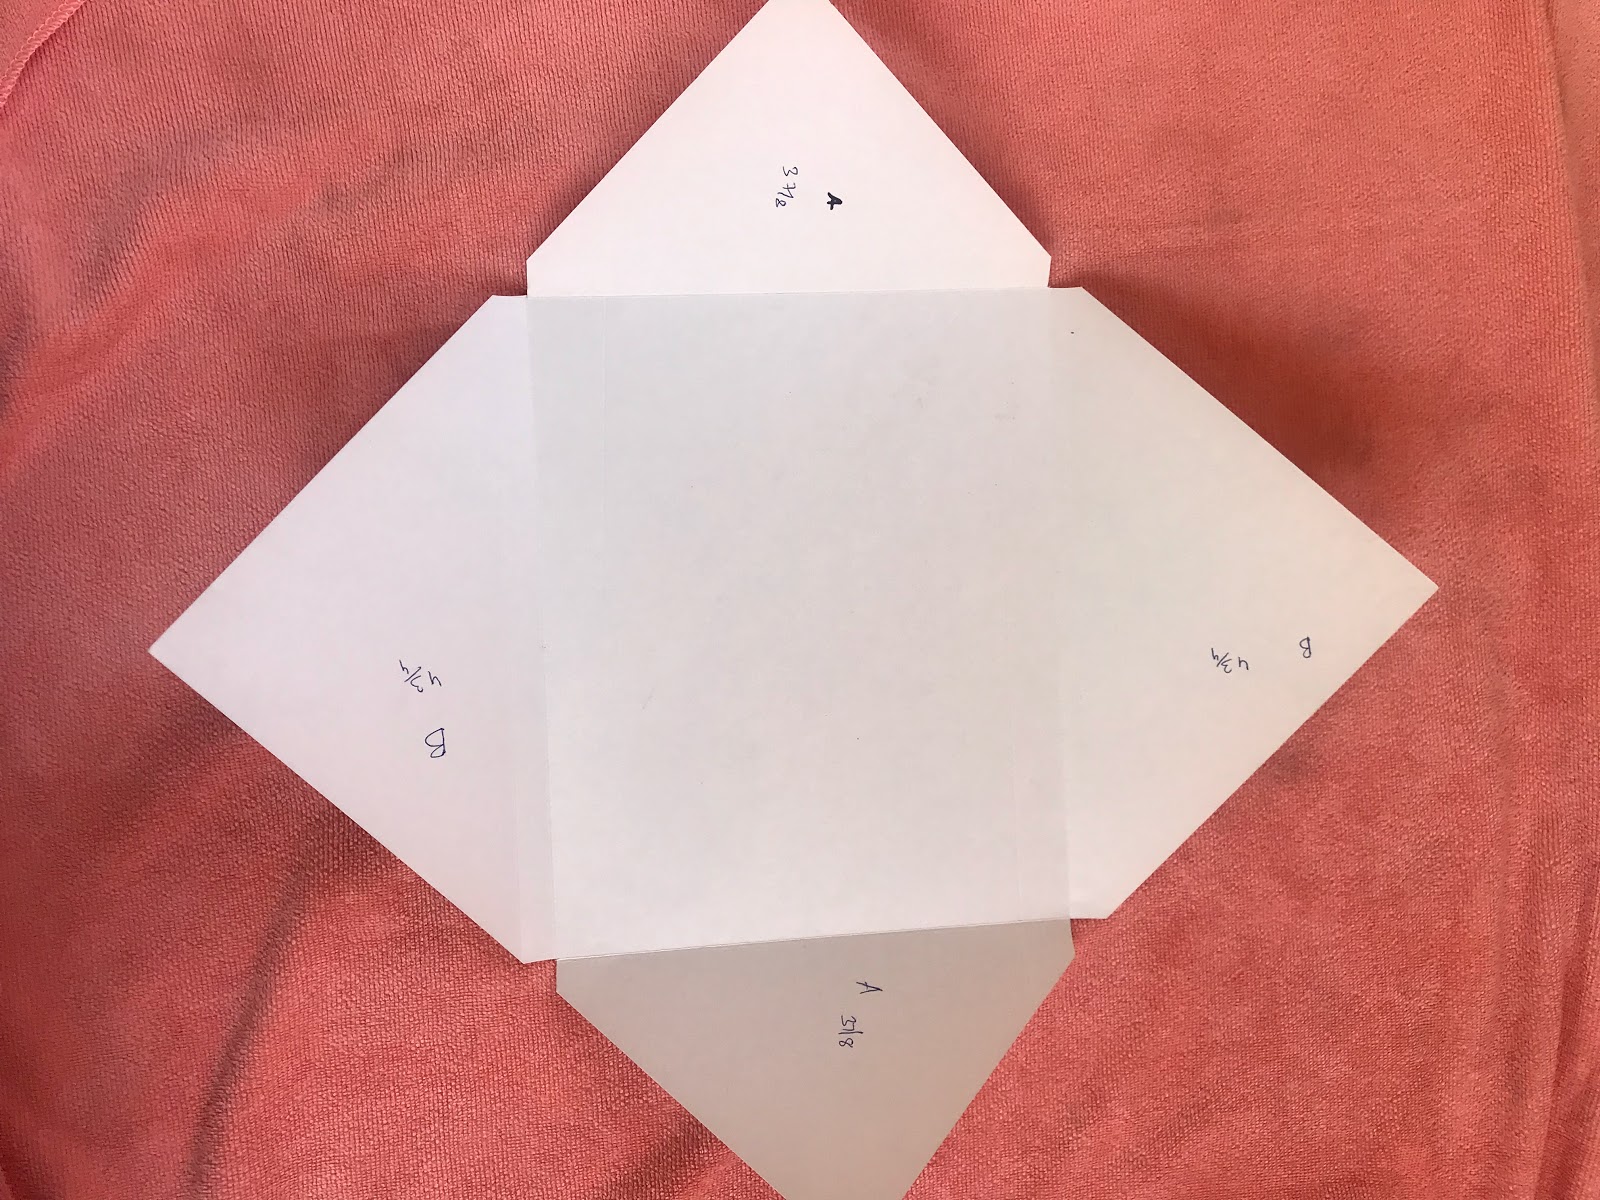
Step 1: I have taken a Papericious newly launched Die Cut Envelopes in the shade - Metallic Silver. I choose this beautiful butterfly sheet from Papericious Me Before You to form as base for the top of the envelope.

Step 2: I took 4" by 3.5" cutout from the same paper pack for creating a photo space. This paper pack also contains one beautiful sheet with different sized borders. So I took a thin border cutout from the sheet and covered the paper on all four sides giving it a frame look.

Step 3 - I took LOVE 3D Shaker Chippie painted it, stuck the layers filled it with sequins and completed it. Along with it i took some fussy cut elements to embellish the top of the envelope. Firstly I glued the photo space slightly slant on one corner and than Chippie of the downside exactly besides photo space. lastly I glued all fussy cut elements giving it a charming look.

Step 4: I took a normal card-base sized 4" by 10". I scored it at 2.5", 5" and 7.5" to make it into accordion card, which will hold photos. Cut 7 pieces of designed paper from the paper pack to stick on the card base.

Step 5: I took same base paper as I used in top so to make whole thing look alike. I used 2 different paper for inside. Floral printed ones for first opening which will hold 2 photos and Mint ones for the last and final opening which will hold 4 photos. For the folds, first fold extreme two folds on the inside and than fold them again so you will have booklet like accordion card. On the top of the card, I have stuck painted chippie.


Step 6: I took a generic letter writing paper and fold it into 3 parts so as it fits into the envelope. I took a strip of 10" by 1.5" from the same butterfly paper and folded it above the envelope and embellished it will fussy cut element.

Cash Envelopes ft. 'The Flickers'


Cash Envelopes ft. 'The Flickers'

Hello Papericious fans!  
This is Shakti here from Shakti Art Creations , today I have a tutorial for you all of not one but two cash envelopes.
This is my first time I am trying cash envelope with the gorgeous papers The Flickers.
This collection is perfect for cash envelopes because of the gold foil. I am sure every crafter loves the gold foil finish.
Let's have a look over the envelopes:

Here I used gorgeous papers from The Flickers Collection and CUT AND CREATE EMBELLISHMENTS SHEETS - Blush. I also used some sequins from the store and Frosting Powder.

Let's get started with the Tutorial:

Step 1 - I have taken a Cardstock measure 8.5" by 8.5". Score at 0.5" and 8" on the one side and on the other side score at 2.5" and 6".
Step 2 -  Now remove the part which are marked as "X" in the picture. 
Step 3 - After removing the X part fold all the score lines and use some tacky tape on the sides and at the closure point I am using magnets. This is how our envelope look like.
Step 4 -  Its time to cover the envelope with the pattern papers of your choice. I am using white and gold paper from the pack.  
Step 5 - Take another piece of pattern paper from the pack measuring 7" by 2.5". On the first side, score at 0.5" and 6.5". Now on the other side, score at 0.5", 1", and 1.5". Remove the part which is marked as X in the picture. After removing, adhere an Acetate  sheet at the back and add two layers of double sided foam tape at the back to give it some height.
 Step 6 - Put some sequins on the envelope and stick the above piece on the envelope. For decoration here I have fussy cut some flowers from one of the sheets from the Flickers Collection and adhered them on the right corner. I also used a piece of MDF stating Mr & Mrs from my stash. This is how our first envelope done which is a Shaker Envelope.   

Now quickly moving on to our second envelope. 
Step 1 - Make a raw envelope in the same way we did for the first. In this one, I am using ribbon for the closure and we are doing decoration part on this side of envelope. After adhering the ribbon, cover it with your favorite paper from the stash. 

Step 2 - I am using here a small frame from my stash and also fussy cut some embellishments from CUT AND CREATE EMBELLISHMENT - Blush
Step 3- To add some more shine, I took the cute frame and applied some Fevicol and Frosting Powder from the store. After doing this, it's now time to do the embellishing. I have used a piece of doily from the stash and also stick some embellishment before adhering the frame. 
Step 4 - In the end, stick the frame and add some flowers and key embellishment which we fussy cut earlier. To add some more finishing, I also add little amount of mixed media stones on some places and adhered some sequins on some places and we are done with it. 
I hope you guys love both the tutorials.

Supplies Used:


That's all from my side today. 
I hope you guys enjoyed it.
Thanks for stopping by!


Money Envelopes by NIKKITA


Hello everyone! 
This is NIKKITA and today I am back with a new inspirational post using the gorgeous gold foiled BLISS Paper Pack from PAPERICIOUS.

I love making envelopes and its the easiest way of giving gifts to your loved ones in form of money packed in the beautiful envelopes. For today's post, I have used the Bliss Paper Pack, some Die Cuts, MDF Embellishments, Flowers and Sentiments. They look absolutely amazing!

Here is what I have created:
Gaddi Box Envelope


SUPPLIES USED : 
AVAILABLE AT GULATI EMPORIUM 

Hope you all enjoyed today's post! Hoping to see you all making beautiful projects using Bliss Paper Pack.
Thanks for stopping by. 
Do leave some love.

Happy Crafting!
LOVE,
NIKKI

3D Shadow Box Frame w/ Envelope


Hello Papericious fans!
Priya here again. Today I'm going to be showing you how to make your own custom Shadow Box Frame with an Envelope.

Here is step by step tutorial:

To create a Shadow Box, you need a sheet of Cardstock or Pattern Paper  measuring 12'' X 10'' and you have to score all the 4 sides each times at 1/2 inch.
Make extra 1/2 inch on short side of paper but only to the second scoreline. Now you have to trim all the marked areas off. And after that you fold all the score-lines and use glue or red tape to stick them and your shadow box is ready!

Now on to the envelope:

You need a sheet of Pattern Paper measuring 12'' X 12'' and score the A side at 3 7/8'' and B side at 4 3/4''. Glue the 3 sides and your envelope base is ready!

Now you can can decorate them as you wish!!
For my project I have used amazing paper collection by Papericious "I LOVE YOU''

And they are just perfect for any love project!
Here is glimpse of my project:


That's all from me today!
I hope you all are inspired to make your own shadow box envelopes!
If you have any query, please get in touch in comments below. I'd love to hear from you.
Love

List of Supplies: