Showing posts with label Love actually paper pack. Show all posts

Chocolate box

Hello Friends

Love Actually Pattern paper by Papericious is one of my all time favorite collection. The bright colors and prints of this pattern paper can instantly glam up any project. For today using the same pattern paper i created a chocolate box. You can find out the instruction and supplies used below.
Have a look!!!!!!!
 Instructions -
 Cut white cardstock 12 x 11 inch.
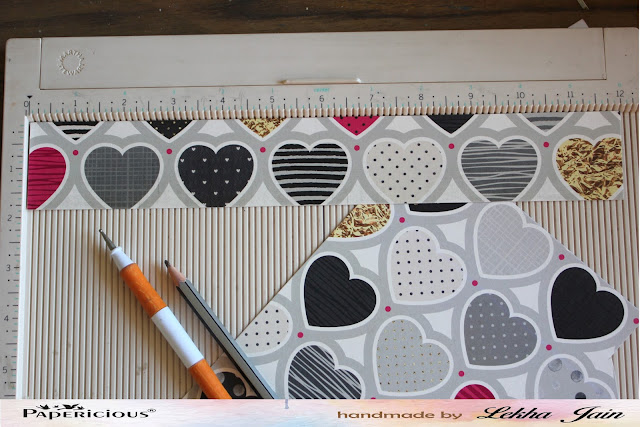
Score at 1 and 11 inch from 12 inch side and from 11 inch side score at 1 and 9 inch.

 Cut along all the score till 1 inch space and remove 1 inch square from the center part as shown.
Apply tacky tape to the side flaps and adhere to the flap of the center part for creating the box
 Cut pattern paper from the collection 1/4 inch smaller than the base and mat the inside and outside of the box,
For decorating the top of the box die cut out a tag from the pattern paper. Cut two 3 x 3 inch square form the pattern paper and a sentiment quote from the paper collection. Adhere the tag first on the top of the box with clear dry glue. overlap 3 x 3 inch squares and layer them on top of tag with 3D foam tape. Finally arrange the sentiment quote with 3 d foam tape.

Thank you so much 
Hope you like my work for today
Hugs
Pavitra
Supplies used - 


White Cardstock 

Floral, Mixed Media Wall Art with Love Actually

Hello friends!
Erum here with a floral wall art using Love Actually.
At first glance you wouldn't really catch that I used Love Actually papers on my wall art since the paper pack is mainly pinks and blacks. But there is this one paper in the whole pack that is yellow! I figured it would be great to use a different colour palette and show you a different side of Love Actually.

For my wall art, I picked out a yellow branch paper from the Love Actually Paper Pack and began to build my design around it.
I first added some stenciled patterns on the background with gesso and added watercolours in greens, oranges and yellows.
While it was drying, I took out this gorgeous chipboard from Papericious and covered it with gesso and clear glitter.
The brick chipboard was the second piece I added. Then I began stamping my leaves and other elements to add a bit of black to my design.
When I was ready with all the pieces, the I added the Love Actually Paper to the base with foam tape. Next I placed the photo I got from stock photo. 
Then I started adding all the flowers and leaves.
In the very end, I printed some butterflies.
That is all from my side. I hope you liked the wall art.
I had a blast creating it.
See you soon!


Hand made Diary

 Hello my dear friends

This is Pavitra here with a gorgeous handmade diary created using Papericious Love Actually Pattern Paper and 3D mini shaker chippis.
 I so loved the quotes of this pattern paper and used them as focus  in my project.What can be better than self love ,so for the days when i am hard on myself these quotes will surely help.
Have a look!!!!!
Instructions 
The finished album measures 5-1/2 x 8-1/2. For creating the cover i used a old book cover and covered it with jute sheet. For the front part trim the pattern paper to the required size and layer on top of each other. Stick a doily cutout in the center.
For the 3d mini shaker - first color with blue acrylic color , paste the quote in the center and fill with blue and transparent shaker beads. 
The  diary has 6 signatures.
For creating cover of the signatures - trim two pattern paper 10 x 8 ,score at 5 from longer side and paste together. For the tab i used a tab punch.
Decorate out side of the signature with doily and quotes cutout.
Cut a slit inside the signature cover using cutting blade and insert the quotes cutouts.
Cut few white papers 9 x 7-1/2 and score at 4-1/2 from the longer side ,this will be placed inside the signature cover.

Cut pattern paper 4 x 9 , punch on the edges as shown , score 1/2 inch on all the sides fold inside and place inside the signature cover for creating pocket.

For creating the cover of second signature follow the same procedure and trim into half diagonally than decorate with doily and quote cutouts.


For creating the corner , cut pattern paper into 5 x 5 square further trim into half and score 1/2 inch on both the sides, paste this on the corner of the cover.


For binding the signatures use cord , pass the cord in between each signature wrap around and tie a knot.
Thank you so much

Hope you like my work for today

Hugs
Pavitra

Supplies used

3D mini Shaker chipboard - Polaroid
Treat box & card duo

 Hi lovely people, 
Today I am back with one of my favourite set of embellishments, the Papericious 3D mini shakers. 
Also part of my project is the gorgeous Love Actually  paper pack. I would be using the Papericious ready to use treat boxes. 

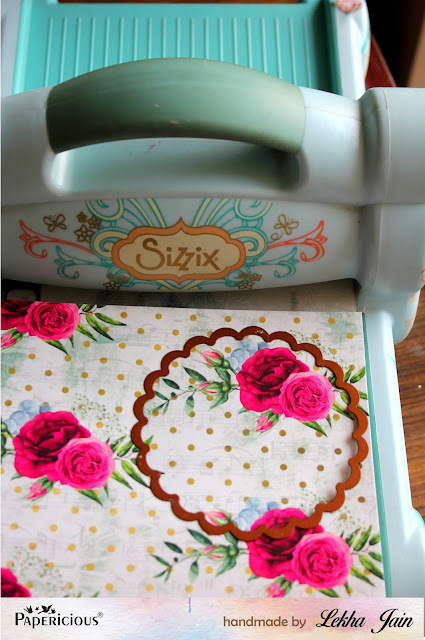
  I am using the spellbinders classic scalloped circle die to get a scalloped diecut for the semi circular treat box flaps. I have inked the edges of the pattern paper with some archival ink to finish the edges. 

  I have used the beautiful papers from the paper pack on the outer faces of the treat box. These treat boxes comes in various shapes and you just need to remove the tape backing and within minutes you have your gifting solution ready. 
 And here comes the best part...the 3d mini shakers. For the treat box I plan to have a closure band embellished with a simple shaker. Paint the mini shakers using the lovely range of Papericious chalk paints. I have used Brick Red chalk paint.You can paint the inner face of just stick pattern paper. 
 I have fussy cut a sentiment from the collage sheet which comes in the paper pack and than left it free with other shaker beads. One thing I love about these shakers is they come complete with the transparent sheet cut to actual size.

 Next for the band I took 1.5 inch x12 inch pattern paper and scored it according to the thickness of the treat box. Just keep in mind that the band should slip on and off the box easily. 


To coordinate with the treat box I have made simple card. 
Take 5 inch x 12 inch base. Score at 3 inch and 9 inch. Next take another cardstock piece measuring 11.5 cm x 14 cm. I have used a corner chomper to give round edges.


 Layer the cardstock with pattern paper, approx. 1/8th inch smaller than the base of the card.


After adhering all the pattern papers, lets get started with embellishing the card face. 
 I have painted the star shaped 3d mini shaker with gold acrylic paint and fussy cut a sentiment from the collage sheet. I just love the shaker beads from Papericious, these are perfect to complete your projects.


Hope you get inspired to try these. 
Keep crafting
Supplies used: