Showing posts with label Ephemera collection. Show all posts

Quick Cards 2.0


Hello everyone! Erum here today and I am back again with a couple of quick cards to share with you.
Today we will be using dies to make quick cards.
I will be using this beautiful paper from the Ephemera pack to make my cards.
Let's get started!

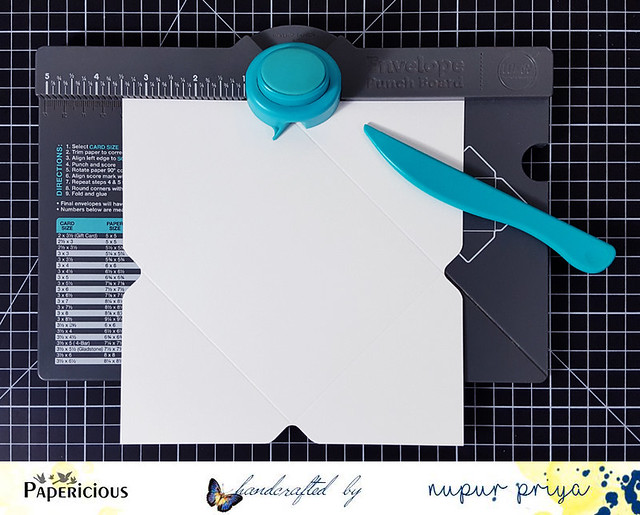
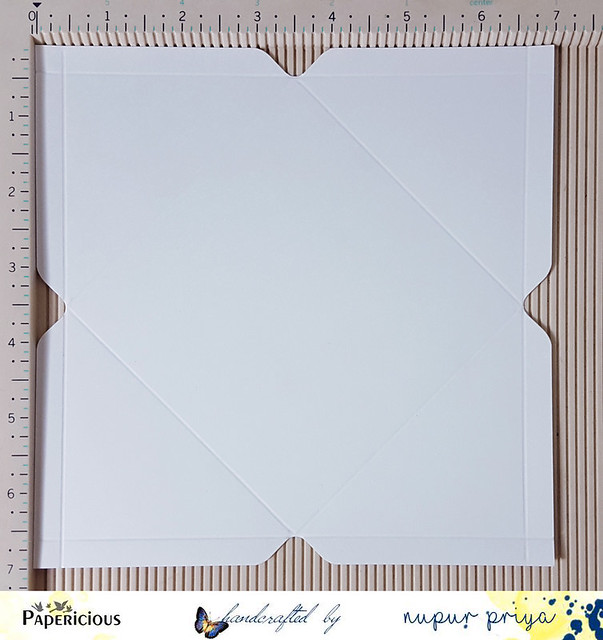
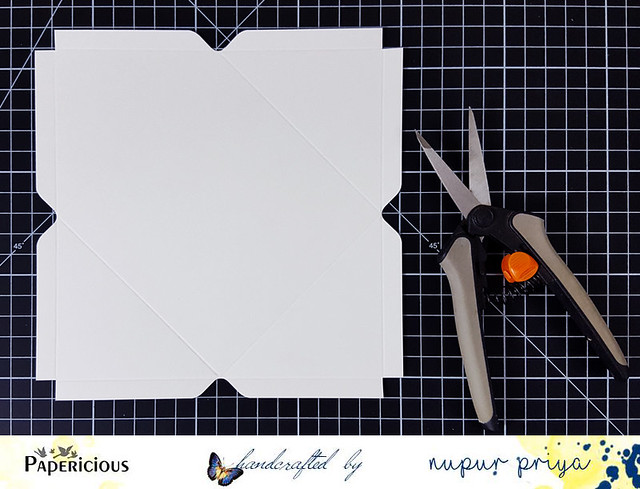
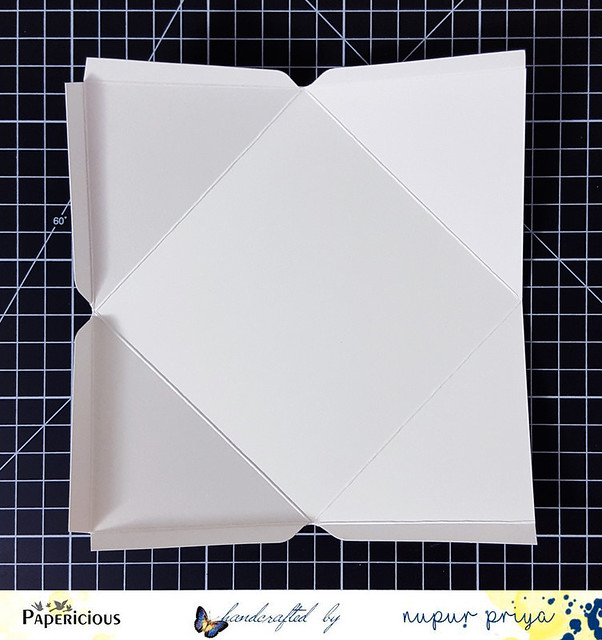
Cut out your card front.


I chose to go with the butterflies die. Dont just randomly die cut the piece. Place the dies in a way that looks good and make sense. We will be using this as a front for one of our cards. 
We will end up with these two pretty pattern paper butterflies that we are going to use on our second card.


For my second card I cut out a piece of CS, punched one border to give it a pretty look.
Added some watercolor (randomly), keeping the center concentrated since we will be placing our butterflies there. 
I went with a slightly concentrated watercolour since my diecut butterflies ended up having no part of the floral pattern.
I also used one of my Tim Holtz layering stencils to add the mint colour that was on our pattern paper.
Here is how it looks, not great eh? We will be adding some black splatters to it later on and wait till we add the butterflies, it will all gel together.


I decided to make a shaker out of the first panel.


My cards were lacking sparkle so I decided to add holographic glitter randomly.


I know it looks a bit weird but it only looks this way in photos. In person it is clear, holographic.


I then arranged my cards on their bases, added some tidbits and sentiment dies.
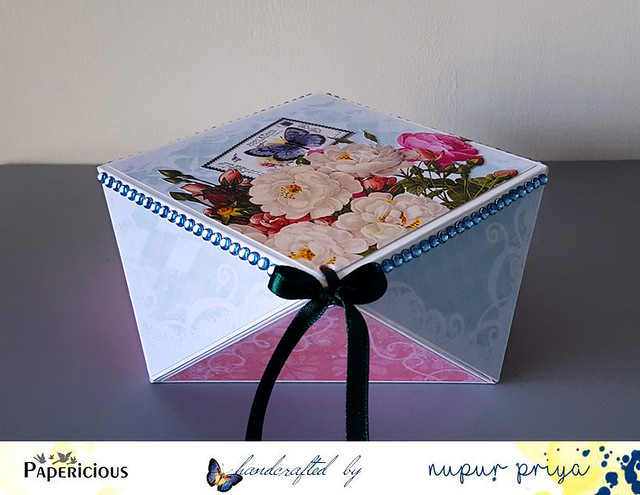
Here is the end result.


I used a white pen to outline the butterflies so that they would stand out. 
I also added a bit of vellum to make the sentiment pop and cover part of the design.
The shimmery pink sequin is by Papericious. I just LOVE the sparkle on them!


Here is my second card. I added a light purple glitter strip along the lace border.


I hope you enjoyed today's post. 
Don't be afraid to use the papers with big, bold patterns.
You can share your quick cards with us on our Facebook group.
You can check out our current challenge here.
See you guys soon!
-Erum


Envelope Punch Board Gift Box Tutorial

Hello friends,
 This is Nupur here from Nupur Creatives & I am sharing a tutorial for a gift box today made using Envelope Punch Board.

20161118_153732

We need 2 pieces of 7" x 7" cardstock. Align all 4 sides of the cardsock at 3 1/2" mark, punch & score. Repeat this with both the pieces.
20161117_210500

Now score all 4 sides of both the pieces at 3/8".
20161117_210940

Cut off the corner squares as shown ( I later cut the corners in a straight line so the edges were 45 degrees to the score line). 
20161117_211217
For the top portion of the box cut off both flaps from one of the sides as shown. This will be the opening of the box.
20161117_211624


Apply tacky tape on the flaps of the bottom piece leaving 2 flaps on one of the triangle pieces. This will be the opening of the box.
20161117_214518

Carefully align and adhere the top & bottom pieces. The picture below shows how it will look like after the box is assembled.
20161117_215213
Make a hole in the top & bottom opening pieces & thread the ribbon through & tie a bow to close the box. Decorate the box with pattern papers & embellishments of your choice.
20161117_220524
Here are few more pix of the decorated gift box... Side view
20161118_153742
& top view...
20161118_153804
Hope you like it...
Thank you for visiting today :)
nupur
Materials Used:
Ephemera Paper Pack

Something for a girl and for a boy

Hello.
Today I`d like to how you two projects. First is a very girly card, with lots of flowers and a pony.


To made this card I used Ephemera Premium paper pack, it`s delicate and lovely.


The second project is a gift set for a little man. I packed a book with a paper from The Vintage Attire premium collection. It`s a book about minerals, this paper is a perfect match, look at this gorgeous patterns.


I also made two pillow boxes with two different papers from  The Vintage Attire collection. 
This paper is heavy, a perfect material for boxes.


The whole set looks like this:


Papericous products used:
 Ephemera Premium paper pack
The Vintage Attire premium collection

You can find the information about all our retailers all over India and abroad HERE.

Thank you for watching :)
Best wishes,

A Masculine Layout Tutorial

Hello, good morning! ^__^

I'm Halak and today I'll be taking you through a masculine layout tutorial.

Making masculine projects is just so damn hard, right?!

Glitter or no glitter, sequins or no sequins.... what about flowers! Yikes! So many options and before you know it, boom, it's become a feminine project.

The Papericious Naturals collection is your answer to making stunning masculine and neutral themed projects!

So, let's get crafting!

Steps :

First I selected the pattern paper sheet I wanted to work with. I selected the light denim pattern design and stenciled the sentiment onto it.

Tip : There is an awesome collection of different textural denim patterns  in the Naturals collection that are great not only for Masculine themed projects but also look stunning with the Retro Chic style of papercrafting.

Once the sentiment was stenciled, I took some distress inks in the same color family as the pattern paper and stenciled in some designs.

Also added some washi tape bits.

Tip : Using stencils is a great way to add dimension and texture to your project without increasing it's weight. So if you are sending happy mail out to friends and family in different parts of the world, befriend the stencils and pattern papers. They will give you some stunning results in unison!

Took a darker denim sheet from the Naturals collection and hand-tore a strip from it.

Positioned the strip roughly where I wanted and added some more stenciling and washi tape.

Finally, added some sequins and a circle medallion that I hand-cut from Papericious Often collection.

I made a bunch of these medallions from the paper sheets and it was really simple :
Cut out the medallions, adhered a sticker to some and left some as-is.
Gave it a coat of glossy accents and sprinkled glitter over it.

Papericious papers play really nicely with each other and thus, a fusion of papers from different Papericious collections also looks great!

Have a look at the bunch of some more medallions I made :

Sparkly! ^__^

Bonus Project

Oh yeah! I have a bonus project tutorial for you!

A beautiful neutral birthday card thats super easy to make!

Pretty eh? Simple too! Let me show you how :

First I took this gorgeous wood plank style pattern paper from Papericious Naturals collection and stenciled + roughly stamped a script design stamp to select areas.

I took these 4 die-cuts from the Papericious Ephemera collection.

Hand-tore two pieces of pattern paper from Ephemera collection and stamped the Happy Birthday sentiment onto one piece (left the second piece as-is) and adhered both the pieces to paper.

Positioned the Ephemera die-cut embellishments roughly where I wanted them placed.

Tip : Always position your pieces before you glue / tape them down, because sometimes what's in your mind, might not necessarily look great in actuality! To be on a safer side, I photograph the placement I like and then move the pieces and work by looking at the photograph for adhering the elements to project.

Finally adhered the pieces and added some pink colored sequins.

Matted it onto white cardstock and... done!

That's that dear friends! I hope you enjoyed reading and thank you so much for stopping by! *Hugs*


Posted via Blogaway

Mixed media layout tutorial

Hello everyone,
Its Kavitha here today to share a tutorial for making a "Mixed media layout" using the new release collection "Ephemera".This collection is so soft n shabby with beautiful pastel colors and floral prints which inspired me to create a girly soft shabby chic style layout.

So here is my layout,the papers are of high quality,holds the colors well n perfect for mixed media projects

So lets see the process:

I took two pattern papers of purple shade from the pack,torn the edge of one of the paper,distressed it and glued it to another one.

I cut some pattern papers from the same collection to 3*4 and 4*5 inches in size for layering,and also took few journal cards from the paper pack.I roughly planned my layout and marked it down.

Leaving the marked area,applied clear gesso to rest of the paper where  i am going to add colors.Once the gesso dried i used a stencil n modelling paste to create some texture around the arrangement.

Now i started to glue down all the papers except the pic(which i will add at last to prevent it from staining of colors).As you can see i made some changes,added  some horizontal lines as well as couple of doilies inbtw layers.I also used chipboard for few layers to add dimension 

Now its time to add some colors(my favorite part).I used silk acrylic glaze n twinkling H2o's from colourarte. I used few shades of purple,started from lightest color of purple n moved onto to darker shade.

As you can see in the previous picture,the colors look separate from the page,so i took some white gesso in finger,applied it  to the edges of the colors n blended it well with the paper,now  you can see the smooth transition of colors,soften the edges well to make it look one with paper.I also added some ink splatters with the darkest color.

I did some stamping with kaisercraft texture stamps n archival inks.Then applied some soft gloss gel randomly and sprinkled finnabair glitter, and silver glass glitters.

Now its time for embellishments,the "Ephemera" collection comes with  gorgeous coordinating die cuts.I added few of them-the flowers,butterfly postage and the title"Beautiful".I also added adhivise buttons from previous collection and some prima flowers to finish off.

Here is some close-up of the details for you.


I hope you all enjoyed my tutorial and find it useful,feel free to ask any questions if you have,i will be more than happy to help.Keep checking our blog for more amazing inspirations.


Happy crafting,