Treat box & card duo

 Hi lovely people, 
Today I am back with one of my favourite set of embellishments, the Papericious 3D mini shakers. 
Also part of my project is the gorgeous Love Actually  paper pack. I would be using the Papericious ready to use treat boxes. 
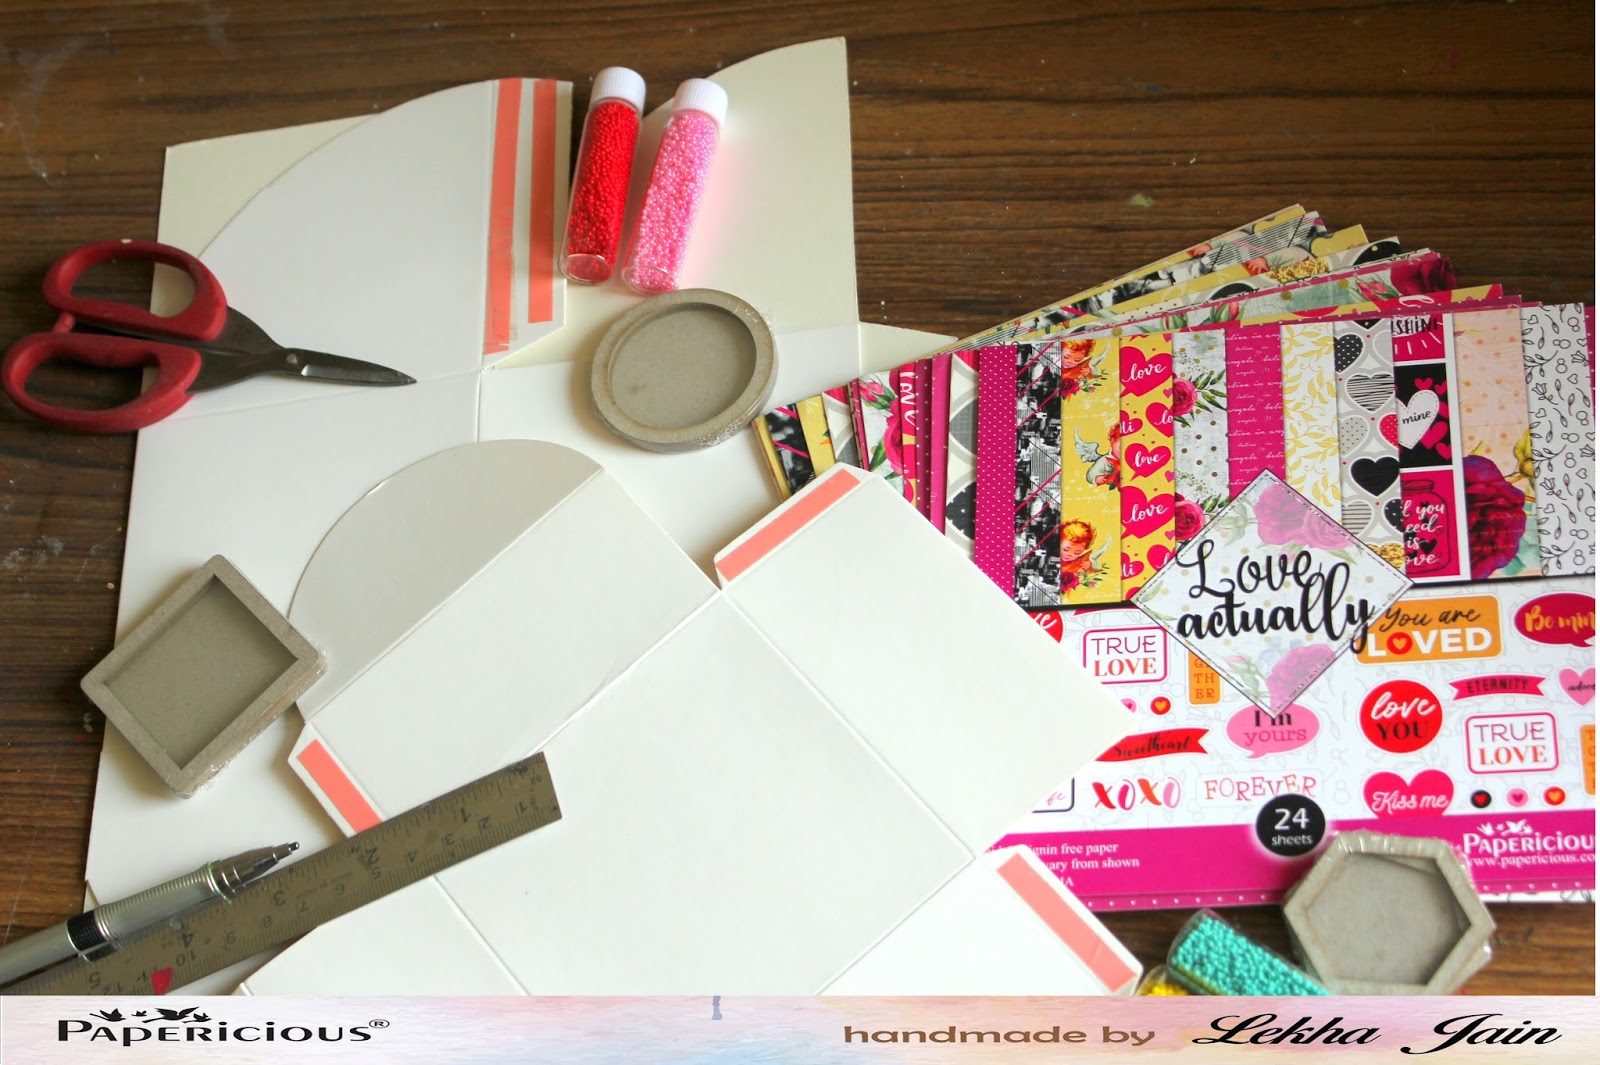
  I am using the spellbinders classic scalloped circle die to get a scalloped diecut for the semi circular treat box flaps. I have inked the edges of the pattern paper with some archival ink to finish the edges. 

  I have used the beautiful papers from the paper pack on the outer faces of the treat box. These treat boxes comes in various shapes and you just need to remove the tape backing and within minutes you have your gifting solution ready. 
 And here comes the best part...the 3d mini shakers. For the treat box I plan to have a closure band embellished with a simple shaker. Paint the mini shakers using the lovely range of Papericious chalk paints. I have used Brick Red chalk paint.You can paint the inner face of just stick pattern paper. 
 I have fussy cut a sentiment from the collage sheet which comes in the paper pack and than left it free with other shaker beads. One thing I love about these shakers is they come complete with the transparent sheet cut to actual size.

 Next for the band I took 1.5 inch x12 inch pattern paper and scored it according to the thickness of the treat box. Just keep in mind that the band should slip on and off the box easily. 


To coordinate with the treat box I have made simple card. 
Take 5 inch x 12 inch base. Score at 3 inch and 9 inch. Next take another cardstock piece measuring 11.5 cm x 14 cm. I have used a corner chomper to give round edges.


 Layer the cardstock with pattern paper, approx. 1/8th inch smaller than the base of the card.


After adhering all the pattern papers, lets get started with embellishing the card face. 
 I have painted the star shaped 3d mini shaker with gold acrylic paint and fussy cut a sentiment from the collage sheet. I just love the shaker beads from Papericious, these are perfect to complete your projects.


Hope you get inspired to try these. 
Keep crafting
Supplies used:


Elegant Shadow box with an Initial

Hi Creative people,

Today I will be featuring the gorgeous Guilded Onyx Pattern paper and the Shadow boxes by Papericious. I love these paper so much and did not have the heart to chop them ;) I used two square shadow boxes for my project today. They come in 10x10 and 8x8 inches.This is one one the quickest and easiest projects to do with minimum supplies.


Step 1: I painted the 8x8 inch square shadow box with white chalk paint and allowed it to dry. I did not paint the bigger one and left it like that only.

8x8 inch Shadow box
Step 2: For the bigger shadow box I adhered the white and golden paper using 3M tape on the back side of the shadow box. I just had to trim it a bit and used a paper cutter for that.


 Step 3: Then I sticked the smaller Shadow box with the right side up and this is how it looks. I used a strong liquid glue and allowed it to dry properly.


Step 4: Next I used the black and gold script paper from the collection and cut it to fit the small SB.


Step 5: I printed a alphabet A with my printer and cut it out on a golden glitter paper. Added foam tape on the back and placed it inside the box.


To finish the box I added few golden pearls and butterflies. This piece of decor is going to be placed in my daughter's room and her name starts with letter A. 
I want her to have few qualities and she should always remember to be 
- Appreciative
-Agile
-Adventurous 
and 
-Affectionate.

 These are the pictures of the project and I hope you liked it.


take care
hugs

SUPPLIES
Papericous Shadow box - 8x8 and 10x10
Guilded Onyx Paper pad
White Chalk Paint

Double sided tape
Foam tape
Paper trimmer
Paper cutter
Liquid Glue
Golden Glitter paper
Golden pearls
Metal butterflies


Love Shadow Box Frame - Tutorial

Hello people.

Chirali this side with a different use of Papericious shadow box, that too with a pictorial. It's a photo heavy post so sit back, relax and enjoy.

Here is the final outcome of the frame:


Let's start with the tutorial:


I took one shadow box frame, four small steel wire ropes and a lid of a bottle along with the hand drill machine. I made a hole in the center of lid.


Then made a whole in the frame.


Then I took a thread and wrapped it, leaving some portion on both sides plain, around the four steel ropes with the glue.


One side of the wires were arranged in the lid as shown in the picture and other side was fit in the frame as shown in below picture.


Then I took a stripe of a thick millboard of 1x12 inches with a fold at 6 inches and another cutout of 3x7.5 inches and made a triangle by cutting two sides to the one side at 3.75 inches.


Glued with the glue gun.


Then glued the hut kinda thing on the top of the frame with glue gun.


Then I painted whole thing with Pearl Pink chalk paint, leaving the portions blank which are going to be covered by paper. I have used Love Actually paper pack.

So we are ready with base. Now decorate it as you like. :)

So mine is here:


Some closeups: 


A 3D star chipboard of Papericious, painted with pearl pink chalk paint and gave it a coat of frosting powder with the use of soft gloss gel.


The star is a hanging one and behind that, there is a cute heart smiley from the paper pack.


I used a brick stencil and a soft gloss gel to get a brick effect and then sprinkled frosting powder. Photo does not give a proper justice but it looks beautiful in person.


And the back side!!

Isn't it a perfect home decor piece? Grab your frames and make your homes beautiful with them.. :)

So that is it for the day. I hope you liked it.

Thanks for stopping by. 

Hugs,
Chirali. :)

Supplies used: