Shaker Journal Cover - Tutorial

11:00 am Shilpa Nagaonkar 0 Comments


Hello everyone!
This is Shilpa here. I love Journaling and I make lots of Journals. I am hooked to Shaker Journal Covers these days as Papericious has best 3D Shaker Elements options. 

I get many requests and queries about these Shaker Covers/ Cards Tutorial. So here is the one I am sharing today.
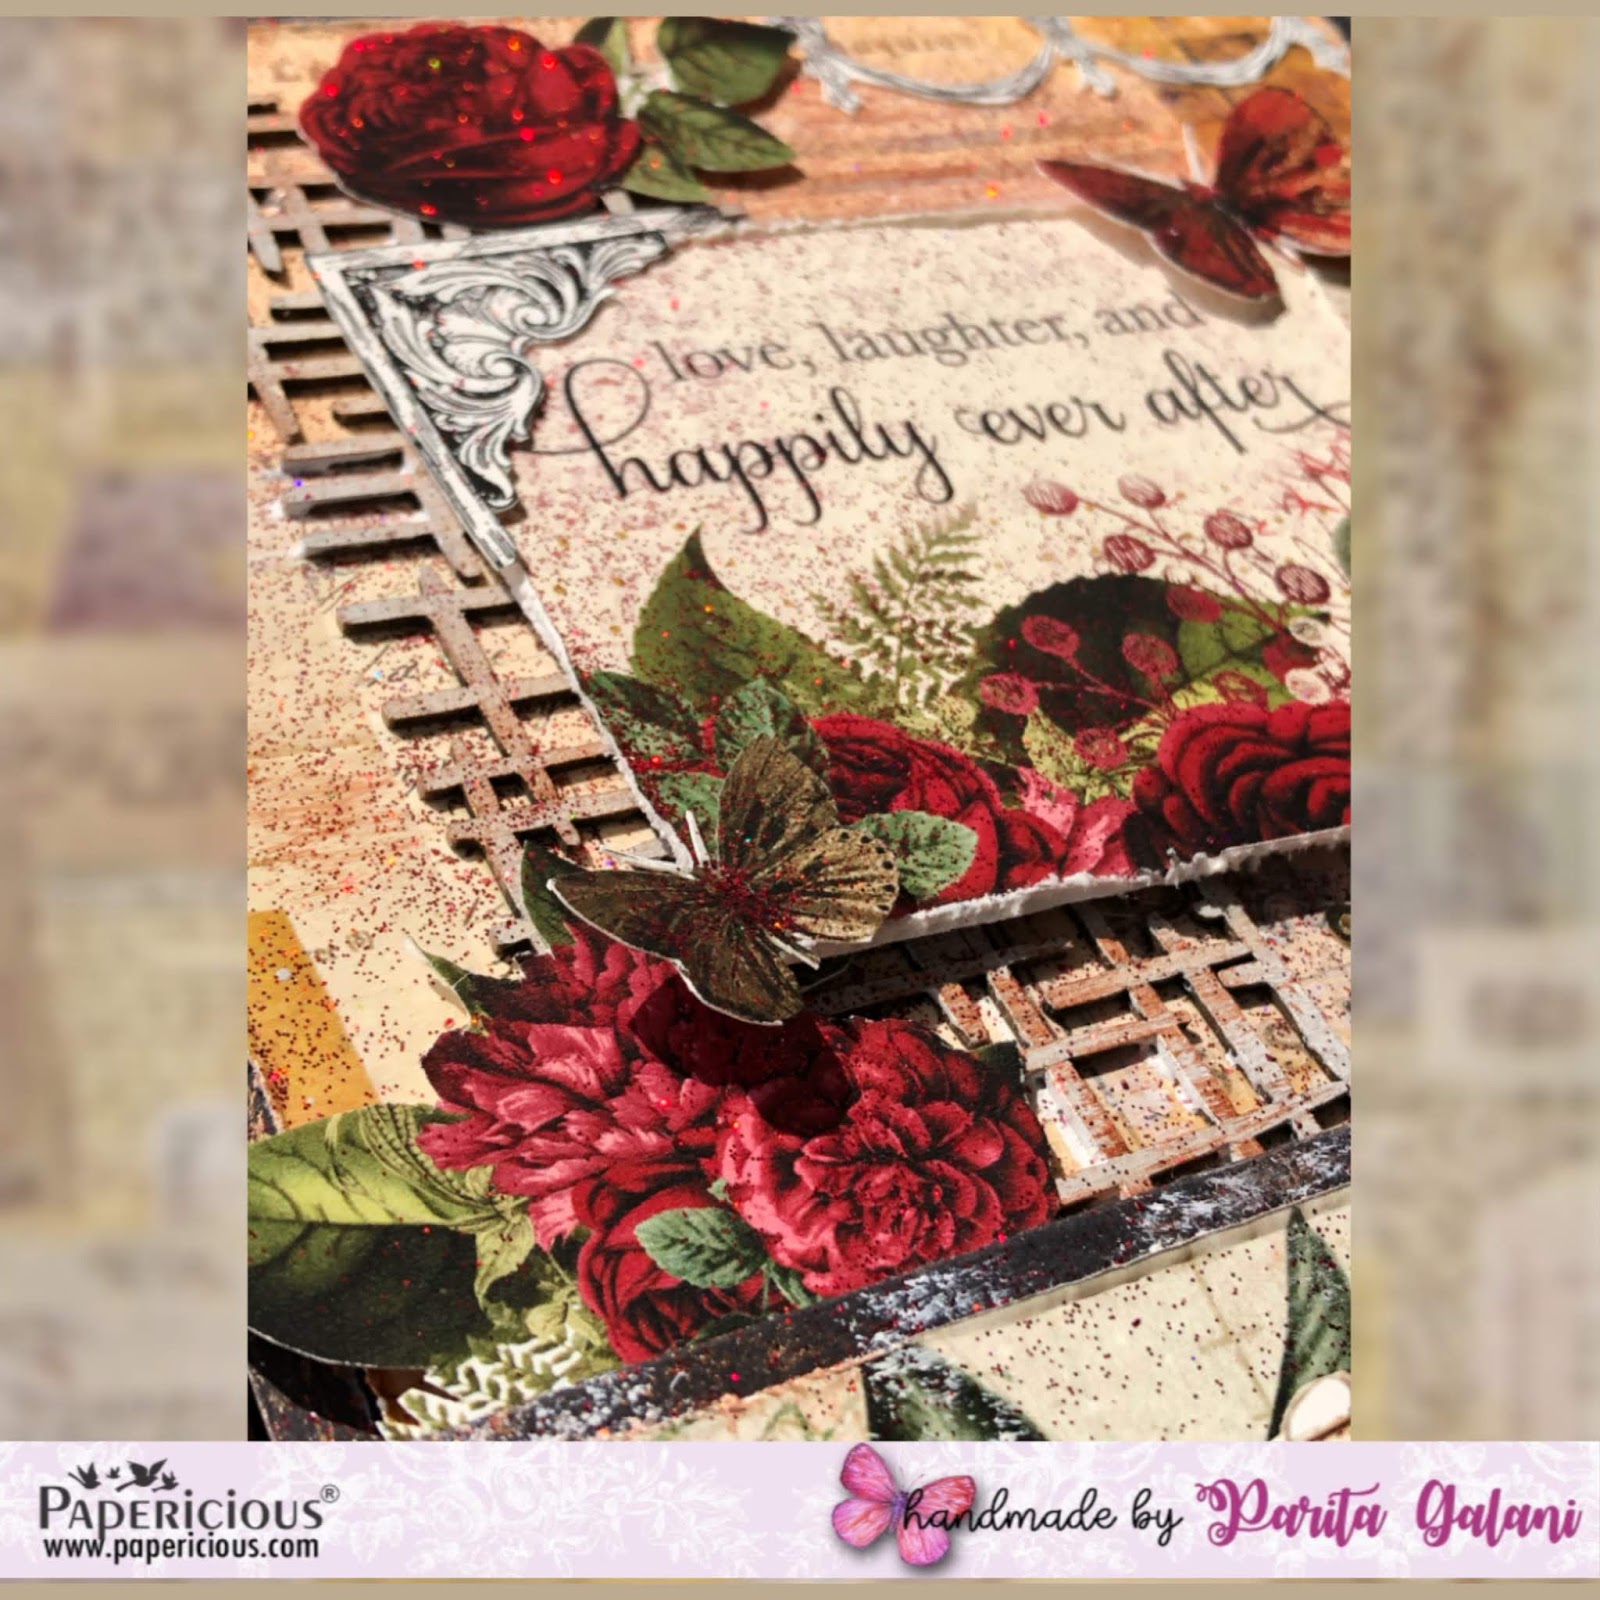
We are making the front cover of this Romance Journal.

Step 1
To make the Shaker Gate embellishment, we are using Papericious five piece 3D Shaker -"Victorian Gate Chippis". It consists of 3 layers of base, transparent plastic sheet of same design and top layer design.

Step 2
Adhere first 3 layers together with strong glue. And next, according to design and color of my Journal, we are coloring Gate Chippis to dark red. Before that we need to apply Black Gesso to it as Primer.

Step 3
Mix Red and Lamp Black Chalk Paints to get correct shade of red and apply to both pieces of Gate design Chippis.

Step 4
Add Sequins into the design and adhere transparent sheet onto it so the sequins remain inside.

Step 5
Adhere the last layer of Gate design with glue. Make sure you use good quality, strong and transparent glue so the final Shaker design looks neat and clean.

Step 6
Now, It's time to decorate our cover.
Cut out design papers from Billet Doux Paper Pack to the size of Journal and stick it. To hold this journal together, we need to attach ribbon, here I have used red velvet ribbon.

Step 7
Add two more layers of design papers from paper pack with the use of foam adhesive. It will give dimension to the whole design.

Step 8
Adhere thin lace to the surface. Attach foam adhesive to Victorian Gate Shaker Design and stick it to the surface.

Step 9
Papericious Cut and Create Embellishment Sheets are wonderful to add beauty to the project.
Cut out all designs from Billet Doux Cut and Create Embellishment Sheets.
Step 10  
Adhere few of them according to your liking to the cover. Use remaining ones to decorate inside pages of Journal.

Step 11
For final touch, I have also adhered Papericious White Chippis - "Love" and few more pieces of lace.

Few more photographs of completed Journal Cover.

Thanks so much for stopping by. 
Please share your Papericous Creations and don't forget to tag us on Facebook and Instagram!

Papericious Products Used:


0 comments:

Rose Garden Three Step Card Tutorial ft. Billet Doux

11:00 am Parita Galani 0 Comments


Hello friends,
Greetings for the day!

All Things Grow With Love!
I am Parita Galani from Mystic Hue. Today I am here with the tutorial post for a Rose Garden Three Step Card featuring Papericious newly launched Billet Doux - Designer Paper Edition. Billet Doux is a such gorgeous paper pack specially for vintage themed projects.
So let's have a look at Rose Garden Three Step Card:


Now lets go through step by step pictorial tutorial:
Step 1: I have taken a single cut Black coloured card stock measured 68cm in height and 17.5 cm in width and scored it at 22.5cm, 45cm,53.5,60.5 and 64.5. Now fold it as shown in the pocture below.

Step 2: I have taken 8 different pieces of Billet Doux Paper to apply as base decorative paper for the card. Below shown in the picture is the three sizes we will need for this decorative paper. I have roughened the edges of all paper with the help of cutter blade to give a more vintage look.

Step 3: Now we will sick all decorative paper one by one.

Step 4: Now that our base card is completely ready we will start layering and embellishing it. First of all, we will embellish the front top 3 steps of the card. Firstly, I have taken piece of Papericious Chippie and adhered it on slight left to the top step. After that I have dry brushed the whole top step and the edges of the complete card with white and Copper Acrylic Paint.

Step 5: Afterwards I started embellishing the card with various fussy cut elements from the Paper Pack and CCE Sheets. Firstly, I applied clock embellishment, then above it, a cut out of a quote, and than I arranged all other embellishment shown in picture one by one.

Step 6: Now we will move towards embellishing the inside two sides of the card. For the upper inside side, I have cut 5" by 4" frame from the Paper Pack, which will hold 4" by 3" photo. Than I placed various fussy cut elements of the sides of the frame as shown in the picture.

Step 7: For the bottom inside of the card, I have made an      on a scoreboard. You can see scoring information in the picture. Afterwards I folded the envelope, adhered it, and embellished it further with more fussy cut elements.

Step 8: Lastly, for the back of the card, I stuck a broad fussy cut beautiful flower lace from the Paper Pack on the left corner and finished it will some fussy cut elements. In this space you can write or do a mix of journaling and pictures as shown in sample image below. I have also sprinkled red fine powder glitter in the front page to give some shiny touch.

Supplies Used:


Criss Cross - Papericious Pattern Chippis


I loved making this Vintage Card, and trust me, the person whom you make it for is surely going to be overwhelmed for your love, efforts and the beauty of this card.
Keep Crafting!
Best Regards,
Parita K Galani

0 comments:

Notebook Holder ft. Me Before You -Video Tutorial

11:00 am Kalakriti by Puja and Sneha 0 Comments


Hello friends,
This is Puja and Sneha from Kalakriti. Welcome to another Video Tutorial Blog at Papericious. We have created this Notebook Holder using "Me Before You" Paper Pack from Papericious. The Paper Pack is just amazing starting from quality, patterns and designs of the papers. We have also used Me Before You - Cut and Create Embellishment Sheets and Chipboard.
Have a look at the Notebook Holder created by us:


Here is the Video Tutorial for you all guys!
Do show some love on the Tutorial
Video Tutorial: https://youtu.be/ApX3lCAmlt0

Supplies Used:


Hope you will like the project.
We hope we have inspired you to create the Notebook Holder. Do share your creations.

Lots of Love,
Kalakriti

0 comments: