Showing posts with label Papericious Butterflies Chipboards. Show all posts

GIFT BOXES TUTORIAL by NIKKITA SETHI


Hello everyone! This is NIKKITA and I am back with a new post for PAPERICIOUS blog.

For today's post I wanted to make something fun and quick and yet pretty, so I made some cute boxes which are perfect to be used in this festive season, you can use these cute boxes for gifting perfumes, chocolates, tea-light candles or anything as you like it.

Today I am using the latest release Fleur Fun paper pack and some gorgeous Chippis and Chalk Paints.
GIFT BOX


Here I am with the step by step instructions :
STEP 1
For the base, take a piece of 7 inches by 12 inches cardstock and score on the long side at 3", 6", 9" then turn the cardstock and on 7 inches side & score at 6" as shown in the picture above.

STEP 2
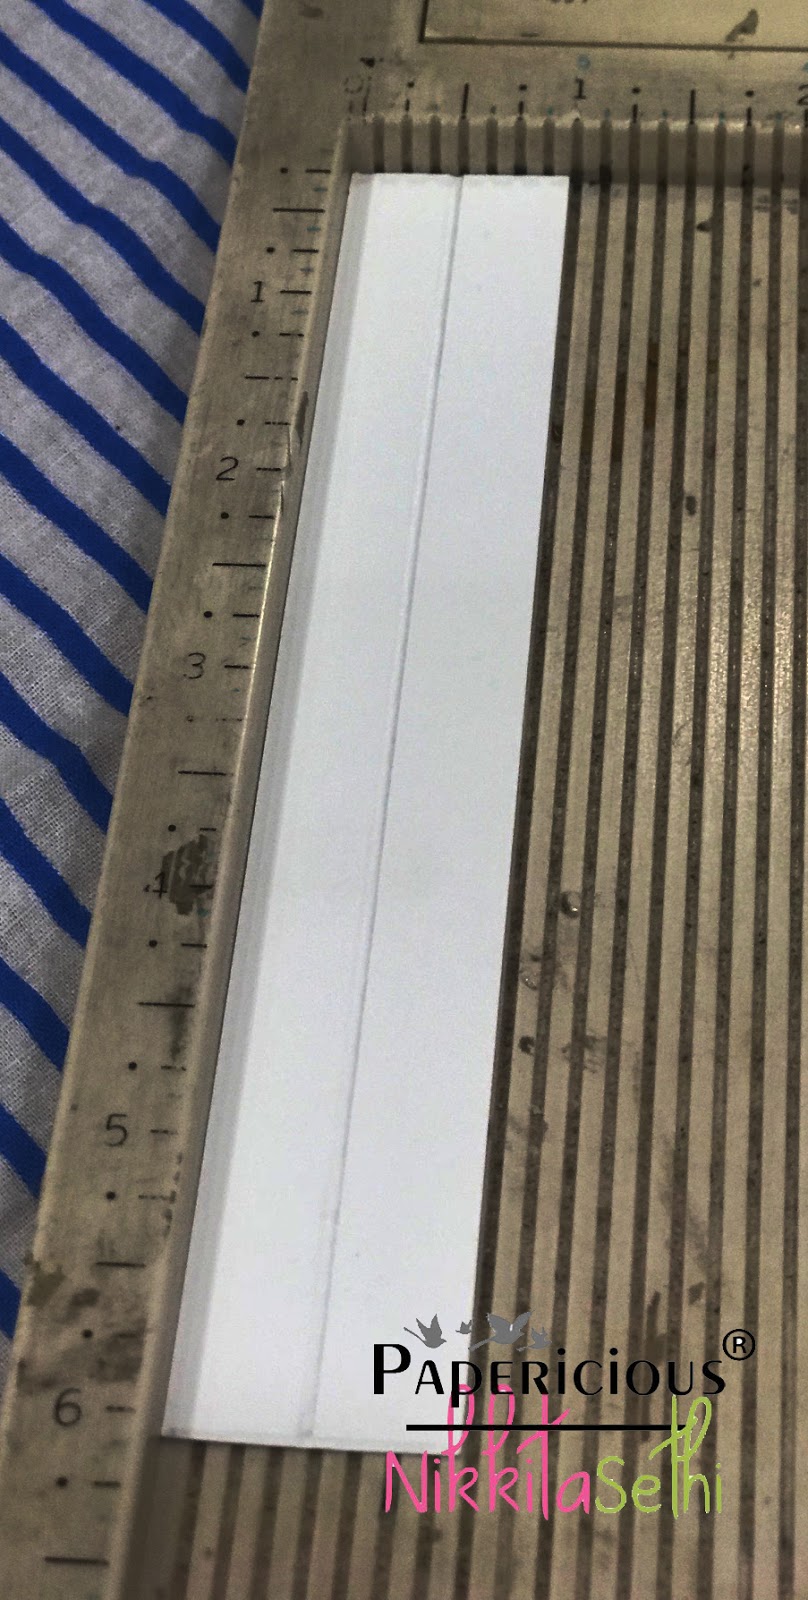
Take a piece of 1 inch by 6 inch cardstock and score at 1/2" to make hinge for the base.
STEP 3 
Make a slit on the 1 inch width base and score and tape the 1 inch hinge as shown above.

STEP 4
For the lid of the box, take 5.25 X 5.25 inch cardstock and score at 1 inch on all four sides. Score and trim the 1 inch cubes as shown and then tape the corners.

STEP 5
The box is ready and now its time to decorate the box. 

Used the Fleur Fun paper pack and the gorgeous Scalable Chippi and the Butterfly Chippi. I have used Chalk Paints - Pearl Pink and Bracket Green.


For this box the length is 4.5 inches and is made with same measurements as above. You can customize the length and breadth as per your choice its easy to make and quick.


Papericious Chalk Paints - Pearl Pink & Bracket Green 

Hope you enjoy making these cute fun boxes.
Do leave some love.

Happy Crafting,
LOVE,
NIKKI

DIY Dream Catcher

 Hi All!
This is Priya. First of all, did you see the Papericious June release? Isn't it awesome and so dreamy? I totally jumped with joy when I opened my DT pack filled with all the beautiful paper packs and chippies.
This time, Papericious has launched an awesome Dreamcatcher DIY kit. It's super awesome and easy to assemble. It makes such a fun decor item and also makes an awesome  gift on any occasion! Be it birthday, anniversary, new home or any festival.
Today, I am sharing my finished dream catcher I made using one of the Papericious DIY Dream Catcher kit.

I colored the heart and the feathers chippies with Gansai Tambi watercolors. I gave it 2 coats of colors and let the colors dry before I did the second coat.
I used peacock blue and yellow color and blended them in to create green color. I loved how well the colors blended to give it a real feather look.
Here is a closure look at the focal point of the dream catcher which is a heart.
I also added a golden touch by using one of the chippies from the butterfly chippies pack and heat embossed it with the golden embossing powder. 
I totally loved the peacock colors with the touch of gold in my dream catcher.
Here is a final picture of the dream catcher while it's hanging. I tied all the pieces together with Papericious's Ivory jute cord.  
Since a dreamcatcher is complete without beads, I adhered beads from Papericious wedding collection. I sticked few on the hearts and few on the tip of each feather.
I hope you liked my inspiration for Papericious DIY Dream catcher kit. Believe me it's very easy to put together and it comes with an awesome price tag of Rs. 150/- only! Isn't it awesome??
Here is a list of supplies I used here :
Papericious Hearts Dream Catcher DIY Kit
 Papericious Feather Chipboards
Papericious Ivory Jute cord

You can buy Papericious Products from any of the below stores/resellers.
www.thecraftshop.in
www.craftsneed.com
www.imaginationsonline.com
www.hndmd.in
Nirmal Stationers, Delhi
Nagashri Arts
Rainbow Craftykari
Jovita D'Souza
Thank you so much for stopping by and have a wonderful day!
Hugs,
Priya