Papericious May Guest Designer | Neha Bhatt
Hello, crafty friends!
I am beyond thrilled to introduce our Guest Designer for the month of May -
Neha Bhatt! Neha is a super talented designer and cardmaker whose projects always have such an edge to them. She is someone who surely doesn't need any introduction - Her work speaks for herself! :)
We couldn't be more happier to have her as a Guest Designer on our blog today. Please join us in giving a warm welcome to Neha!
Hello friends,
I am
Neha here. This is first time for me on
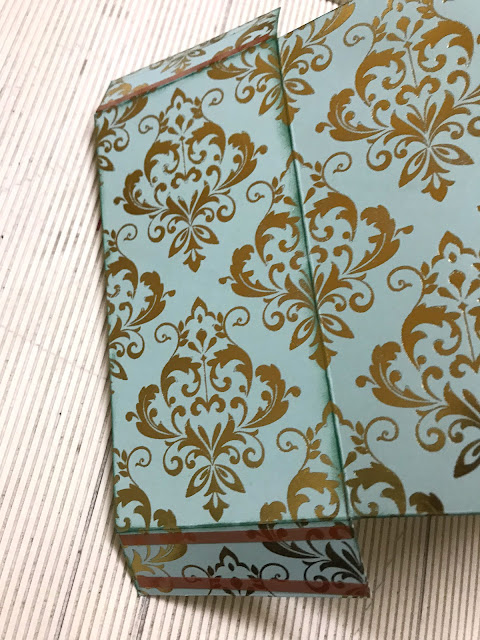
Papericious blog. I love their papers but they are mostly available in 12" x 12” so being a card designer, they are difficult to design with. I specifically like their Gilded Onyx and Bliss Paper Packs. I was eagerly waiting for Gilded Onyx papers in 6x6 inches. I don’t have words to describe the beauty of these papers. The colors are amazing, foiling is superb and they are super sturdy. I am sharing few projects using both the packs. Both papers go so well together.
Travel Folio:
This is the first time I have made a project with so many pockets...:P ! The Folio measures 5 x 8 inches with 6 pockets to hold your passport, boarding passes, tickets, credit cards etc. I have also made a mini notebook to take notes during travel. There are 2 luggage tags and 5 paper clips to hold your receipts, papers etc.
This aqua blue is my favourite color from the Bliss Patterned Paper Pack. For the focal point, I wanted to use their
Globe or
Wanderlust Collage Chippis, but by mistake, I ordered the wrong one. You can even use their
Lets Go Chippis (The tiny airplane on globe and locator pin chippies used on paper clips are from Let’s Go Collection).
The text pattern was perfect for a notebook cover. This paper is so beautiful that I had hard time cutting it. For inside pages, I cut few papers from a writing pad, stacked them and stitched with a twine. The luggage tags are very sturdy as there are three layers of papers...outer frame, middle part with a flap and foiled paper on back. The plan opens on right where you can have your name & details.
The Paper Clips are 3 die cuts stuck together for strength.
Suitcase Stamp, Globe Stamp & Die, Luggage Tag Die, Paper Clips Die are from Papertrey Ink.
That is all for today! I hope you like my creations. Thank you, Hussena and Aastha for this wonderful opportunity. I totally enjoy playing with these papers. Hugs!


0 comments: