Showing posts with label Papericious Art Mediums. Show all posts

Easy MDF Coasters

Hi Everyone,

Let's come out of this fear of using resin. I have come up with simple and easy project of creating Coasters using MDF Base & Resin. But before that we need to do some preparations and grab some art material that's required.

Preparations Required

  1. Prepare your workstation - I use a flat Lay water resistant background which can be easily wiped off.
  2. Gloves - Always wear gloves while working with resin . I prefer Nitrile gloves when handling resin . You can also use surgical gloves . Never do any of your resin projects with bare hands, as it can cause serious skin infections.
  3. Respirator- Always use a respirator while working with the resin specially when you blow torch over it.
  4. Plastic/Silicon cups & popsicle sticks - You need some measuring cups and popsicle sticks to pour your resin into. You can also use disposable cups and wooden popsicle sticks.
  5. Weighing scale  Always measure your resin in the proportions mentioned on the resin bottles. Never mix your resin by approximation as it will lead to failure of your project. Try to be as exact as you can with Resin & Hardener ratio.
  6. Blow Torch - You need a blow torch to get rid of the bubbles in the resin.

Art Supplies Required

  1. Resin Part A and Part B
  2. Deco paper
  3. MDF Coaster Bases
  4. Glue

Let's start with our coasters. First, with the help of scissors, cut the deco paper as per the size of MDF coaster base. I have taken Papericious deco paper & MDF coaster bases of 4" diameter.

Then, I used soft acrylic glue to stick the deco paper on the MDF base and let it dry for 10 mins.

In the meantime, I mixed papericious resin part A:B in the ratio 20:10 grams (as mentioned on the bottle) in a plastic cup using a popsicle stick for about 10 minutes.  Slowly moving the popsicle stick for mixing to avoid bubbles in the resin. After mixing the resin I leave the resin for 5-7 minutes so the bubbles in the resin settle themselves. Once it's done, I applied a thin layer of resin on the coasters using a popsicle stick and let it dry for minimum of 12 hours. Once dried, I Applied another thin layer of resin and again let it dry for another 12 hours.

Tadaa your coasters are ready.!!! 


All art supplies used in this project are from Papericious. Will be coming up with more super easy projects using Resin & Alcohol inks. Till then try this project and share on your social media accounts by tagging me & using my hashtag #prackriticreations.

Looking forward to your projects :)


Keep growing & keep glowing ;)
Lots of Love
Prackriti Siingh
IG: @prackriticreations

Tissue Box ft. The Flickers


Hello everyone!
Hope you all are enjoying this Holi season with the colours of happiness!
 This is Nandini here, and today I am sharing a project -beautiful tissue box designed with "The Flickers" Paper Collection and newly launched gorgeous Die Cut Embellishments from Papericious

Procedure:
Take the Lower Box and apply a coat of Papericious Black Chalk Paint on the Mdf Tissue Box and let it dry completely.

Cut the paper of your choice accordingly to the size of the box from the Flickers Patterned Paper Pack leaving a margin of 1/8" from each side. Stick it using Tacky Glue on the box.

For the lid, create some texture using Modelling Paste and knife and let it dry.  Then colour it with Black Chalk Paint and let it dry completely.


To create the glossy look, apply some Gold Polish Wax on it.


To enhance its beauty, stick Die Cut Embellishments with some flowers.

Some more pictures:


Supplies Used:


Hope you all like it.
Thank you for stopping with us and do not forget to leave some love for me.

Happy Crafting!
Nandini Ramchandani

Heart shaped Mixed media card- Pictorial

Hello crafty friends!
Today it's my turn to inspire you all using Papericious stuff...this month in my DT kit I got 2 gorgeous paper packs- Whimsical and Let's do ,chippies and spray Colors ..so I tried to use that in my today's project....lets start with my project..let me tell you that.. Iam new to mixed media cards ....but I love to try new things.. I have made a heart shaped Mixed media card.. since it's a picture heavy post I am not going for more chit chat and starting directly with the pictorial here..


 Step by step pictorial :


 Step#1- first I have made a heart shaped template from 6"*6" ordinary paper ..and according to that I have made three other templates for top matting layers..
Step#2- then I took a cardstock 6"*12" and scored at 6" on long side..and fold it into half and will get 6"*6" card...
Step#3-then I trace the heart template on my 6"*6* card..
Step#4- then did free hand cutting..so now a heart shaped card with a fold is ready...keep that aside..
Step#5- open view of my heart shaped card.
Step#6 - I did tracing of other two heart templates on my selected pattern papers n got two hearts card toppers ready..
step#7-then I have stuck both heart layers with Papericious gel medium and gave a layer of gel medium on top layer.. then did distressing on the edges with distress tool..and used walnut stain DI on the edges.
Step#8- then I have used Papericious white crackle paste with stencil....I forgot to take picture of my next step..spray work...when my crackle paste dried I have used Papericious spray colors.. lemon, green,and marsala.. with water...

Step#9- then I have used various background texture stamps..using black versafine  ink.
Step#10-then I have used different papers from the same paper pack..as tags n different ephemera designs  or sticker prints from that paper pack ...with foam tapes in few places.
Step#11- used Papericious chippies with glossy accent n twinkling spark glitter.
Step#12- decorated using mulberry flowers , metal embellishment,pearl,etc..used sentiment from same paper pack..used blackish gray glass micro beads with gel medium..used fussy cut butterfly from same paper pack..
Finally did splatters with Papericious white chalk paint n water..used Papericious frosting powder on mulberry flowers..
In few shadow areas I have used black and vintage photo inks to give depth..
finally stuck the decorated heart-shaped layers on the folded card base..and my card is ready.

Here is the complete card...and inside look of my card.
Hope I have explained you properly  with each steps..n pictures.. thank you for stopping by..love to see your comments..
Love n hugs
Daksha

Supplies used:


Love Yourself Mixed Media Layout

Hello everyone,

Sunila and Aditi here today with an inspiration post. Have you seen the Papericious New Release yet? There are some stunning Paper Packs, MDF Organisers and Chipboard elements.

Today, we've used the Ethereal Paper Collection and a few of the chipboard elements and created a Mixed Media Layout.

Here's a look at the layout:


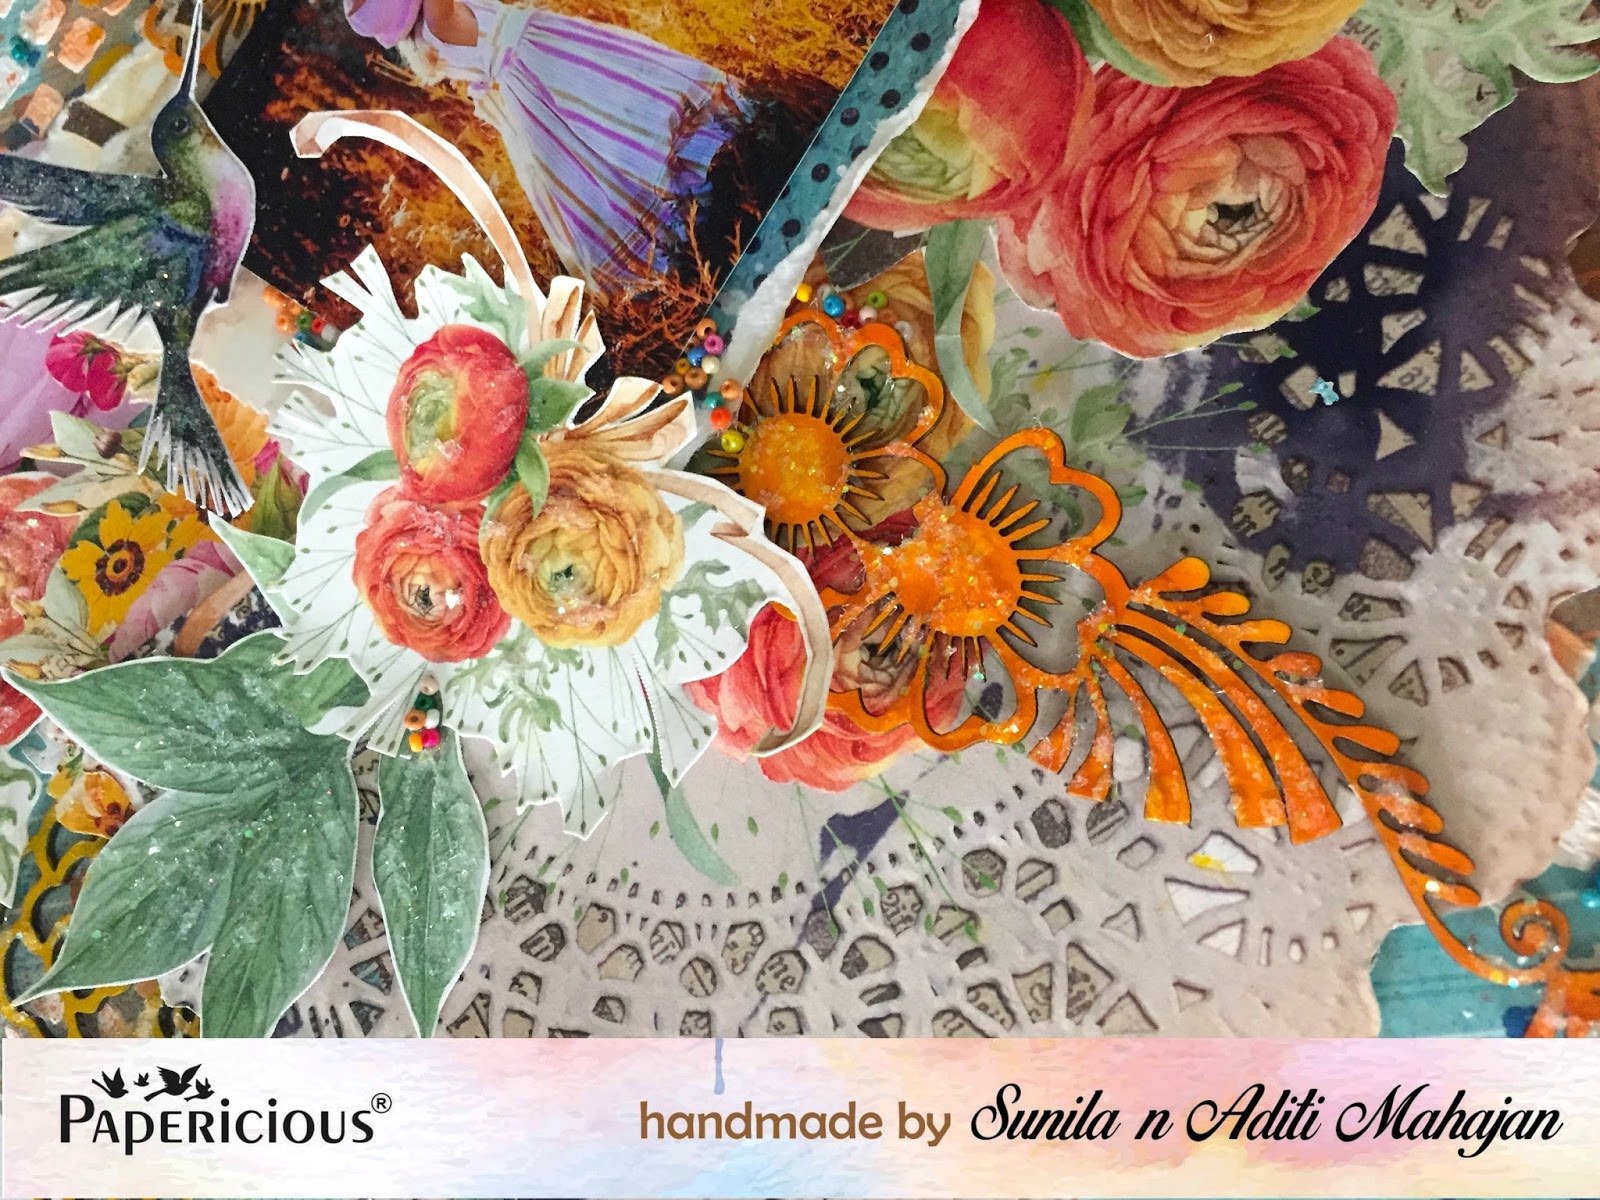
For this, we first chose our base paper, one with just a simple pattern and no focal. We used a stencil and applied modelling paste. We then used some acrylic paints and spritz sprays to add colour and splatter. From another sheet, we fussy cut the doily and floral cluster, and a few paper pieces to layer. We fussy cut elements from the element sheet in the collection and layered all the elements together keep a photo as a focal. We also used some chipboard floral clusters from the Wedding Theme Chipboard Collection and a Butterfly Chipboard. We painted them with acrylic paint. We used an abstract floral cluster chipboard from the new release and painted it the same way. We layered these on the layout. To complete it, we used Glossy Accent and added Crystal Clear Powder randomly for shine and some shaker beads. We used a title from the Journaling Sheet in the collection, layered it and used foam tape to add depth. Here are some close-ups:


Supplies:


Dots Acrylic- Moon Yellow


Hope you're inspired and we look forward to your creations with these new release products:)!