Thankful Card using Sigma Cardstock !

11:00 am Ujjwal 2 Comments

Hello, this is Ujjwal and today I am sharing a card with handmade flowers using the Papericious Sigma Cardstock. The cardstock is butter smooth and is the perfect thickness to shape beautiful flowers.

Here is the card I created


The flowers were stamped on Sigma Cardstock using Altenew inks and then die cut using the coordinating die. I then colored the flowers with Altenew inks, misted a little bit of water and shaped the flowers using an embossing tool. I then layered the flowers and added Prima glass glitter to the centers.


For the background, I used the Papericious Designer Edition - Wooden Collection and the recently launched Chippis. The one I used is called Simple Lattice. The sentiment is from another chipboard set called Ohh Baby!. I misted them lightly using Tattered Angels glimmer mist in green.


Then I arranged all the elements in the order that I liked and adhered them in place.
I hope you like this card!

love
Ujjwal


Products used in this project:


2 comments:

Butterfly Shaker Card

11:00 am Nupur Priya 4 Comments

Hello friends,
 This is Nupur here from Nupur Creatives & today I am sharing a shaker card made with Fairy Land paper pack...
I love shaker cards ....  They are so much fun to make & play with...So I also have a tutorial so that you can make your own shaker card with this beautiful paper collection...
20161227_105707
I started with die cutting the frame using 2 sizes of stitched square dies from the same set & die cutting the cream cardstock included in the paper pack. This cardstock has a beautiful pearl finish & looks really pretty....
20161226_222214

Next I took a piece of slightly smaller clear cardstock and adhered it to the back of the frame.
I fussy cut 2 butterflies from the paper pack & attached a thin thread to their center so that they are slightly tilted & attached the top & bottom of the threads on the frame edge.
20161226_225258

20161226_225513Now comes the fun part.... I adhered foam adhesive on all four sides of the frame and added the Purple Textured Sequins & a little clear micro beads inside. I cut a piece of pattern paper from the paper pack & adhered it on the foam adhesive to seal the shaker elements inside.
I adhered this on my card front with the pattern paper and my card was ready to shake-shake-shake.....
20161227_105720

Hope you like it...
Thank you for visiting today :)
nupur


4 comments:

Photo box mini album

11:00 am crafty D 1 Comments

Hello dear crafters.
This is Diana. Today I am very pleased to share a Photo Box mini Album that I created for my baby girl that turned 6 on December 21st. Isabelle is crazy about Fairies and what is more perfect then to use Novembers Launch Fairy Land.
This album has a place for 18 photos, but I am planing  to have only 9.
You can watch the Video further down in the post.

This how it looks when you open the box.  The inspiration and instructions you will find here:
I decided to use some of my Lavnia stamps with different silhuetts to creat more story and tFairy Land patterns are perfect for that combination.
 The other side (The inside of the box)
This is how it looks when it is been folded. About 2 cm wide. 

When it is folded it can be hidden inside the lock.

 Now you can see how it looks when it closed. I made a frame from clay and i used silicone form to make it. Inside the frame I used the word Believe from this Fairy kit. It included many meaningful sentiments for you to cut. Wonderful when you missing stamps with such great words or sentances.
The frame been hold by magnets.  And soon you will see how you can variate the placement for it.

When you fold the  Album into the box it looks like that.All the sides been hold by magnets. Inside I have put a note from Isabelles grandparents where it says She is getting a trip to Prague. Works perfect with "Believe" since she wished for some time to go on trip only with me, her mom.


 The lock of the cover lock can be lifted and it is magnets that holding it streight. Now I can  Have the frame on that top instead. I can even move it longer down since I put magnets on two spots.


The magical story is on the top of the lock.  I cutted Fairies from the paper pad that including many die cuts. Great for those that cant or does not like to color the stamps. It is many beautiful pictures of Fairies, Butterflies, Mushrooms, birds and much more. Unbelivable!


 The products I used: Fairy Land


Sometimes I am getting ideas after I already thought the project is done. When Isabelle recived the gift, so she asked me how come I didn't use all those pretty Sequins I was showing her the other day when I was organizing them into small cans.  So I thought what a great idea and added them on the fairies wings and grass.
 Look at the close up at the wings! Great idea from the 6 years old girl!


You can watch the video here:

 
Papericious retailers all over India and even internationally can be find here.

Hope I could inspire you with this project.

 
Hugs, DT Diana

1 comments:

Mini Album with Mom To Be Collection

11:00 am Shilpa Nagaonkar 2 Comments

Hello Everyone,
Shilpa here,

I am sharing with you an album for a Mom to be..


this album is very easy to make...


I've used 5 medium size brown bags here as a base.
I folded them in half also used a white doily and pink ribbon.


I stacked everything together and stitched in the middle on my sewing machine.


I started decorating pages with die cuts from PapericiousMom to be collection. They are so pretty.
I've also used Papericious Baby chipboard design collection. "Joy" word, here is chipboard piece which I've colored with acrylic paints.


All inside pages are done with beautiful papers from Papericious Mom to be collection and die cuts.

It's fun to make these mini albums ....
Do try them with Papericious!!

Thanks so much for stopping by.

The products are available at the following stores.
www.thecraftshop.in
www.imaginationsonline.com
www.craftneed.com
Nirmal Stationers, Delhi


2 comments:

Flowers in bloom

11:00 am Monia - Monika Jakubowska 8 Comments

Hello, Monika here.
Today I would like to show you some flowers I made with Sigma cardstock. This is a white, smooth cardstock, 180GSM thick. It`s great for flower making, stamping and diecutting.


These are my first Sigma flowers, but I had a lot of fun making them.


I also used round Papericious ink blending tool.


Products used:

I hope you like my inspiration.
Best wishes


8 comments:

A baby on the way altered cross stitching hoop

11:00 am Irit Shalom Designs 5 Comments

Hello my dear crafty friends!
It's Irit here from Irit Shalom's  Designs and today I am going to share some lovely altered inspiration .
I love to alter things and those cross stitching hoops are just the best one to alter.
So I made a cute Baby on the Way altered hoop using Papericious new, just released Mom to Be collection, Papericious laces, chipboards, sequins and jute cord with just a small add- ons of dies and paint.

This hoop is 10 1/2'' in diameter and this is one of the biggest hoops on the market and can be a nice display for Baby Shower party or as a decoration on the wall.
The reason I stacked to  Baby Boy colors is that I  have a very new grandson who was just born last week and everything I craft  right now is in those boy colors.
 I am really sorry that I got this fantastic Mom to Be collection after my daughter's Baby Shower, but I hope that we will have more babies in the family and I will use it for another party decoration.

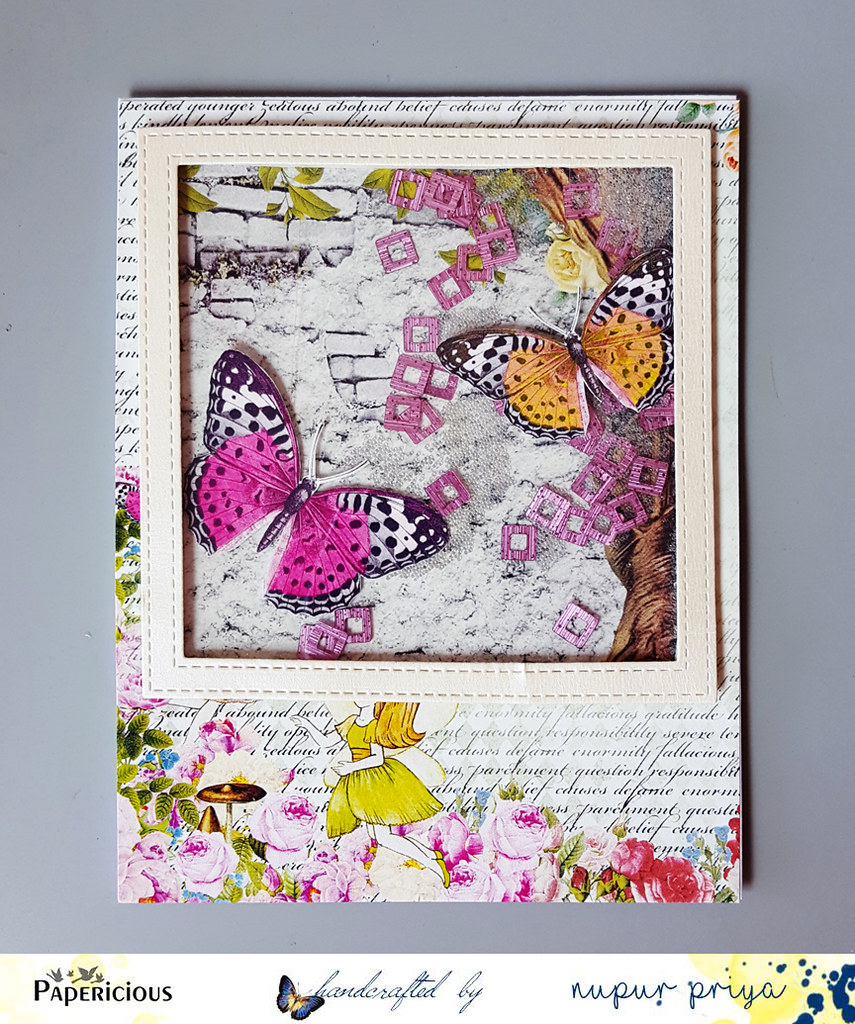
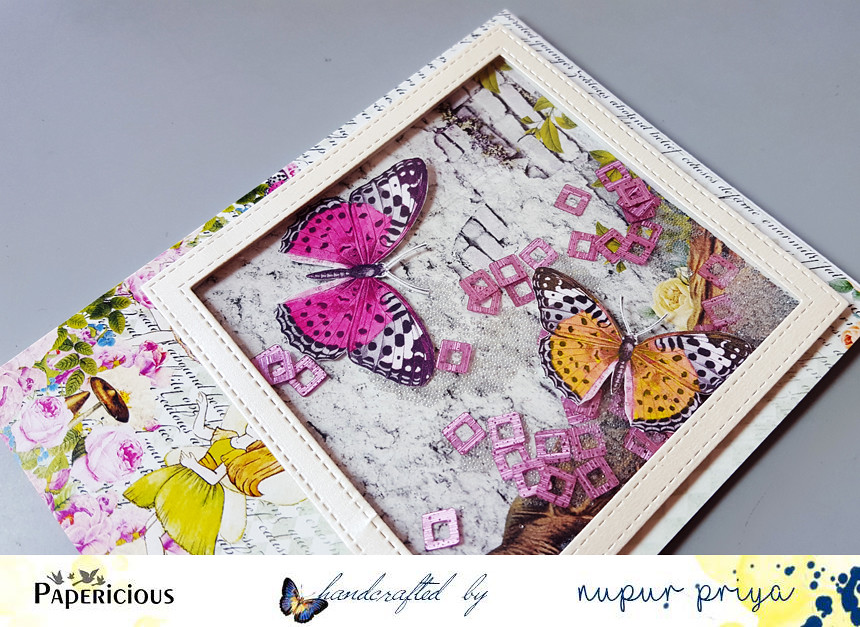
This the whole project here:


 And the side view of this project:


Also this is not my tutorial day here on Papericious blog, so here are just a few steps I made to create this project:

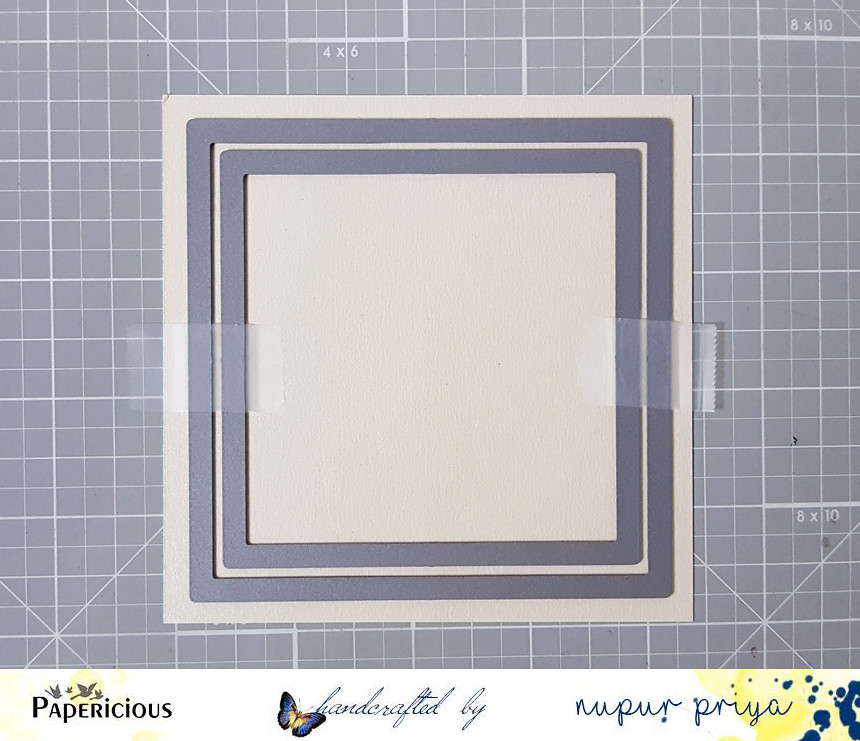
First I hand cut the circle of patterned cardstock and inserted it into the hoop.
Then I painted the hoop with blue acrylic paint.
Nest I cut Papericious lace into halves and glued it around the hoop.
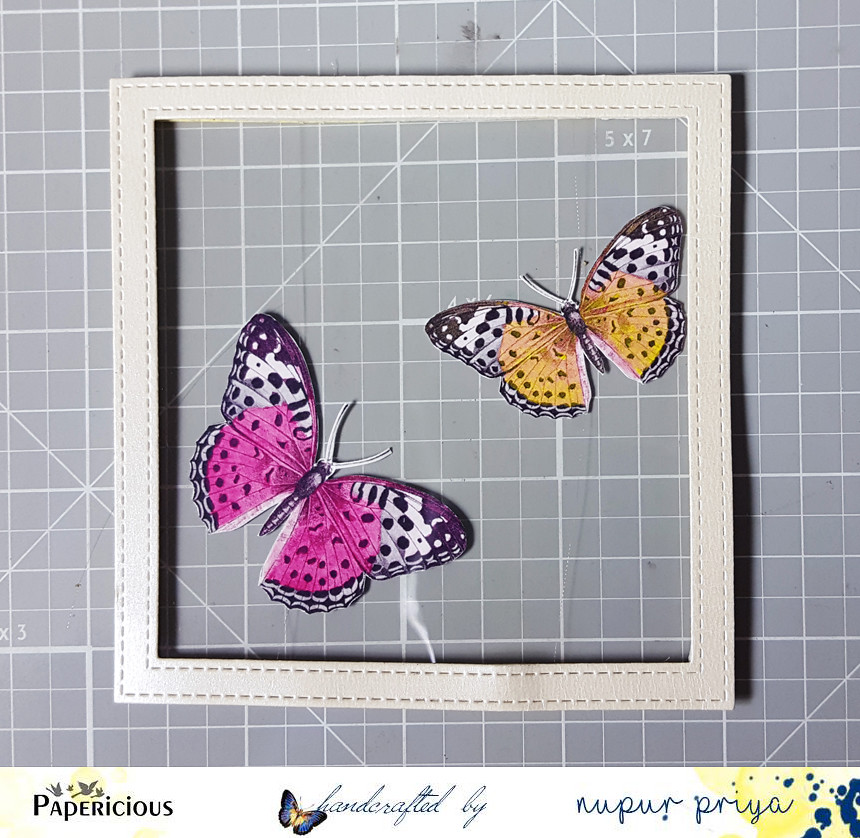
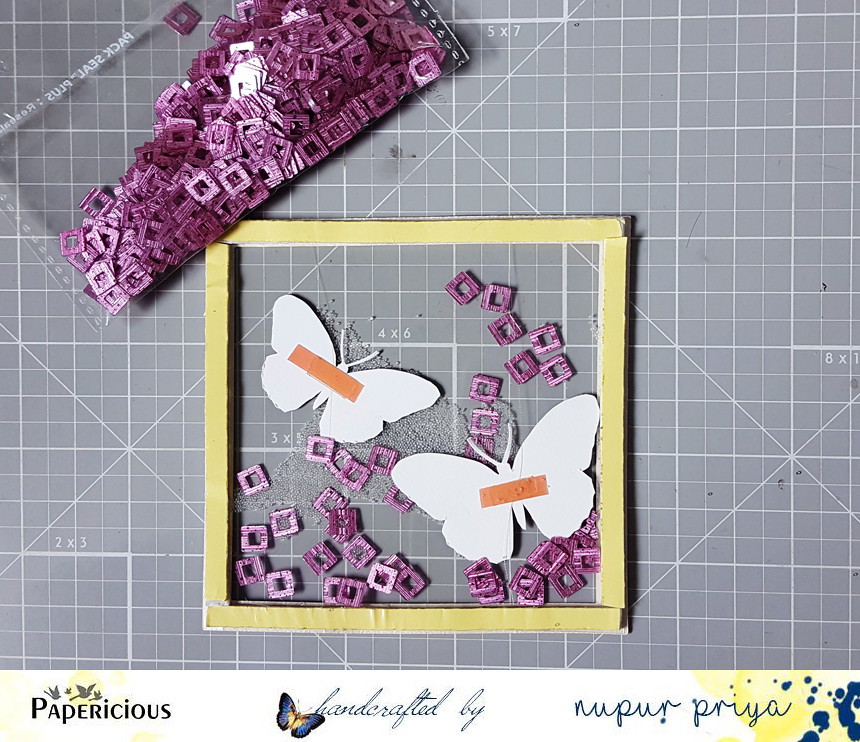
The main image was  hand cut three times and I made the 3d image with foam glue.


All chipboard pieces were painted with the same acrylic paint as the hoop.


Paper  images were hand cut and added to the project:


Each an every paper cut was inked around the edges  for the interest.All die cuts were made from the same collection patterned paper with inked edges as shown:


Here is a product list here and you can but them all in Papericious shop.

Mom to Be paper 


Papericious Designer Edition -Mom to be


Swirl Mesh


Big Flower lace

Big Flower Lace

Round Hearts Chipboard
Chipboard - Round Hearts

Ohh, Baby chipboard
Theme Chipboard - Ohh Baby!

Jute cords
Jute Cord - Yellow

Sequins
Textured Sequins : SEQ-SA1101
You can also  buy our products in THOSE shops. 

I hope that you liked my project and it's very easy to make a similar one with Papericious great Mom to Be collection and all other new products.

See you again soon with more Papericious inspiration!


5 comments: