Showing posts with label Papericious Infinity Collection Die cuts. Show all posts

Card cum Gift Holder using Mi Estilo and Gentleman | Photo Tutorial


Hi, crafty friends!
This is Hussena here, today I have a very quick and easy tutorial to share for making a beautiful card pouch. I really had a lot of fun creating this. This card pouch would make an ideal gift not only to give to your brother for Raksha Bandhan, but it pretty much covers all occasions including the upcoming Teachers' Day.
My son has a male class teacher & coming up with a gift for him was a challenge as I usually tend to create quite feminine project, so I was pretty happy to work with the newest collections from Papericious which has some really good masculine tones. 

Here's a look at the card pouch :


Here's how it looks when opened up :

I have embellished the insides using pattern papers from the Mi Estilo collection. The bow-tie & sentiment have been fussy-cut from the Gentleman pack.

As you can see, it has two pockets and can hold 4 X 4 inch notecards with coordinating envelopes and also there is enough space to hold a candy bar of your choice.

The note-card & coordinating envelope :


The trio together!


The back side of the pouch :


- - - - - - - - - - - - - - - - - - - - - - - - - - - - - - - - - - - - - - - - - - - - - - - - -
Here's the tutorial on how to create this :

TUTORIAL

Step 1 - Take a 12 X 5" piece of cardstock and score at 5 1/2 and 6 1/2 inches.

Step 2 - To create the inside pockets, take TWO pieces of 2 3/4 inches X 5 3/4 inches piece of cardstock.

Step 3 - Score at 1/4 inch TWICE on three sides of this cardstock and fold it to form the pocket. Cut out the two squares on the sides to help create a crisp pocket-fold.

Step 4 - To create handles of the card pouch, you can either use any punch of your choice or a die, I have used Spellbinders label 4 to create my handles.

After die-cutting the handle looks like this :

Step 5 - To further embellish the handles, create a frame using the same die set. I have distressed it using Hickory Smoke Distress ink. ( I have used the Papericious Craft Sheet & Ink Blending Tool )

Step 6 - To embellish the front & back of the pouch, I have used different pattern papers from Mi Estilo and the Gentleman pack.

The Note card and the co-ordinating envelope were also made using these papers.

For the pouch, I die-cut a scalloped border panel using papers from the Mi Estilo collection and layered it with another paper from the same collection. I then made a handmade flower again die-cut using papers from the Mi Estilo pack. Added few leaves, filler flowers and the sentiment, and my bag was ready :)

For the note-card, I have used die-cuts from the Infinity Collection. I have used three different pattern papers from the Mi Estilo collection.

For the envelope, I have again used a die-cut from the Infinity pack.


Hope you liked the tutorial and give it a try. Please do leave me your comments/suggestions regarding it I would love to hear from you.

Have a nice day everyone!

Altered Diaries using 'Often' Collection with a Tutorial

Hello everybody,
This is Hussena here and I have some really quick and easy gifting ideas for the New Year. I'm sure most moms would agree that they would like to give a lil' something to their childrens' teachers or their hubby's clients. These altered diaries would make a perfect gift. The papers in the 'Often' collection are really very bright, peppy and trendy and they mix and match really well. The die-cuts that have been introduced with the paper packs make the perfect accents to dress up these diaries. Here's a look at two of these altered diaries that I have made:
(Scroll down below to check out the step by step tutorial on how I went about creating it).

 Diary one

A look at the inside of the diary:

The last page of the diary. The tags are die-cuts from the Often Collection.

A look at the back of the diary.

Diary two

Here's how I have embellished the inside of the diary.

This is how the last page of the diary looks like.
 
This is an inside page with a photo mat to include those special memories.

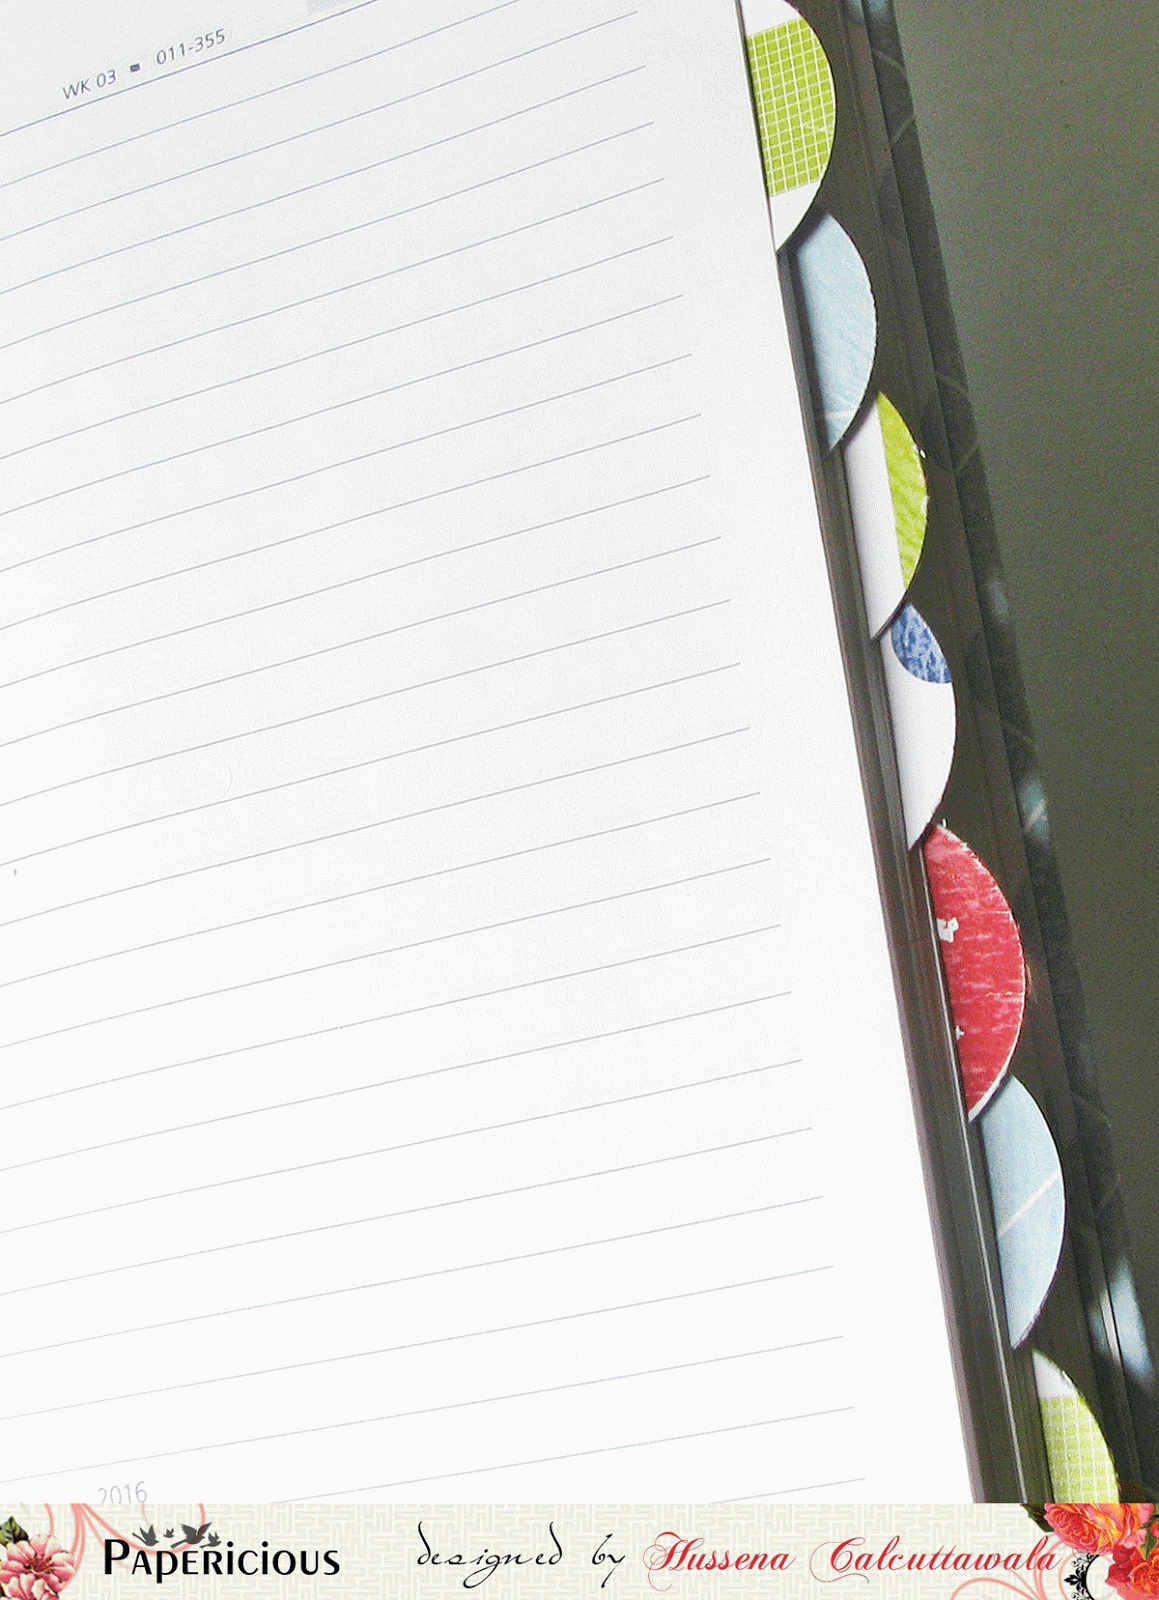
I have punched out circles and cut them in half to create these tabs on the side. These circles were punched out from all the left over scraps from the Often collection.
 
The back of the diary. 


 Now here's a simple  tutorial on how I went about creating this Altered diary :
Step 1 : Choose the pattern paper of your choice and measure and cut 2 pieces for the front and back of your diaries ...Just take an extra inch to your measurement as it will help to neatly fold over your paper.
      
 Step 2 : Cover the entire front cover of your diary with Mod Podge and also the back of your paper and glue it together.

Step 3 : Once you have glued the paper to the front of your diary, open it up  and cut a small slit on the corners of your paper as it helps to fold the paper easily and gives a finished look (As shown in the below picture).

 This is how it looks once you fold over your paper :

Step 4 : Now cover the back of your diary with Mod Podge and cover it similarly as shown in Step 2 and 3.

This is how your diary will look once it is covered :

Now to cover the spine of the diary cut an paper measuring 2 inch in width and the length will be the length of your diary cover. ..Mine was 8 inches so my dotted paper strip measures approximately 2 inches by 8 inches. Glue it over the front and back sides of your cover and now your diary is ready to be embellished.

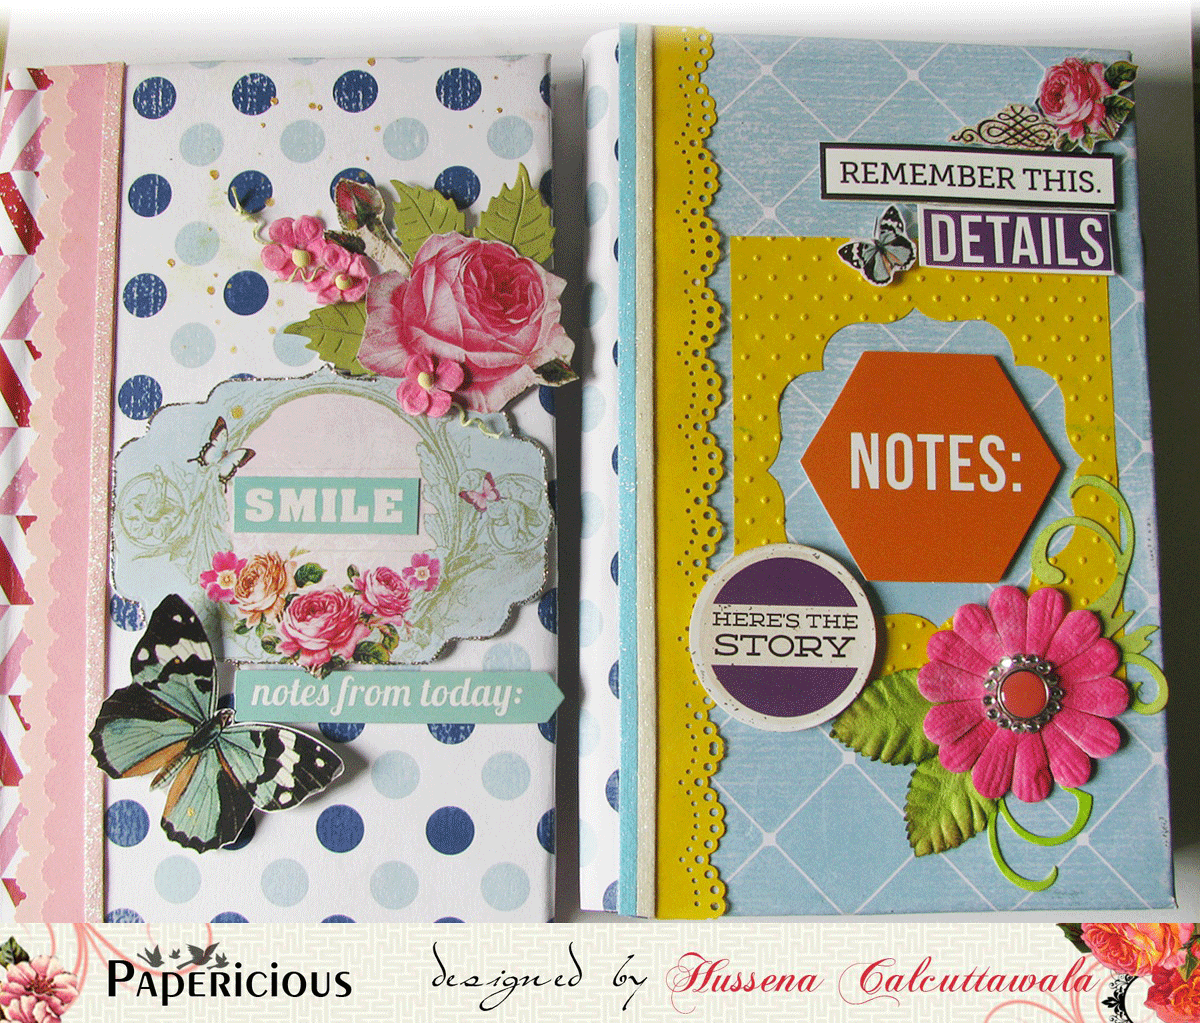
A look at both the diaries together!

And this is how both the diary cover's look once I finished embellishing them. In both my diaries, I have used papers from the Often collection and have used die cuts from both Often and Infinity collections to embellish it further.

Hope you like my work and find the tutorial helpful.
Please do leave me your feedback as I love hearing from you :)
Have a nice day everyone!

A Mixed media 2016 Desktop Calendar with the 'Infinity' Collection

Hello Everyone!

It's Manu here and I'm super excited with Papericious this months launches!! Both the collections launched, 'OFTEN' and 'INFINITY' are something worth a buy! While OFTEN has more bold patterns and cool colors, the Infinity pack is a paradise for Vintage lovers!! It houses some very awesome and pretty vintage style papers and is gorgeous to look at (and I must add that It was sad putting these pretties under the scissors!!! )  and what more, they also have co-ordinating Diecuts pack and the quality and finishing of each die cut is pretty neat and is of awesome quality!

Like I said that it was quite hard to put the Infinity pack under the scissors, yet at the same time it had to be done coz I had a very vintage idea in my mind. There is no doubt that this pack is solely for vintag(y) projects, I had a desktop calendar in my mind.

Here' what I made!

I totally loved the idea of making this one and was relieved that it came out to the same as perceived !

I have a little tutorial for it as well, so sit back and see how this pretty one was done!

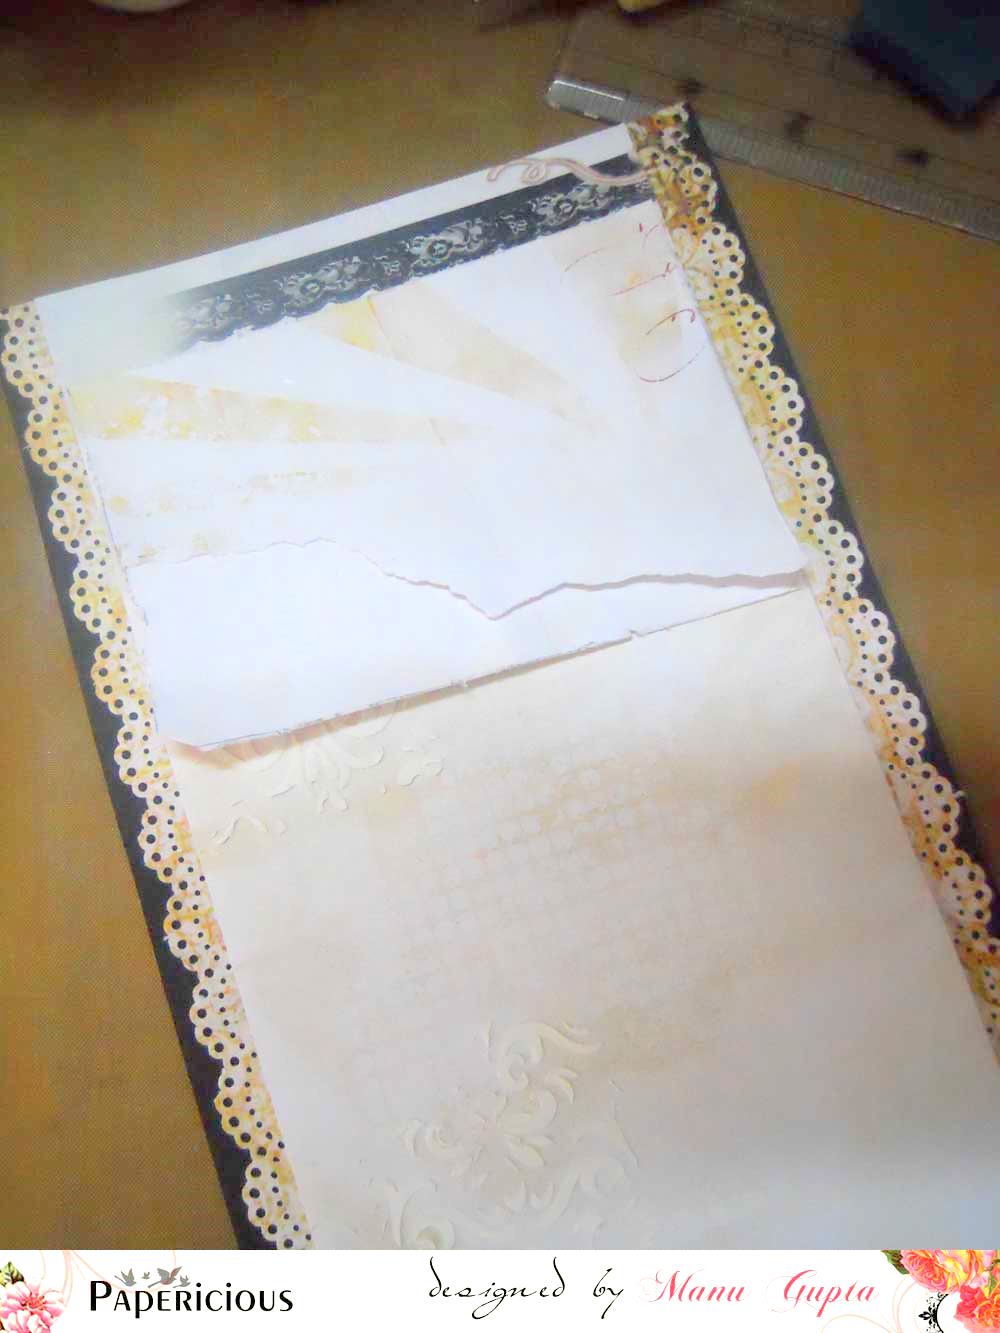
Cut out a panel from one of the papers from the Infinity pack. My panel measures about 5 inches*12 inches. I took another paper from the pack and cut out 2 thin strips with the MS Doily punch and then have these 2 strips on either side of the panel. Once this was done, I stuck out my panel to a black cardstock (I'll be putting this layout on the hard cardboard thing once I'm done making my desktop calendar)

Using the Modelling paste and one of the stencils, give a little texture to the panel. The textures brings out the dimensions in the end result and I love having a little texture on all my mixed media projects

I wanted to add on a little more dimension to my project, hence I took another pattern paper from the collection measuring about 5*4 inches and roughened the edges with the scissors. Once done, I tore the paper in half not bothering about where I was tearing the paper. Once this was done, I distressed the paper on the edges using the TH Distress inks and placed the paper on my layout! 
I wanted the papers to look torn and that I achieved while placing the flowers !


Once the placement of the torn out paper was done, to add more dimensions I placed the flowers and ferns in such a way that it appeared peeping out from beneath the layers. I had also placed some white lace beneath the layers to add more dimensions. Once I was happy with my flowers and ferns placement, it was time to make some pretty leaves!

The Leaves are stamped and fussy cut from the Heartfelt Creations stamp set and then distressed a little with the Mowed lawn distress ink. I also shaped these using the shaping tool to make then look real. Once happy, these leaves were added to the flower arrangement on the top 

I finished my layout using some of the die-cuts from the infinity collection and a cute button from the same collection!


A few closeup's of the calendar!

Closeup!

I simply loved the flower arrangement!


I hope you all liked the procedure and I'm sure that your next buy will include these gorgeous paper packs! The Design team have more inspiration for you using these two launches, so watch out more on this space!!

Do leave me a feedback!! Would love to hear from you!

Happy Crafting!
Manu


A Mixed Media Layout with Infinity Premium Collection

Hello, everyone!
This is Hussena bringing you another post for this month, but this time I have the very gorgeous Infinity Collection to share. As soon as I received these papers in my DT kit, I knew it would be perfect for a mixed media layout. The gorgeous prints and the coordinating die cuts are perfect for creating a shabby chic project, so here's a look at what I have made using these beautiful papers.


To create my LO, I selected one of the 12 X 12 " sheet from the Infinity collection and stuck it on a sturdy 12 X 12" cardstock. I, gessoed over the entire paper, once that was dry, I went to work with texture paste and a stencil which I had created using a die cut. Then, I sprayed and colored over my stenciled area with Lindy's Stamp Gang and Heidi Swapp sprays. All the die cuts that I used on this layout, are from the Infinity Collection Die cuts pack itself. I, further embellished it using my handmade flowers and a little bit of stamping on the background to create more texture.

Here are some close-up pictures for you to see all  the details :


I have also used the Papericious Adhesive buttons which coordinates with the Infinity collection. A close-up to show you how it looks!


I hope you like my humble attempt at layout making.  I am still learning and hope to get better in future. This Papericious collection is so gorgeous. It was totally a delight to work with the prints, and all the coordinating die cuts and adhesive buttons are the icing on the cake.
Please don't forget to leave me your comments/ suggestions. I love receiving your feedback. :)
Have a nice day everyone.